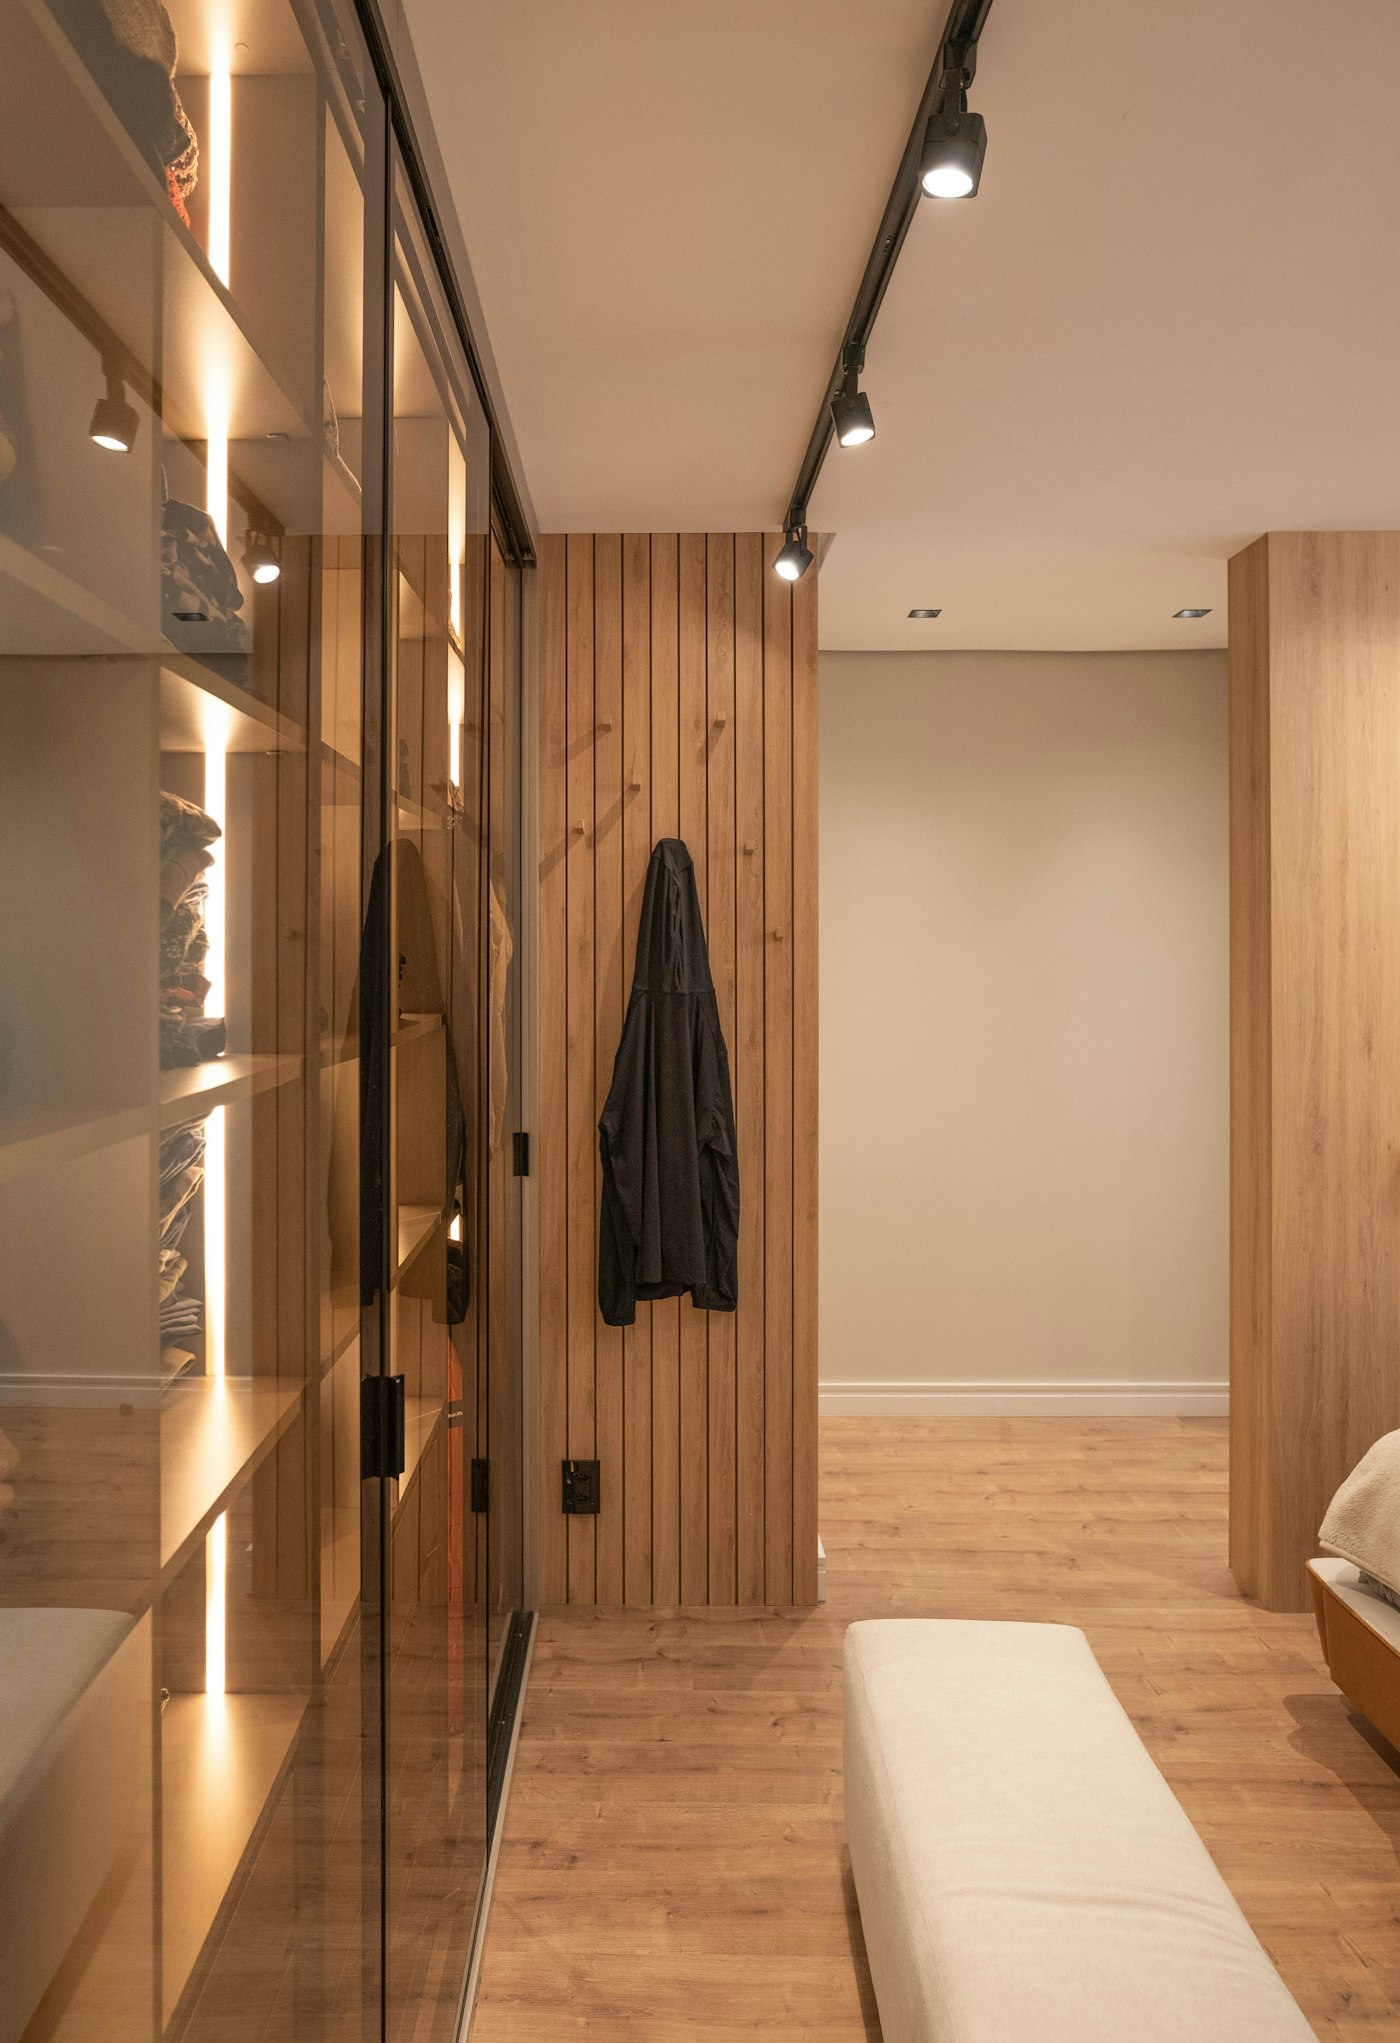
pir door sensor closet lighting application illustration

PIR Motion & Door Touch Sensor Kits

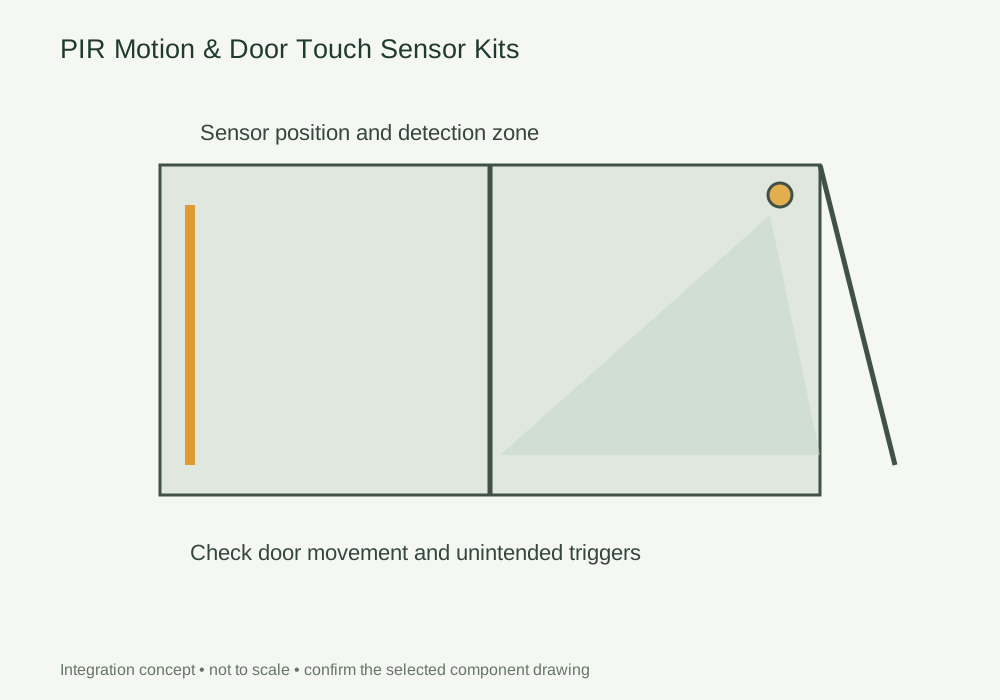
Define the switching logic before wiring the range. Door movement and body detection require different sensing layouts.

Discuss this assembly
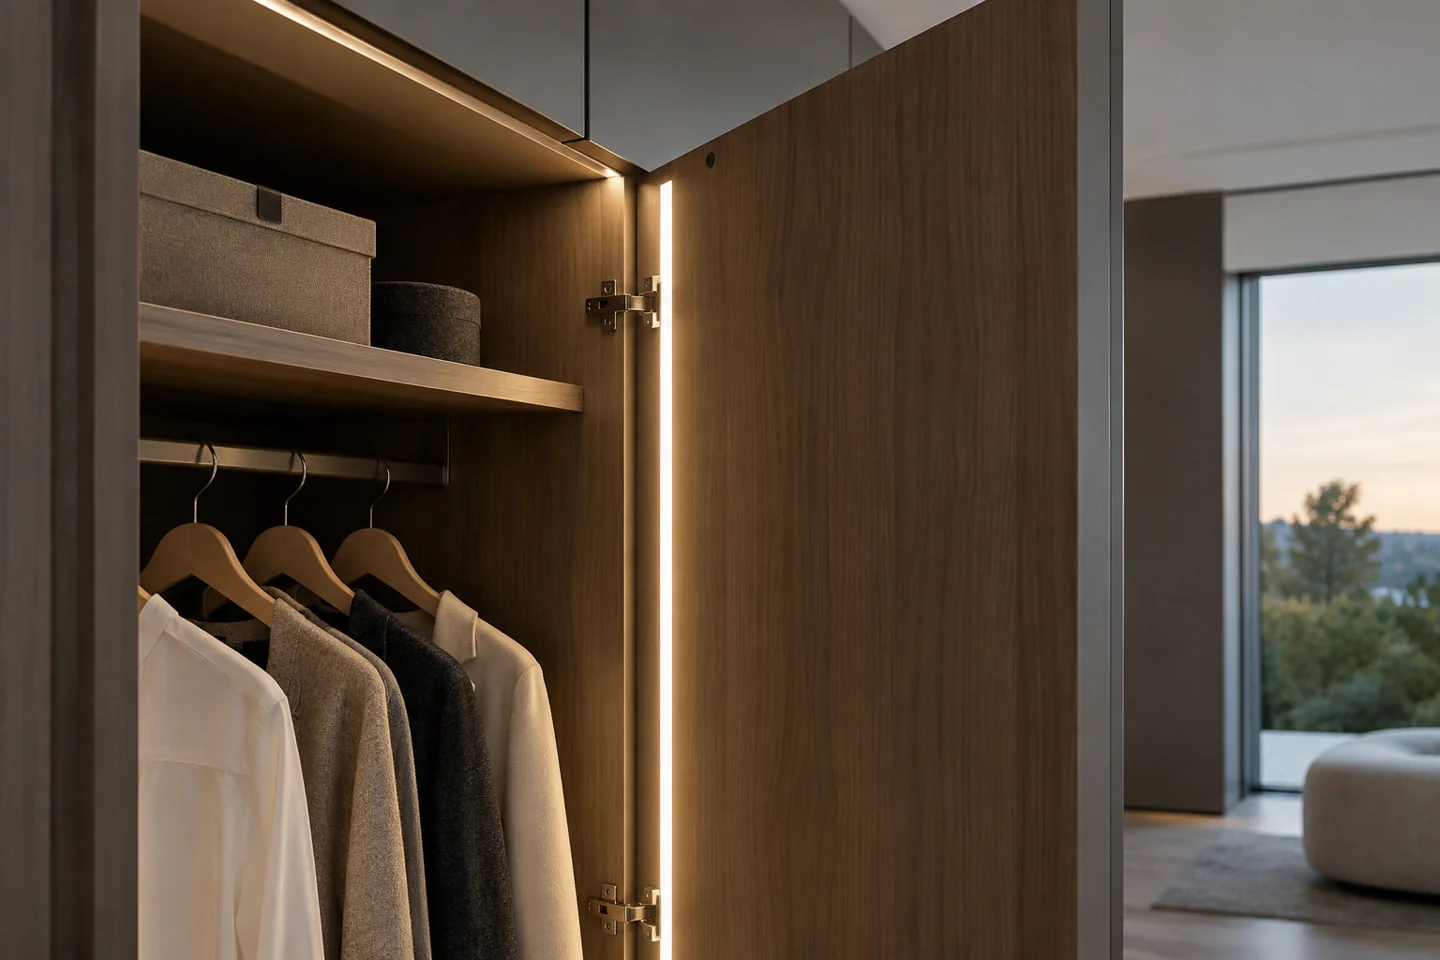
AI-generated application illustration; not a completed BEXLIGHT project or measured performance. Component interfaces are illustrative.

From the drawing
to the sample review.

Define the switching logic before wiring the range. Door movement and body detection require different sensing layouts.

Drawing & design inputs

Identify door types, compartments and approach paths. Define whether one door controls its own compartment or all lights, and mark potential sensor obstructions.

Assembly & coordination

Select PIR or door sensing around actual movement. Label each harness branch and record the intended timeout and switching logic for that zone.

Sample & acceptance review

Test approach, occupancy and door movement on a representative wardrobe. Check the usable light period and switch-off behaviour, then keep the validated sensor position with the drawing.

DESIGN DECISIONS

Choose the sensor around the way the wardrobe is used

A hinged door, sliding door and open walk-in bay create different sensing conditions. PIR sensing depends on movement and detection coverage; door sensing depends on the opening interface. Define which compartments should turn on together and how long the light should remain usable when the person is standing still.

DecisionRequired inputReview with the sample
Door geometryHinged, sliding or open bayChoose the sensor principle against actual movement
Control zonesCompartments and branch scheduleDecide whether one door controls one bay or several
TimeoutExpected occupancy and approach pathCheck normal use with garments and shelves installed

PIR Motion & Door Touch Sensor Kits
Integration detail.

Use this concept to mark mounting positions, cable paths and service clearances on your fixture drawing. Dimensions and component references belong on the project drawing before machining.

PIR Motion & Door Touch Sensor Kits — installation and service concept
Integration concept, not to scale. Confirm mounting dimensions and interfaces against the selected components.

Specify the interfaces,
not only the light source.

Use these selection questions in the assembly brief. Confirm availability, compatibility and performance for the proposed configuration.

PIR Motion Sensor LED Closet Light Bar

Confirm the detection zone, timeout and behaviour through the installed diffuser or sensor opening.

Door Touch Sensor Wardrobe Light Kit

Record actuator positions and the logic for multiple doors.

Surface Mounted Ultra Slim Wardrobe Channel

Check fixing access and visibility at the panel edge.

Recessed Vertical LED Channel for Joinery

Coordinate the groove with panel thickness, hardware and corner clearances.

Pre-Wired Closet Lighting Harness

Identify connector pairs, lead lengths, labels and the routing sequence.

Light sources &
assembly scope.

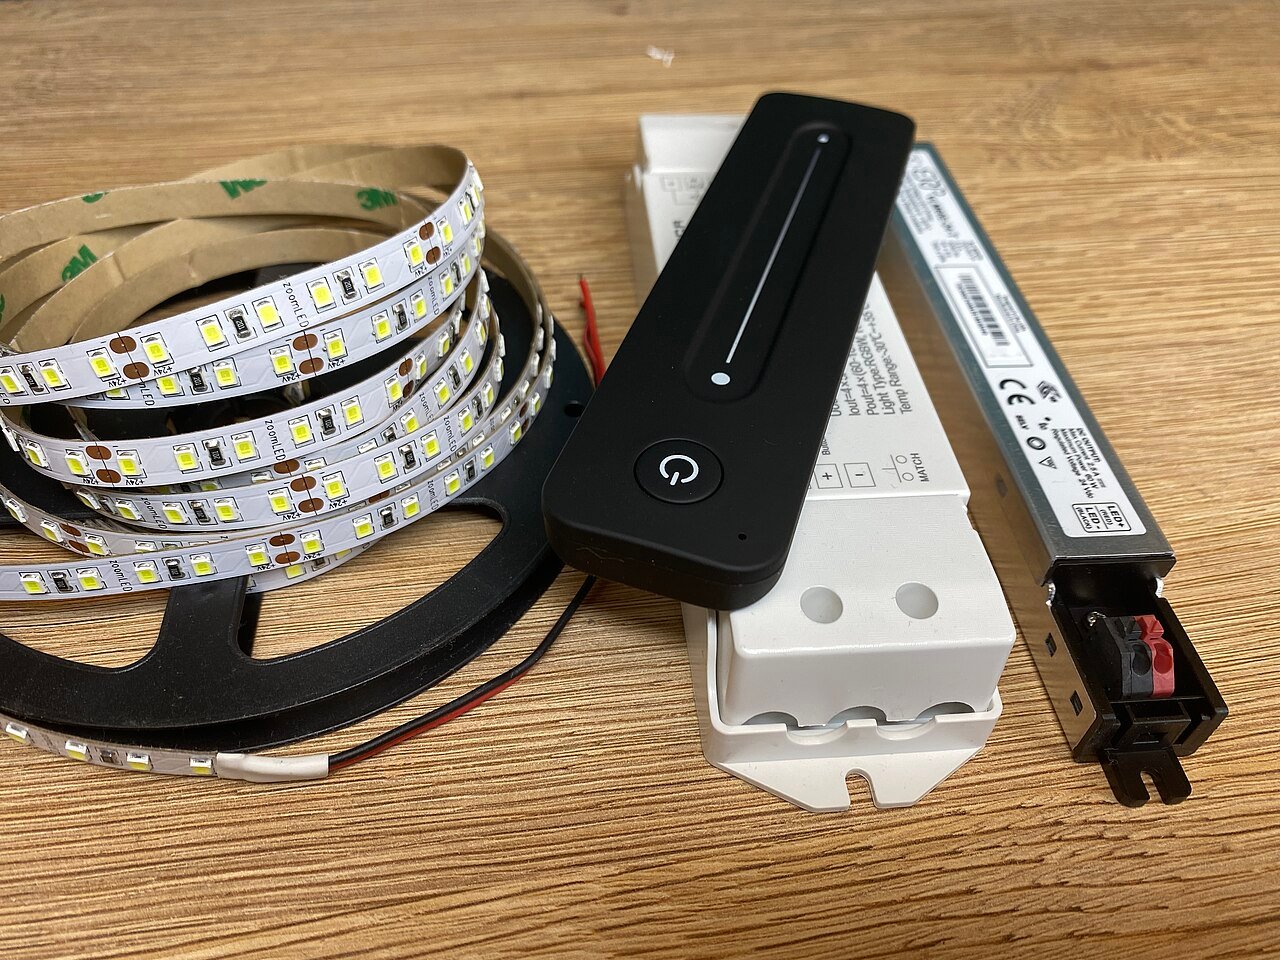
Compare the source with the fixture dimensions and intended light effect. A complete supply schedule also identifies the profile, controls, connectors and the work included in the assembly.

Define the assembly before selecting a source.

This detail includes components beyond an LED strip. The catalogue does not identify a complete, approved kit for this arrangement. Send the fixture section and required operation so the source, control and mechanical interfaces can be reviewed together.

  • Light source: dimensions, colour requirement, section lengths and supply voltage.
  • Fixture parts: profile or support, diffuser, end fittings and service access.
  • Control and wiring: sensor or controller reference, mating connectors and cable schedule.

Compare catalogue light sources → Review the wider furniture system →

Discuss components for this detail

Turn the detail
into an orderable brief.

State the quantity basis and open decisions. A labelled assembly schedule keeps design, purchasing and installation working from the same reference.

  • Drawing revision and finished dimensions
  • Module quantity and order basis
  • Source, profile and control references
  • Cable exits and service access
  • Required sample and acceptance records
Request an assembly review

FREQUENTLY ASKED QUESTIONS

PIR Motion & Door Touch Sensor Kits FAQ

Practical answers for the furniture drawing, sample review and purchasing brief.

Ask a project question →
PIR or door sensor: which is preferable?

Door sensing can give predictable switching on a defined opening. PIR can suit open bays, provided detection and timeout match the way the space is used. Test the actual installation.

Why does the light switch off while someone is choosing clothes?

The timeout or sensing coverage may not match stationary use. Review the detection position and intended delay rather than increasing power or changing the strip.

How do you prevent a wardrobe light switching off while the user stands still?

Set the intended behaviour before choosing a PIR device. Review detection zones and timeout in the actual wardrobe. Where light must follow the door-open state, compare a suitable door sensor instead.

What should our pir motion & door touch sensor kits enquiry include?

Include Drawing revision and finished dimensions, Module quantity and order basis, Source, profile and control references. Add quantities by furniture module and identify the configuration or sample already selected. This gives the drawing review a defined scope before pricing and assembly approval.

CONTINUE THE SPECIFICATION

Guides for the
next design decision.

Use the wider furniture brief to coordinate this lighting detail with adjacent modules and project teams.

Your lighting requirement

Your lighting requirement

We use these details to review and respond to your request. Privacy information