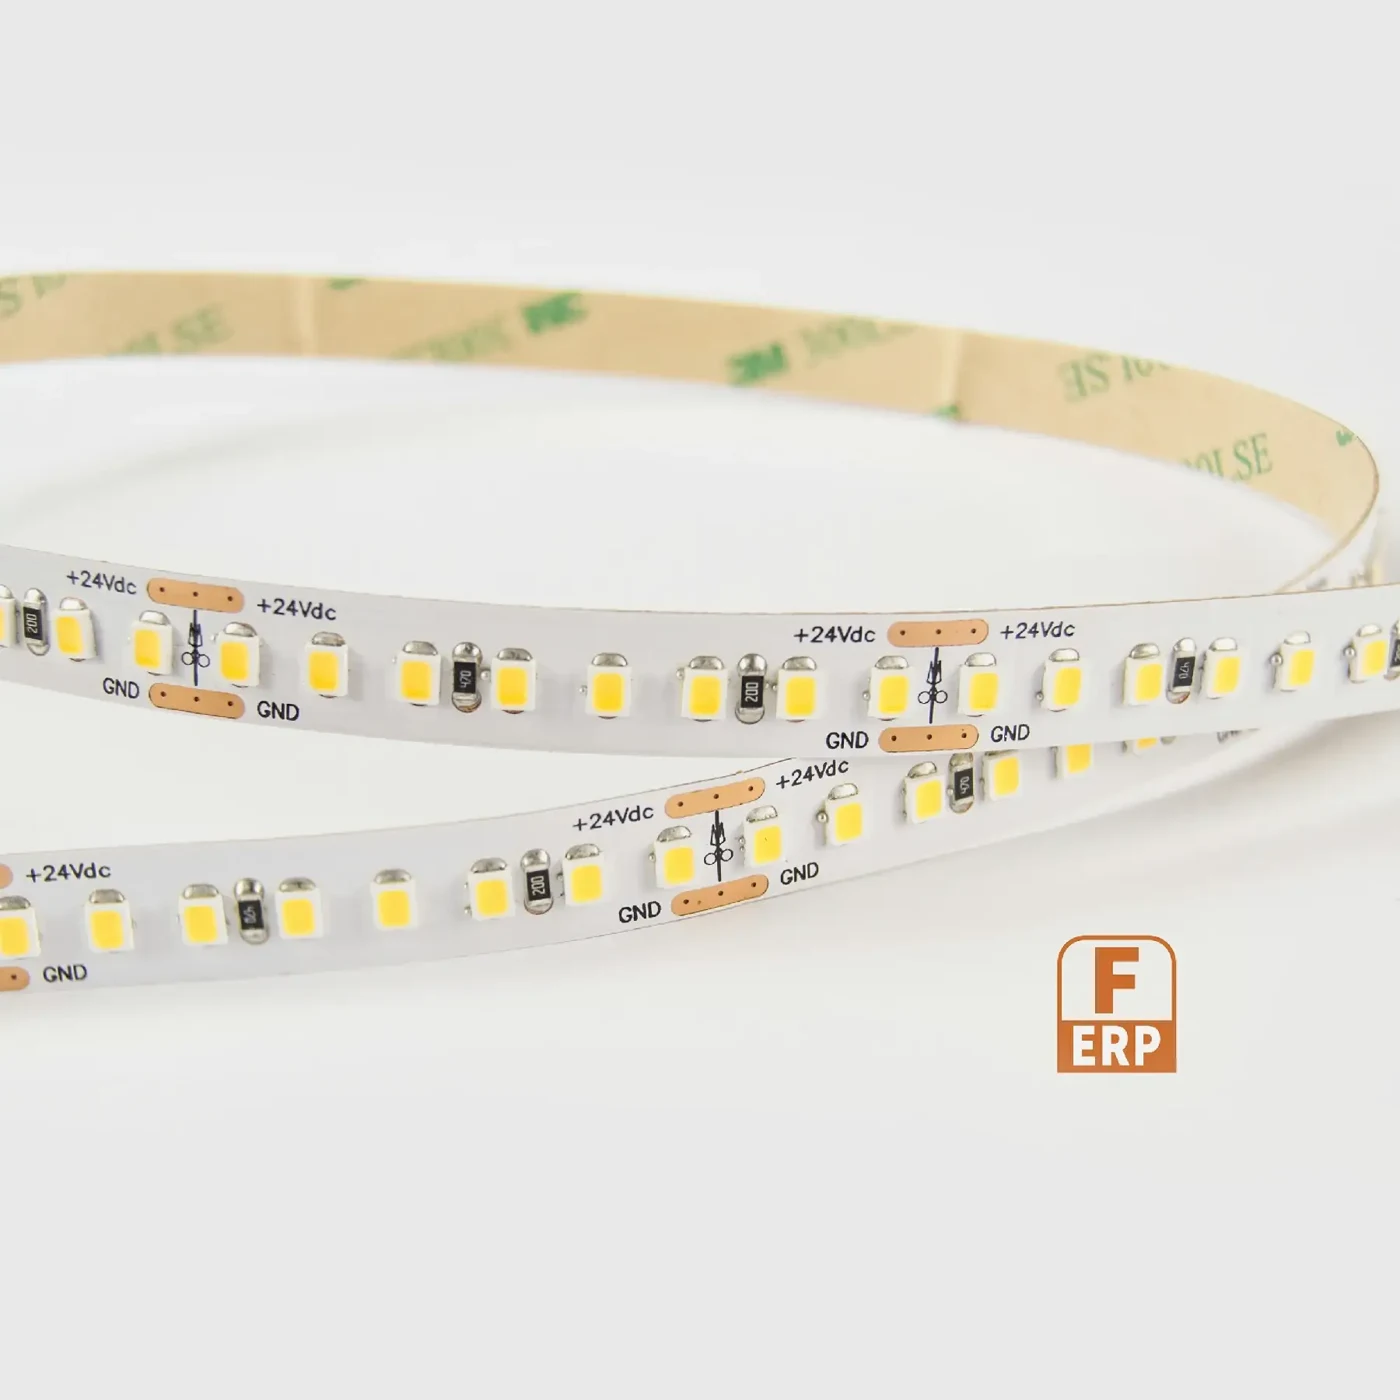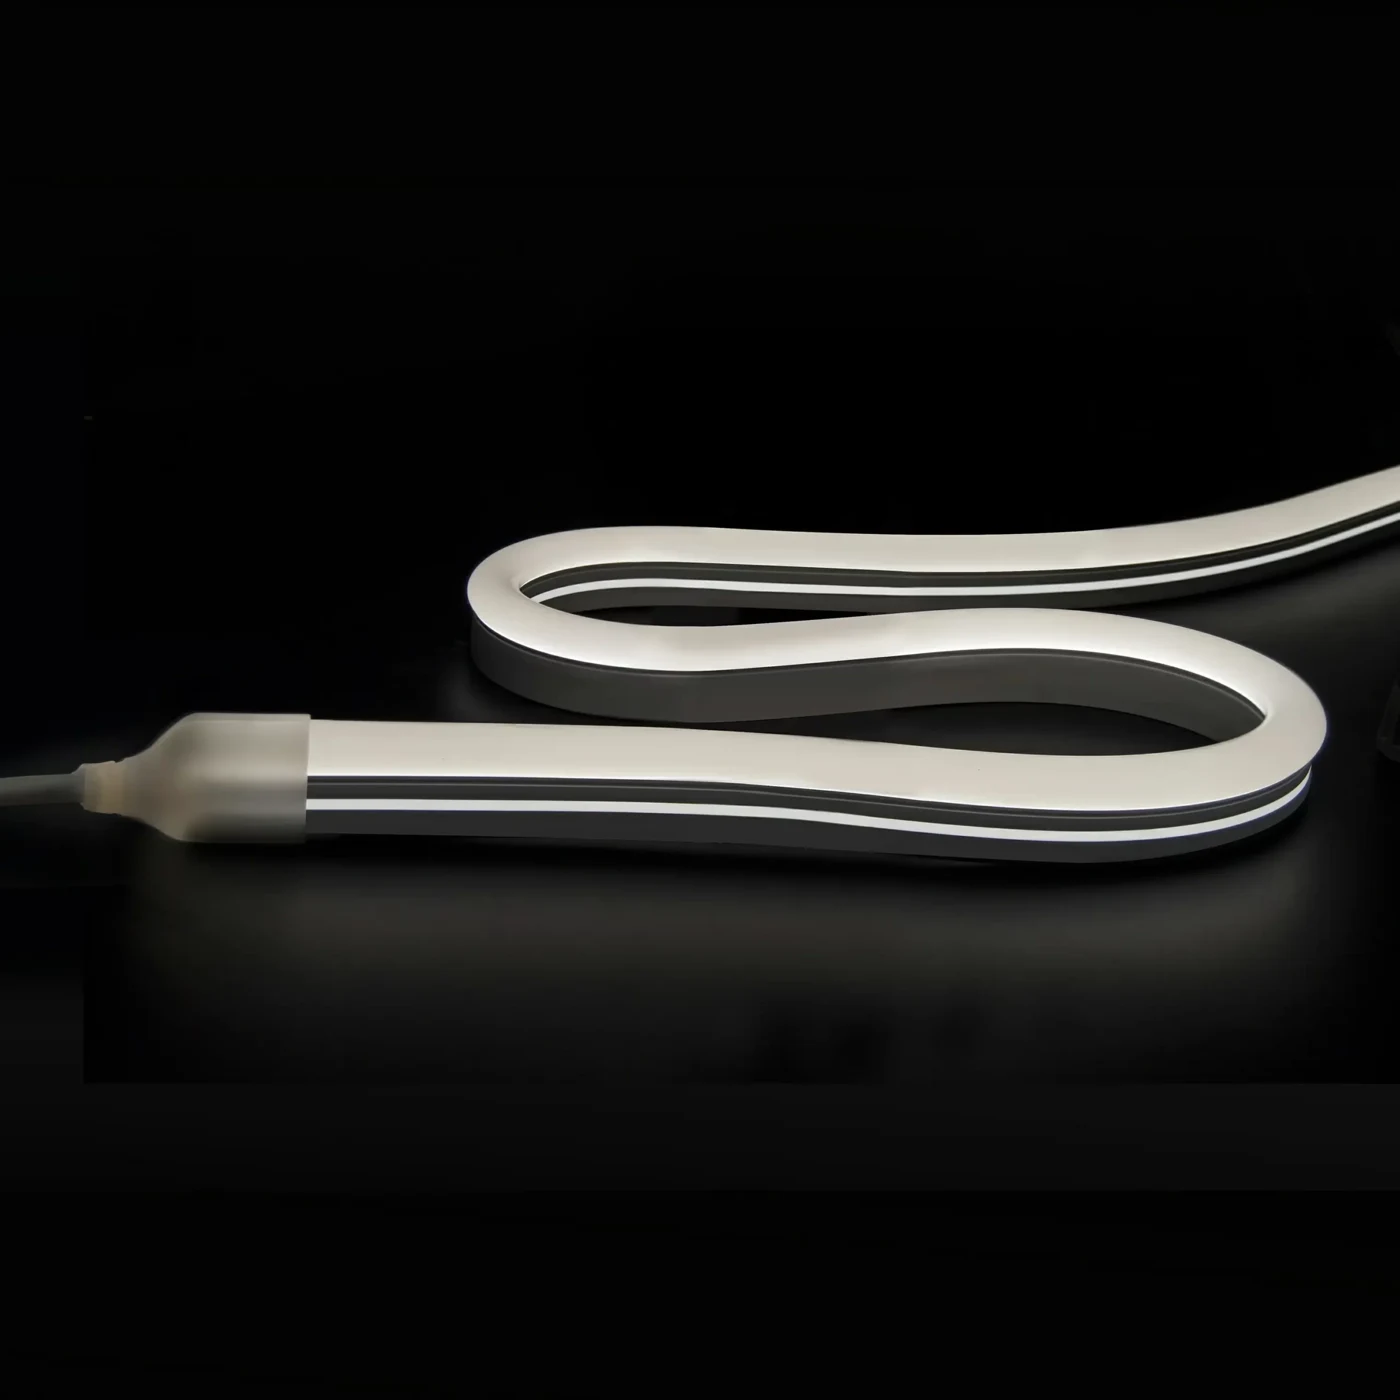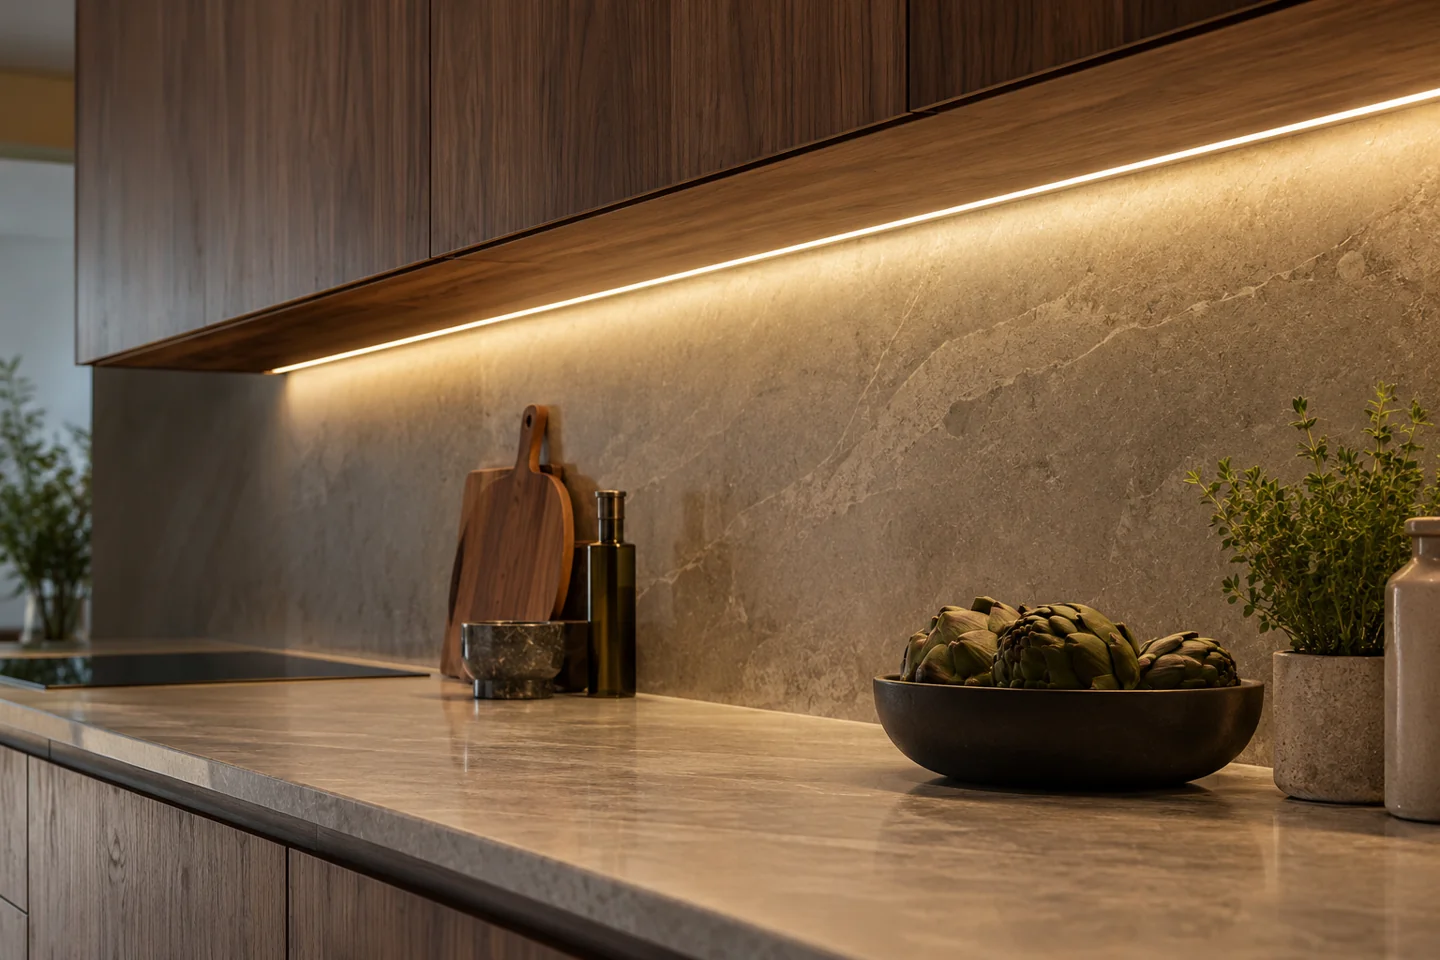
Under-Cabinet Task Lighting
Set the light line around the worktop and backsplash. Check the channel angle, diffuser, hand position and feed location on the cabinet drawing.
View the solution →
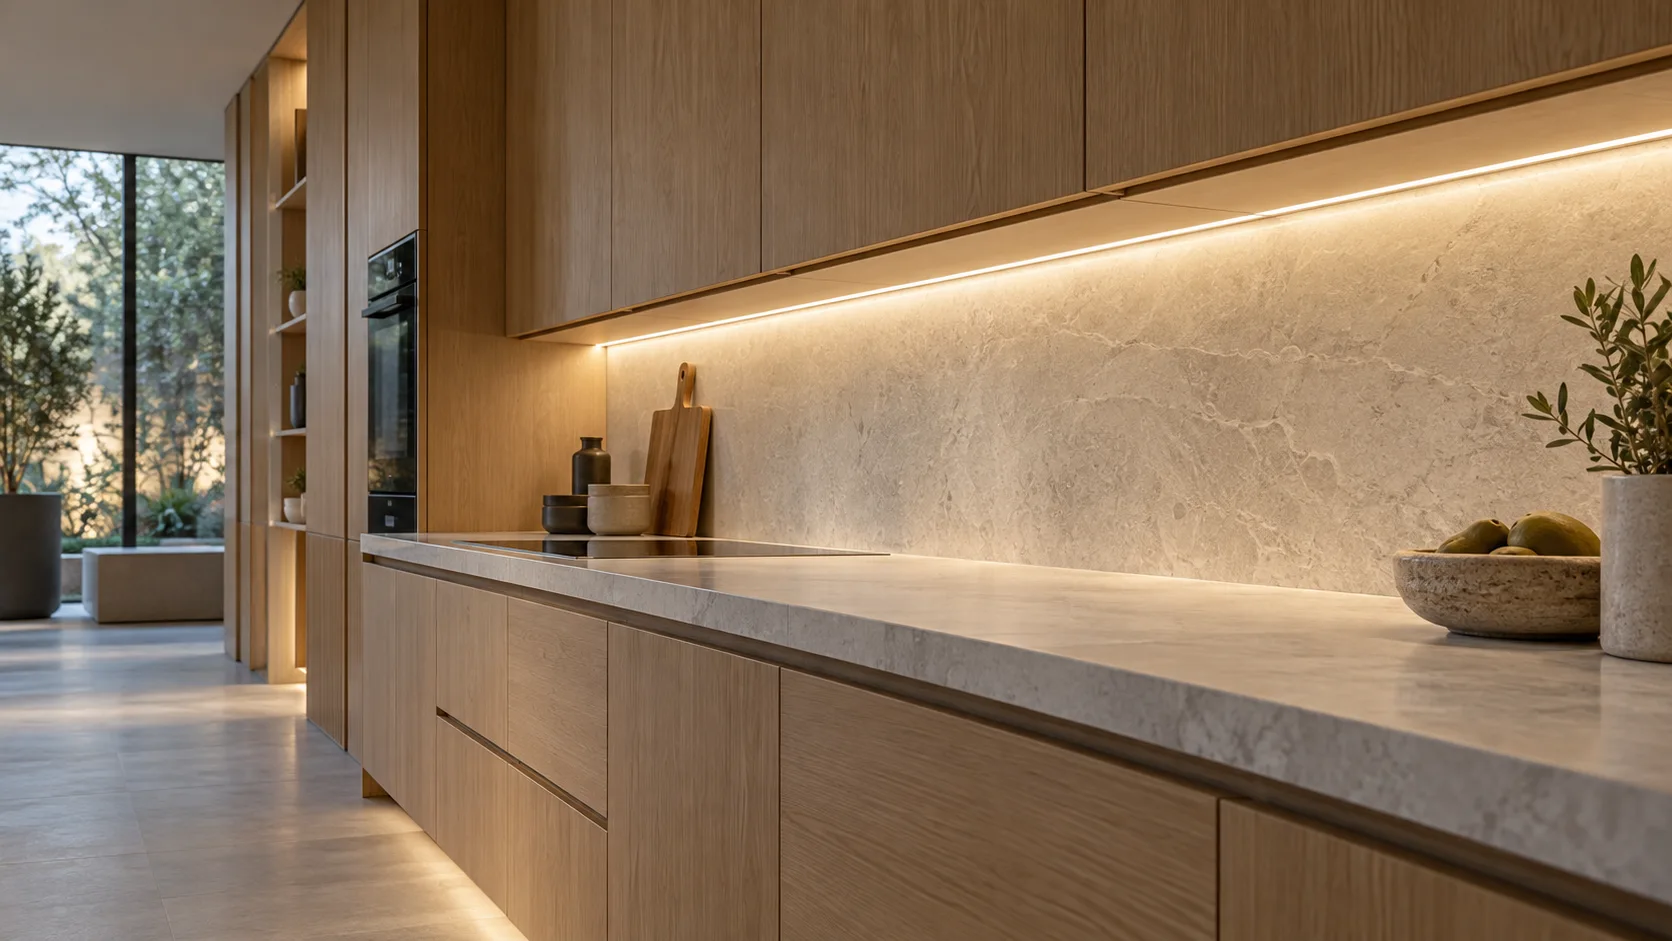
Worktop light, concealed cable routes and coordinated sensors—planned as one cabinet assembly, with cut lengths and connectors identified for each module.
Discuss this assemblyWorktop light, concealed cable routes and coordinated sensors—planned as one cabinet assembly, with cut lengths and connectors identified for each module.
Set the light line around the worktop and backsplash. Check the channel angle, diffuser, hand position and feed location on the cabinet drawing.
View the solution →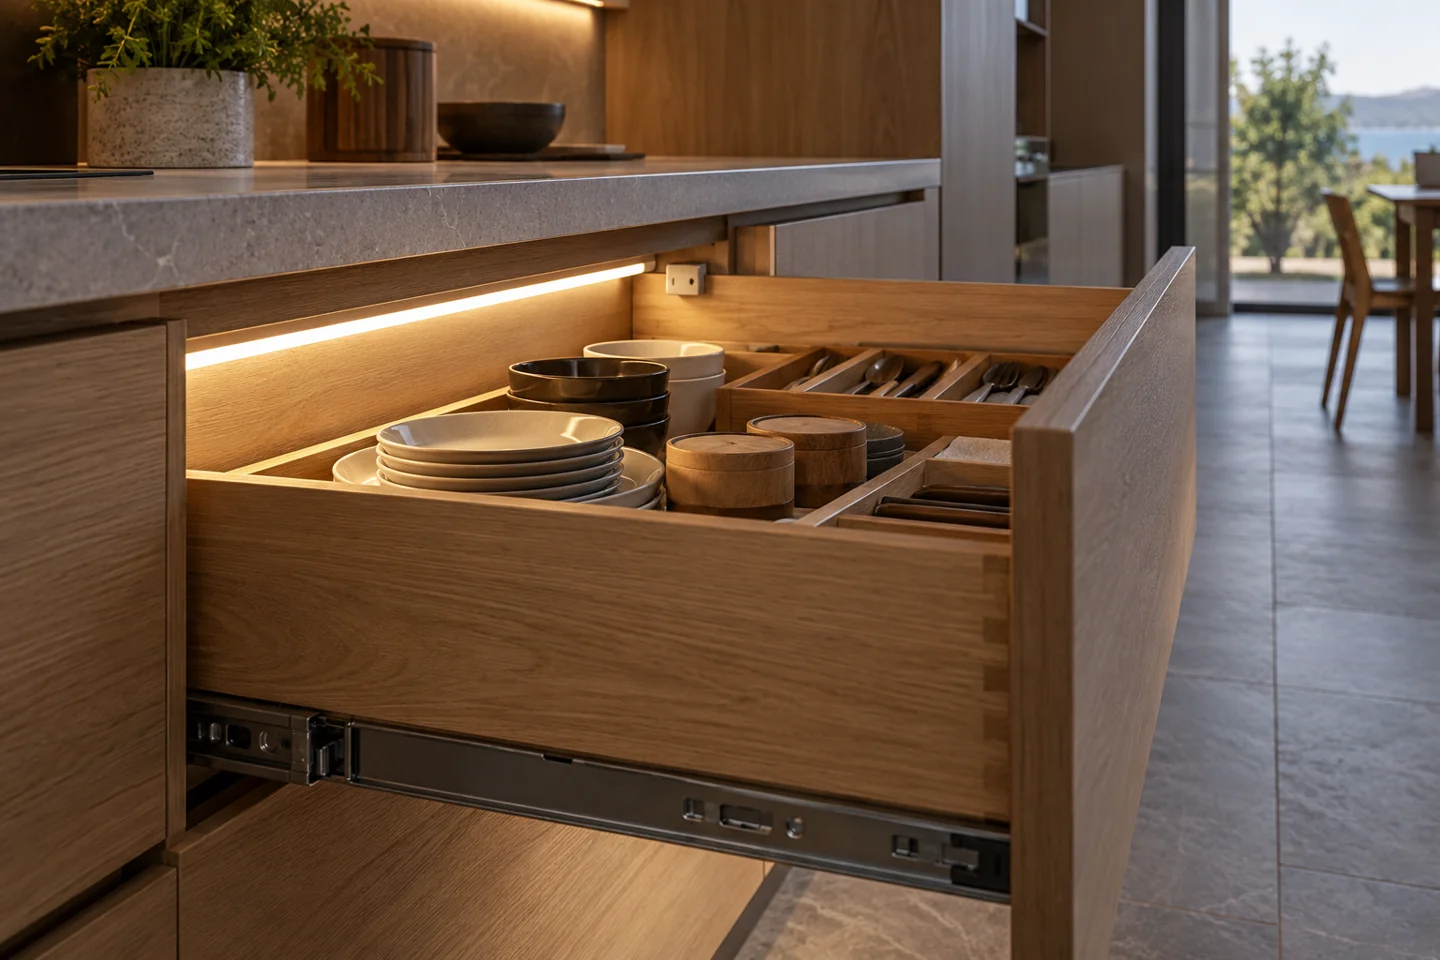
Keep illumination out of the drawer runner envelope. Plan how the light switches, how the cable moves and how a replacement can be reached.
View the solution →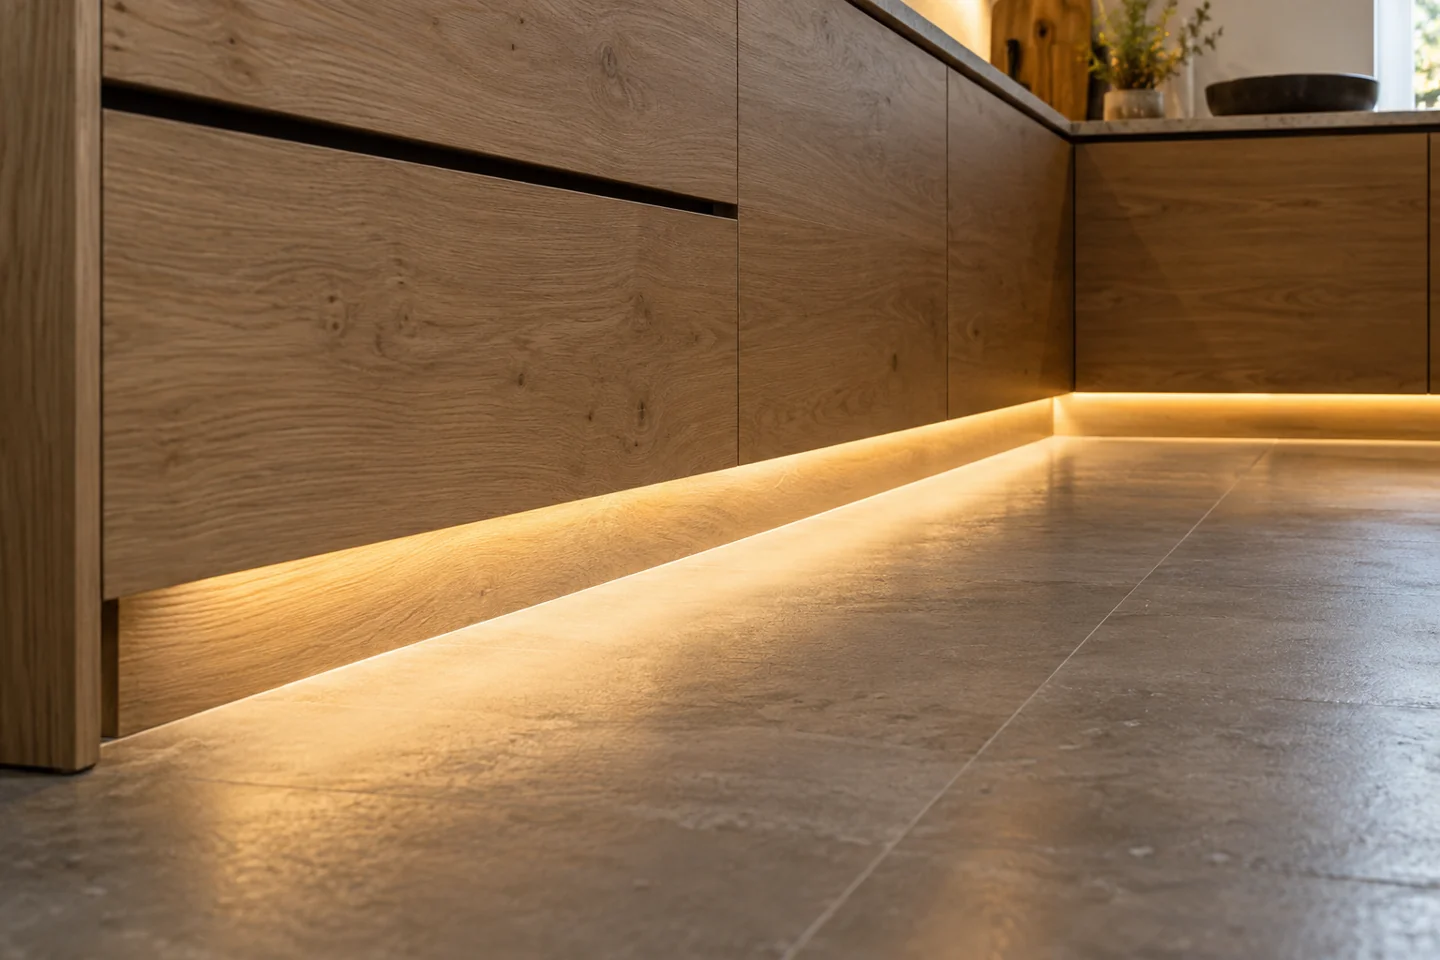
Treat the plinth, floor finish, corners and cleaning exposure as one installation detail.
View the solution →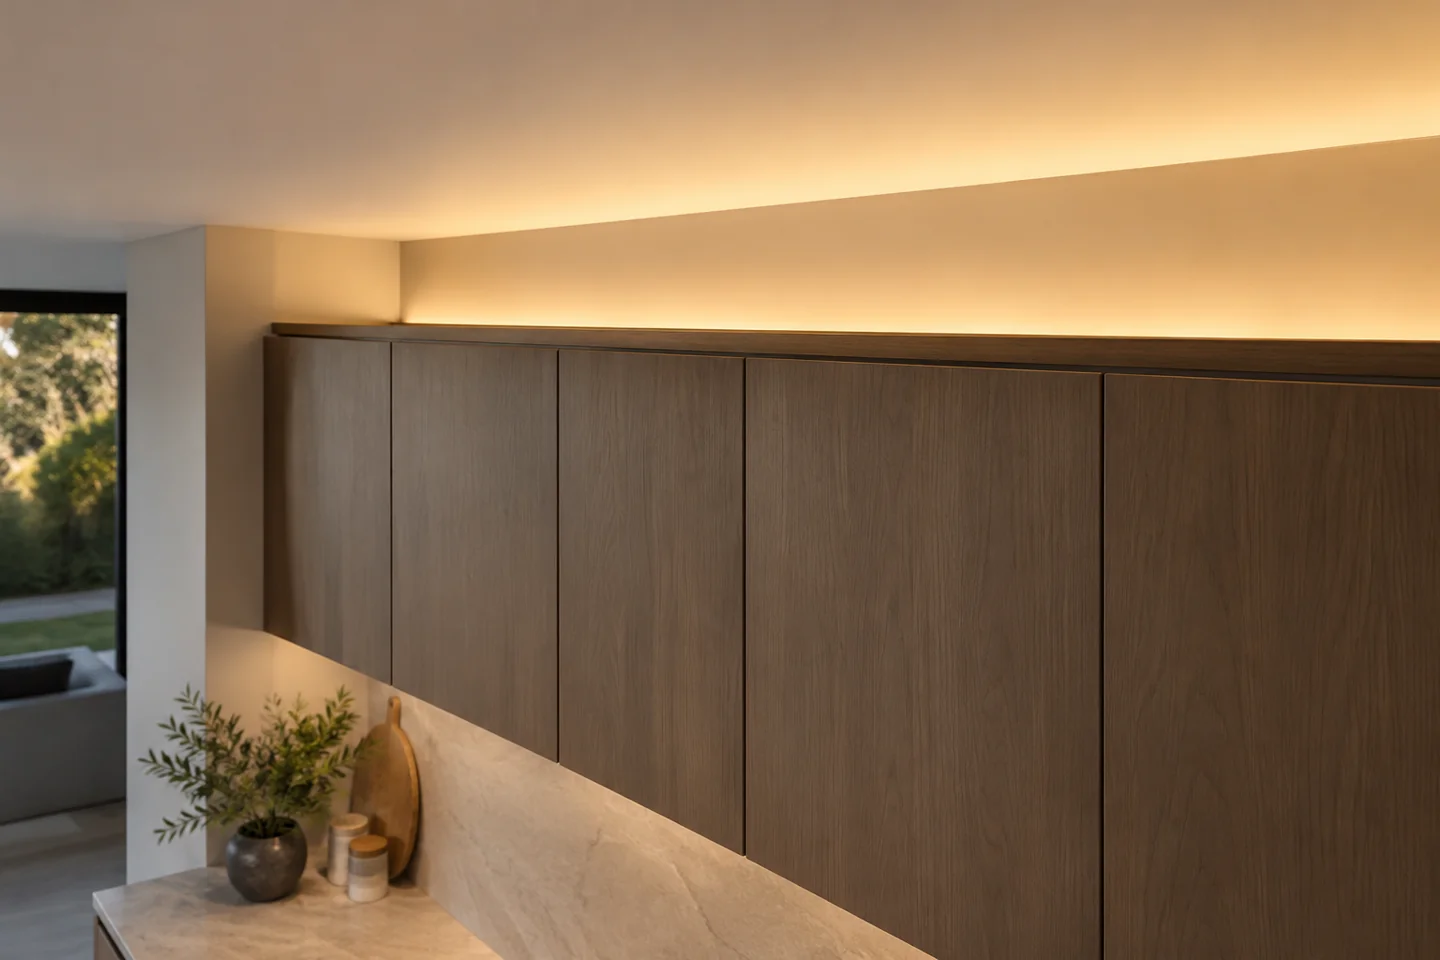
Define the ceiling reveal and the access route for the driver and distribution leads.
View the solution →Build the order around cabinet variants: task-light sections, drawer or door sensing, plinth runs and over-cabinet ambient light. Record the usable length, lead exit and connection position for each module. Keep task and decorative circuits separate where they need different controls.
DESIGN DECISIONS
A kitchen & cabinet lighting systems brief should distinguish the visible effect from the assembly needed to achieve it. Start with the furniture sections and the way the space is used. Each detail below addresses its own installation, control and maintenance decisions; it should not inherit a specification simply because it sits in the same room.
| Decision | Required input | Review with the sample |
|---|---|---|
| Under-Cabinet Task Lighting | Dimension cabinet setback, front fascia and backsplash against the worktop. Mark where the user stands so that the proposed light does not place the task in the user’s shadow. | Review shadows, reflected source images and sensor behaviour with the intended worktop finish. Keep the approved mounting position and light assembly together in the drawing record. |
| In-Drawer & Base Cabinet Sensors | Show the drawer closed and fully extended, including runners, dividers and cable travel. Identify whether the light is fixed to the cabinet or moves with the drawer. | Cycle the loaded drawer through open, partly open and closed positions. Check detection, switch-off and cable movement before approving the mechanical and electrical assembly together. |
| Toe-Kick & Plinth Accent Lighting | Draw plinth runs, corners, end returns and removable panels. Identify cleaning exposure and the floor finish; reflected source images can become visible on polished surfaces. | Inspect light continuity and source visibility from seated and standing sightlines. Record each joint, service point and intended cleaning environment with the approved detail. |
| Over-Cabinet Ambient Lighting | Dimension the ceiling reveal, source setback and sightlines from adjoining spaces. Locate the driver compartment and every distribution feed before the top panel becomes inaccessible. | Check the ceiling effect, control behaviour and branch identification on a representative cabinet. Retain the final wiring schedule and accessible driver location with the approval. |
Use the scene images above with the corresponding installation notes below. A lighting detail should not inherit an unrelated wiring or mounting arrangement.
Dimension cabinet setback, front fascia and backsplash against the worktop. Mark where the user stands so that the proposed light does not place the task in the user’s shadow.
Review this detail →Show the drawer closed and fully extended, including runners, dividers and cable travel. Identify whether the light is fixed to the cabinet or moves with the drawer.
Review this detail →Draw plinth runs, corners, end returns and removable panels. Identify cleaning exposure and the floor finish; reflected source images can become visible on polished surfaces.
Review this detail →Dimension the ceiling reveal, source setback and sightlines from adjoining spaces. Locate the driver compartment and every distribution feed before the top panel becomes inaccessible.
Review this detail →Photographs support the adjacent selection decisions. The exact delivered components and their performance need their own drawings, documents and sample review.
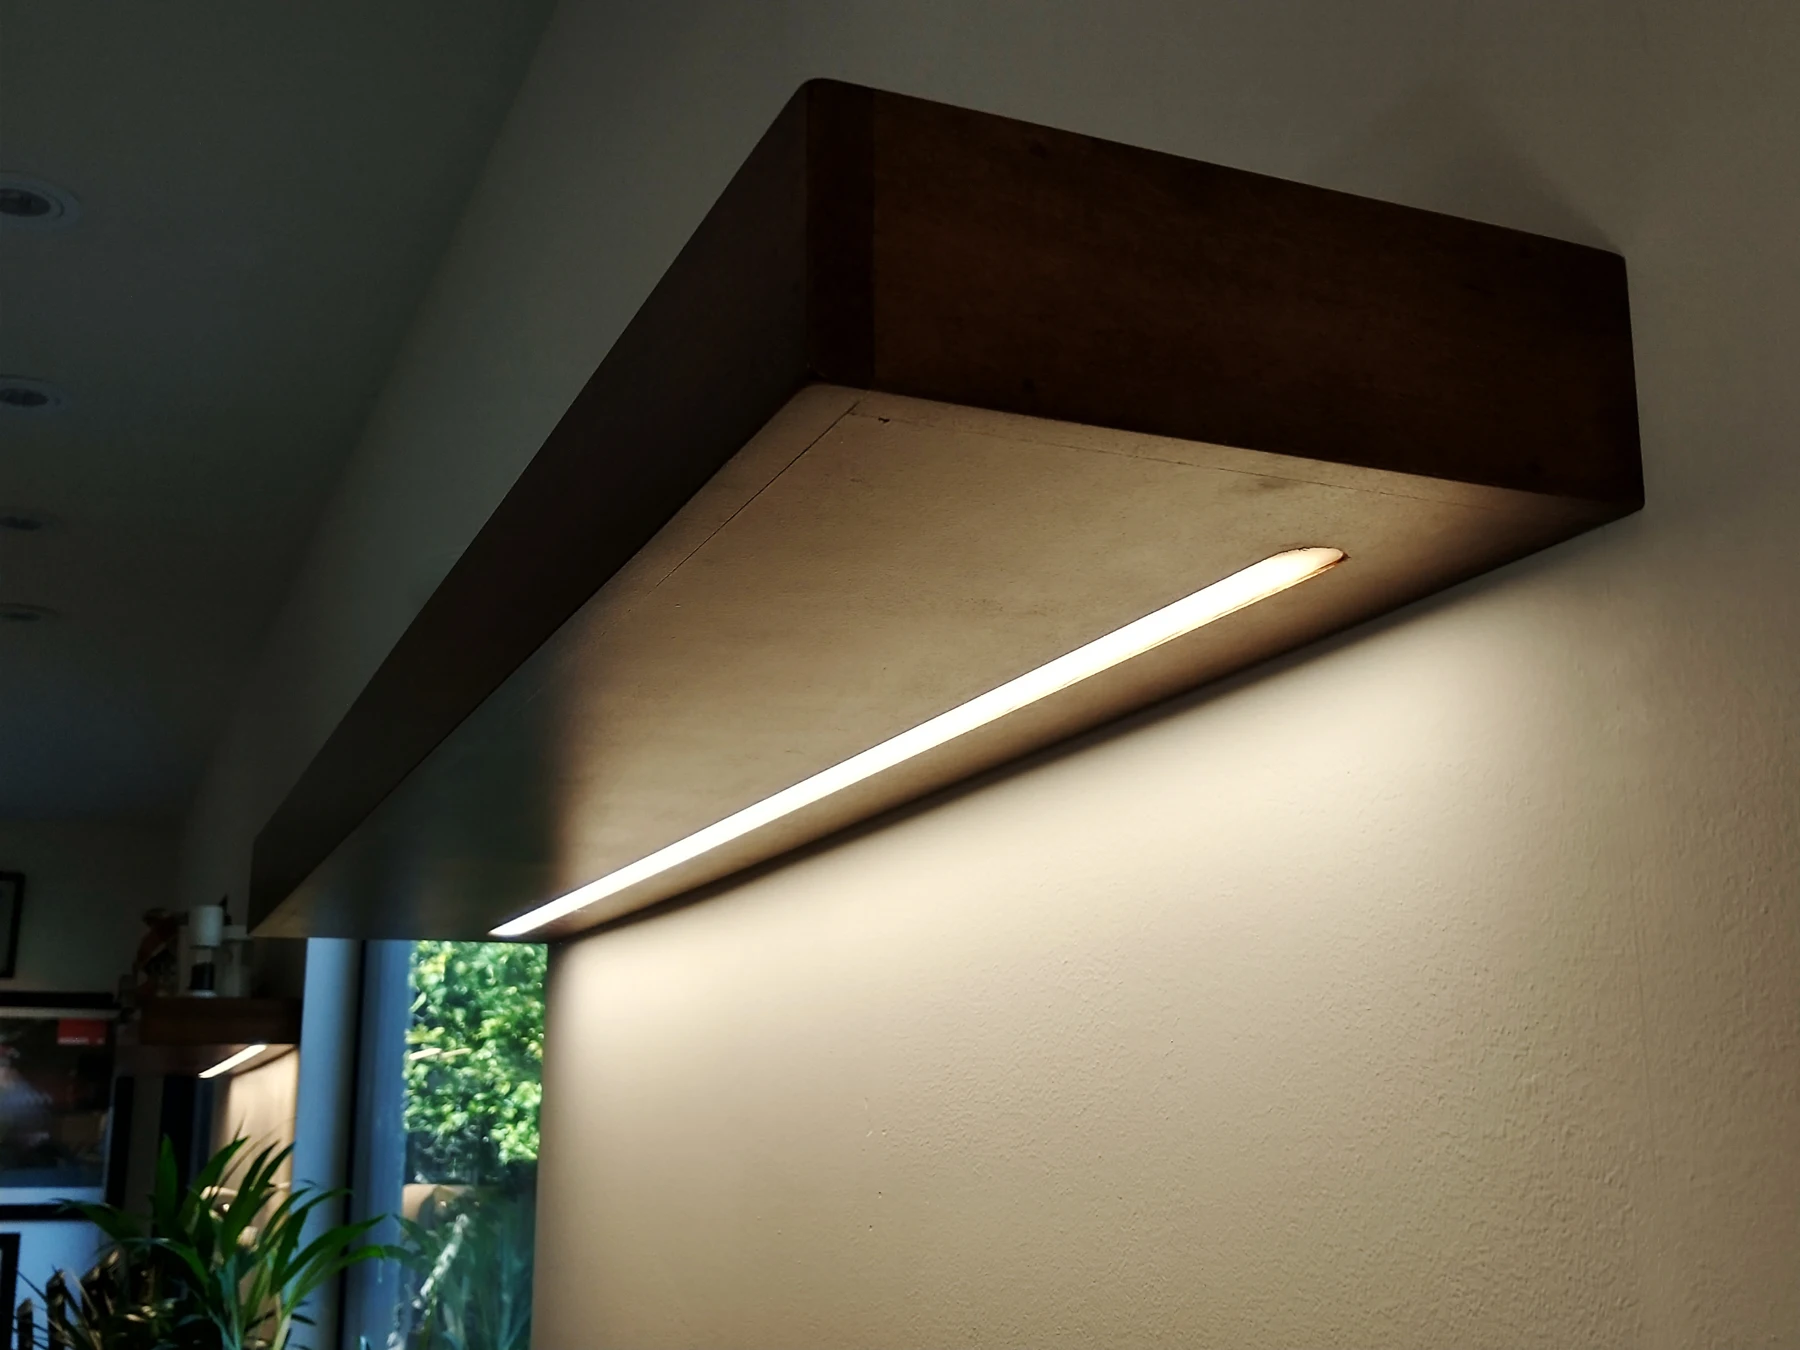
The photograph shows a completed under-shelf installation. Compare the source setback and reflective surfaces; it does not document the LED model or measured output.
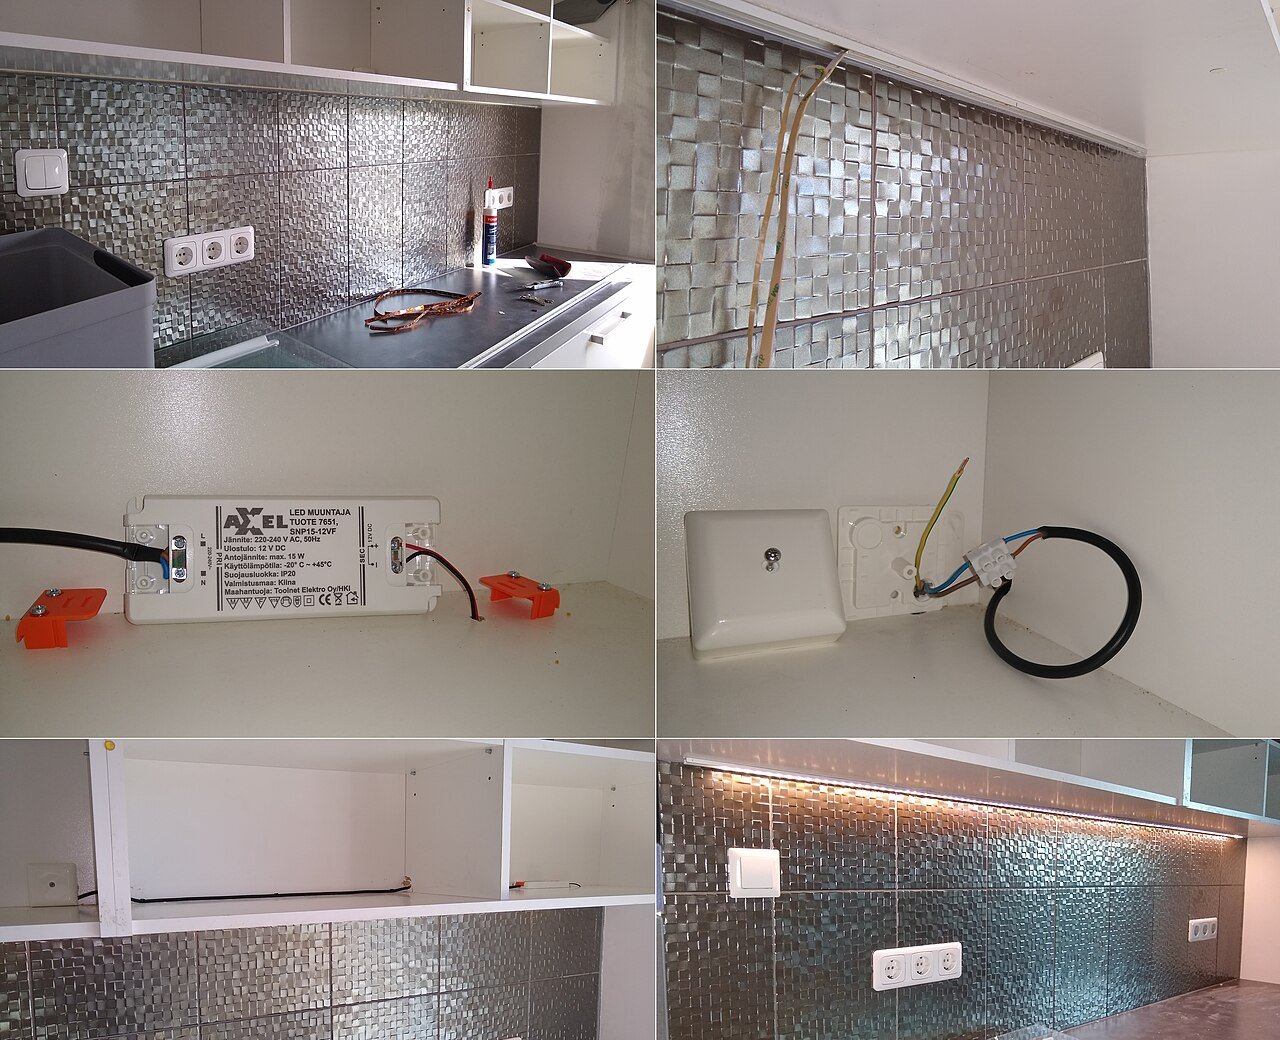
This external installation sequence shows the light section and accessible supply position. It is a reference for coordinating access, not a wiring instruction for your selected kit.
Use these selection questions in the assembly brief. Confirm availability, compatibility and performance for the proposed configuration.
Review the visible line through the intended diffuser and recess depth.
Define sensor placement, switching distance and behaviour near reflective finishes.
Check beam direction, fascia clearance and how the profile meets adjacent panels.
Confirm detection coverage with the drawer open, closed and partly extended.
Agree the switching method and the position of the door actuator.
Check channel depth, runner clearance and the cable exit before machining.
Specify the lit sections, corner transitions and feed schedule by cabinet run.
If this description appears in the brief, verify the actual IP54-rated parts and the completed joint detail; do not read it as an immersion rating.
Agree the measurement plane and target illuminance; the phrase alone is not a lux specification.
Confirm the exact mating series, pinout, current rating and polarity; connector names do not establish compatibility.
Identify the matching housings, contacts and cable size for the selected system.
Check load, enclosure dimensions, ventilation and replacement access.
Compare the source with the fixture dimensions and intended light effect. A complete supply schedule also identifies the profile, controls, connectors and the work included in the assembly.
State the quantity basis and open decisions. A labelled assembly schedule keeps design, purchasing and installation working from the same reference.
FREQUENTLY ASKED QUESTIONS
Practical answers for the furniture drawing, sample review and purchasing brief.
Ask a project question →They may share a supply only after the loads, voltage, wiring and control behaviour have been checked together. List each branch and its length. Keep independently switched drawers separate from a continuously lit plinth in the wiring schedule.
Send the panel thickness, usable groove depth, fascia setback and cable exits. The channel, diffuser, connector and fixing method all need space. Confirm the selected cross-section on the joinery drawing before cutting the panels.
A continuous source can reduce visible LED points, but it will not remove reflections caused by source position and surface finish. Compare setback, channel angle and diffuser on a section of the actual cabinet and worktop.
Mark the hand approach, door travel and potential obstructions. Identify the sensor supply and output interface. Review steam, cleaning and unintended activation around the selected sensor, rather than treating every cabinet sensor as interchangeable.
CONTINUE THE SPECIFICATION
Use the wider furniture brief to coordinate this lighting detail with adjacent modules and project teams.
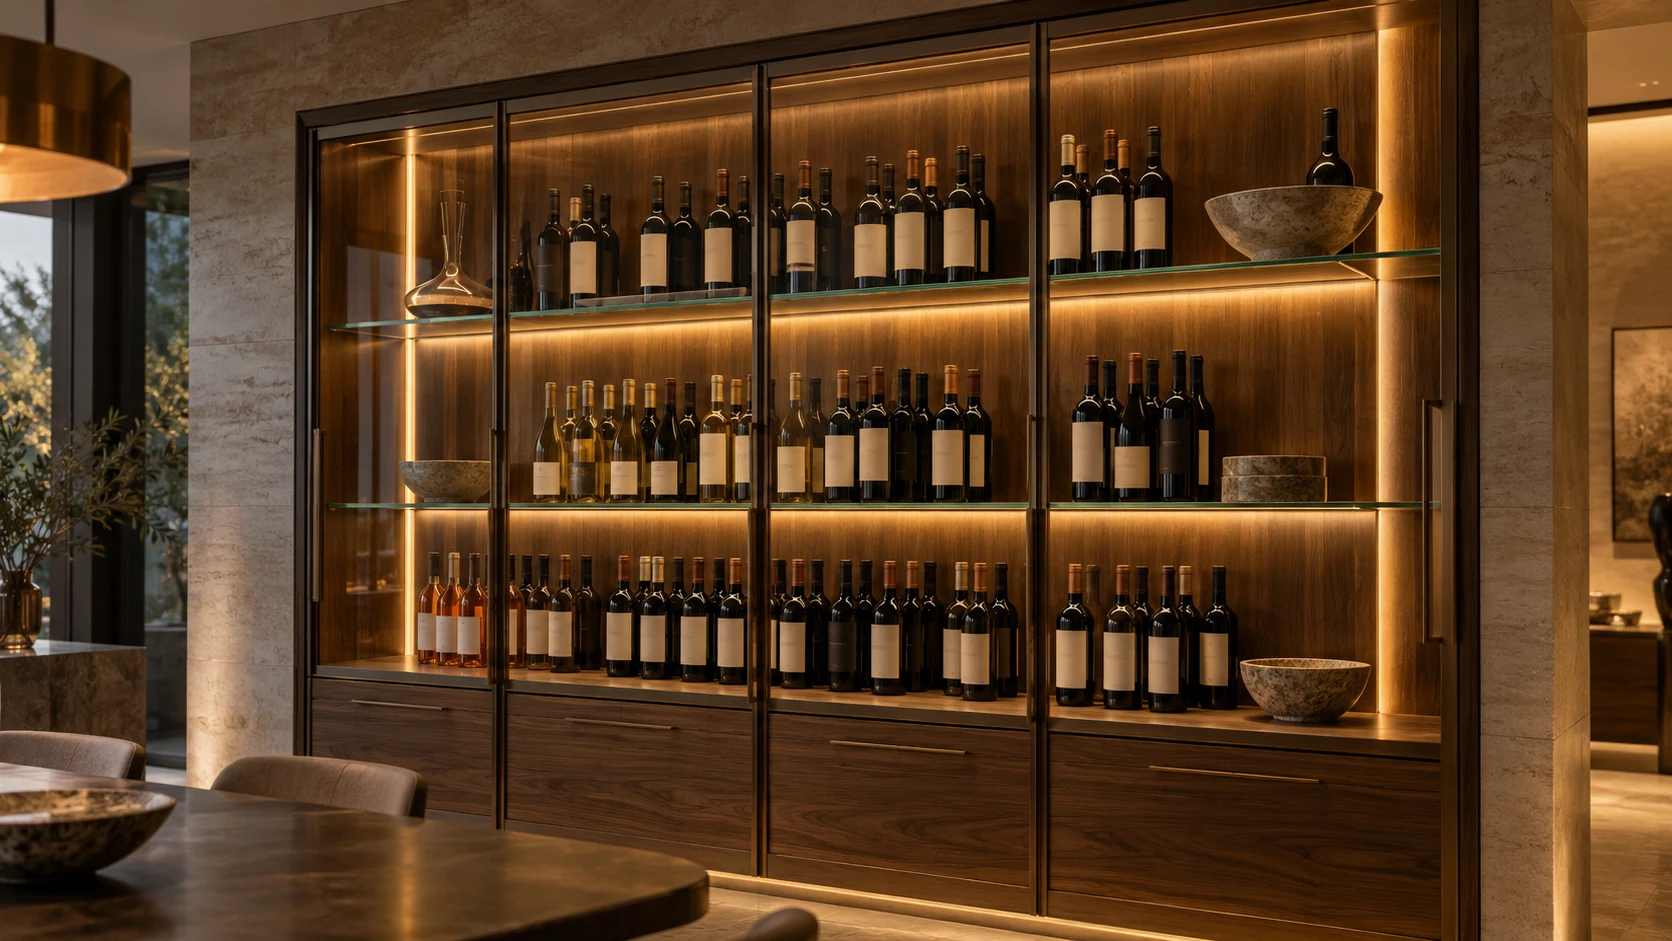
Quiet, warm light for bottle displays and glazed cabinets. Resolve shelf edges, reflections, cable visibility and thermal conditions before approving the assembly.
View the solution →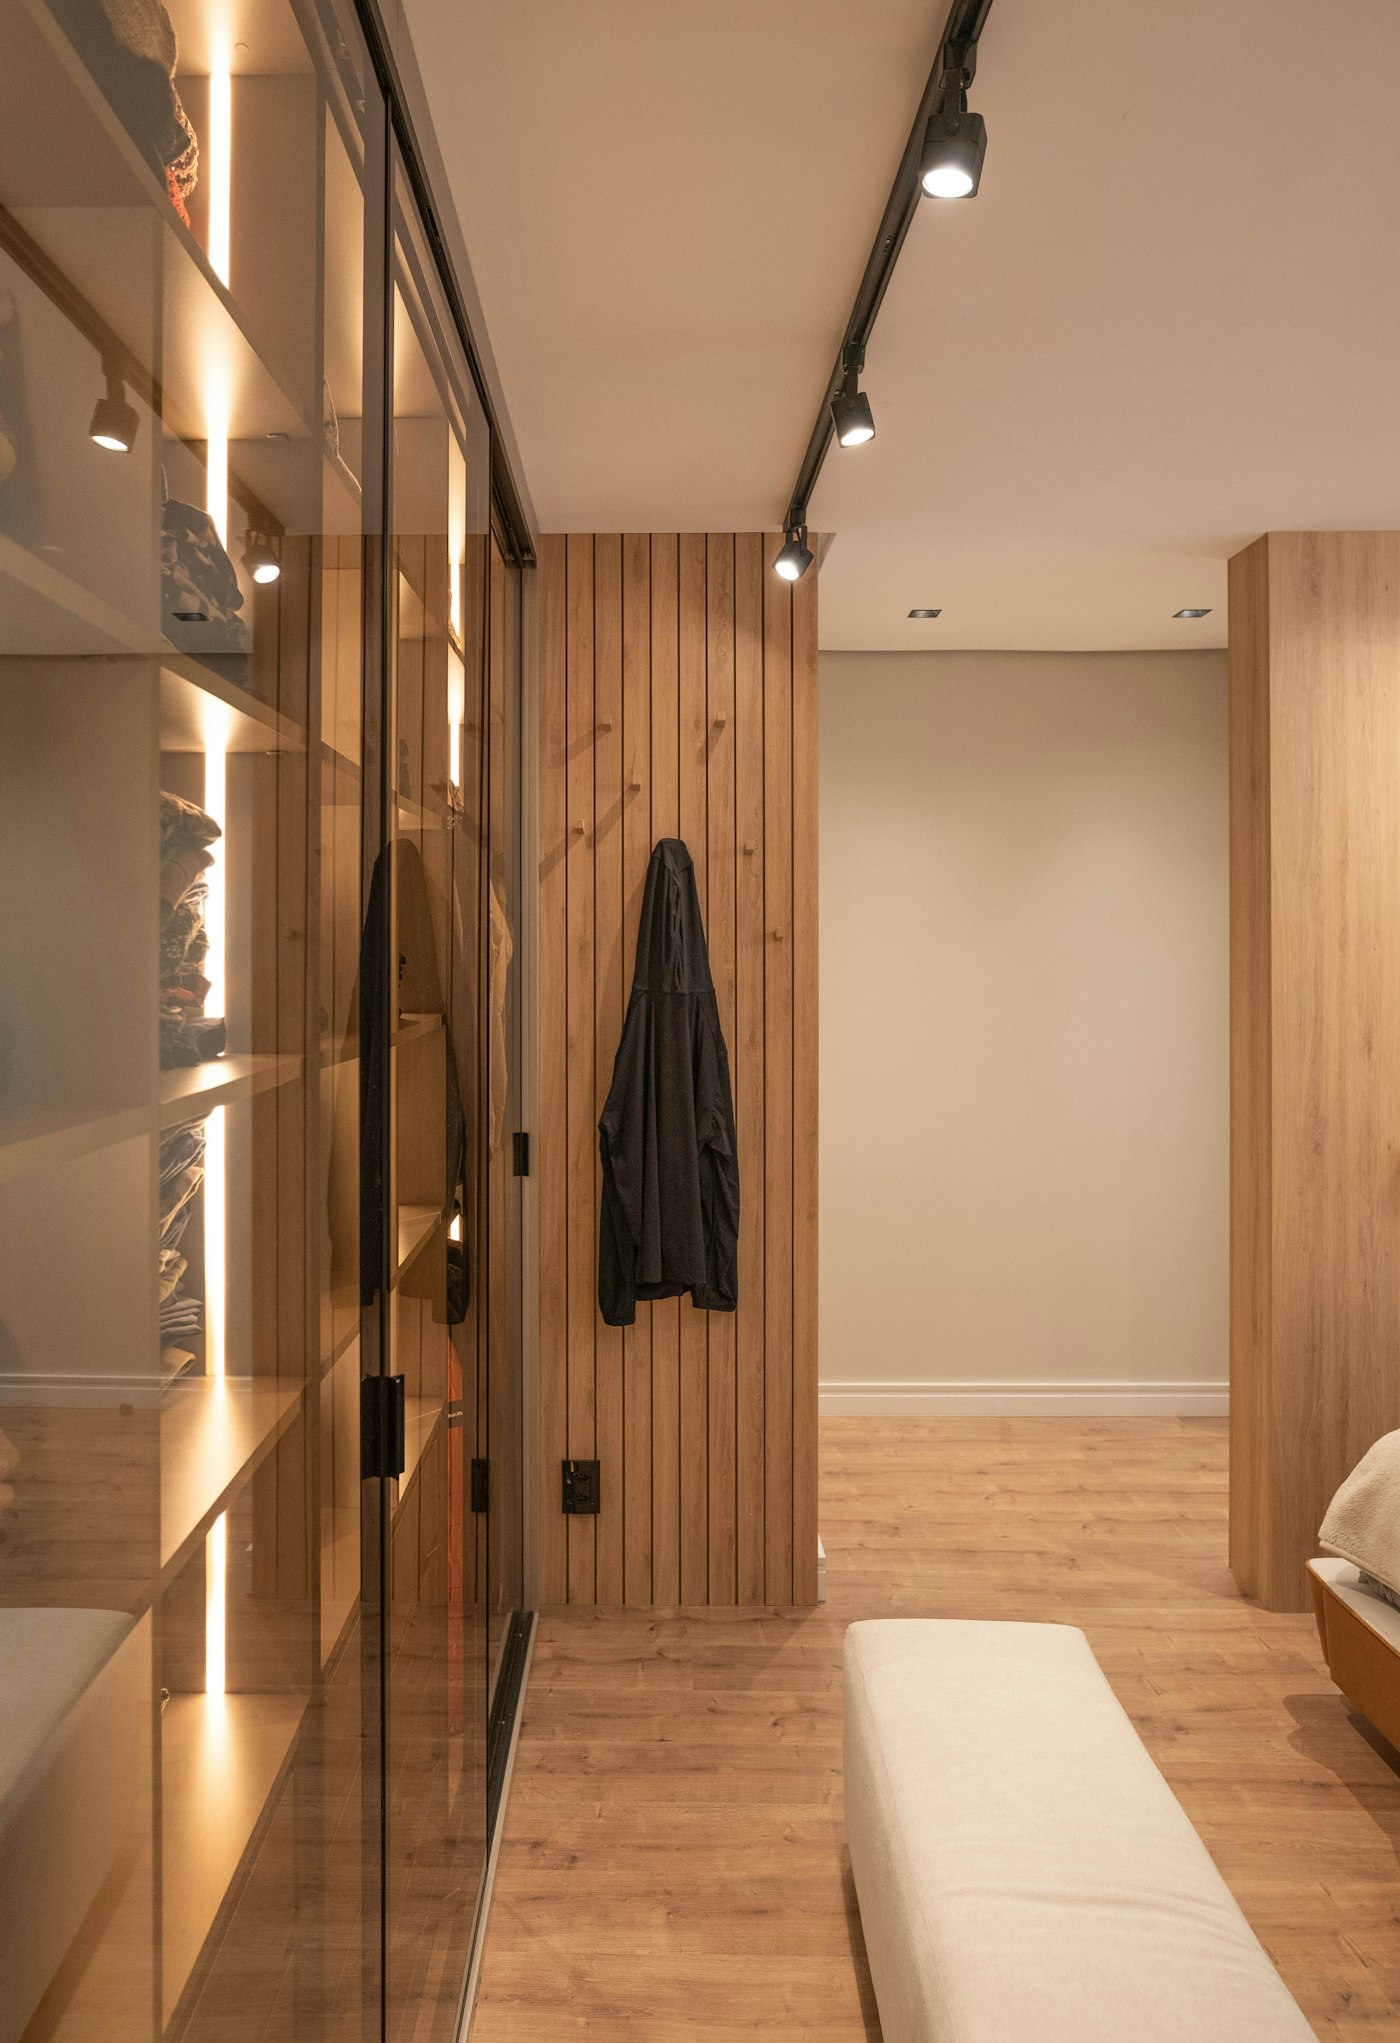
Integrated light for hanging rails, vertical panels and shoe or bag shelves. Match sensing, cable routes and light colour to each compartment.
View the solution →
Repeatable lighting modules for shelves, headboards and fitted furniture. Keep the cut schedule, connectors, driver locations and packing list tied to the joinery drawings.
View the solution →