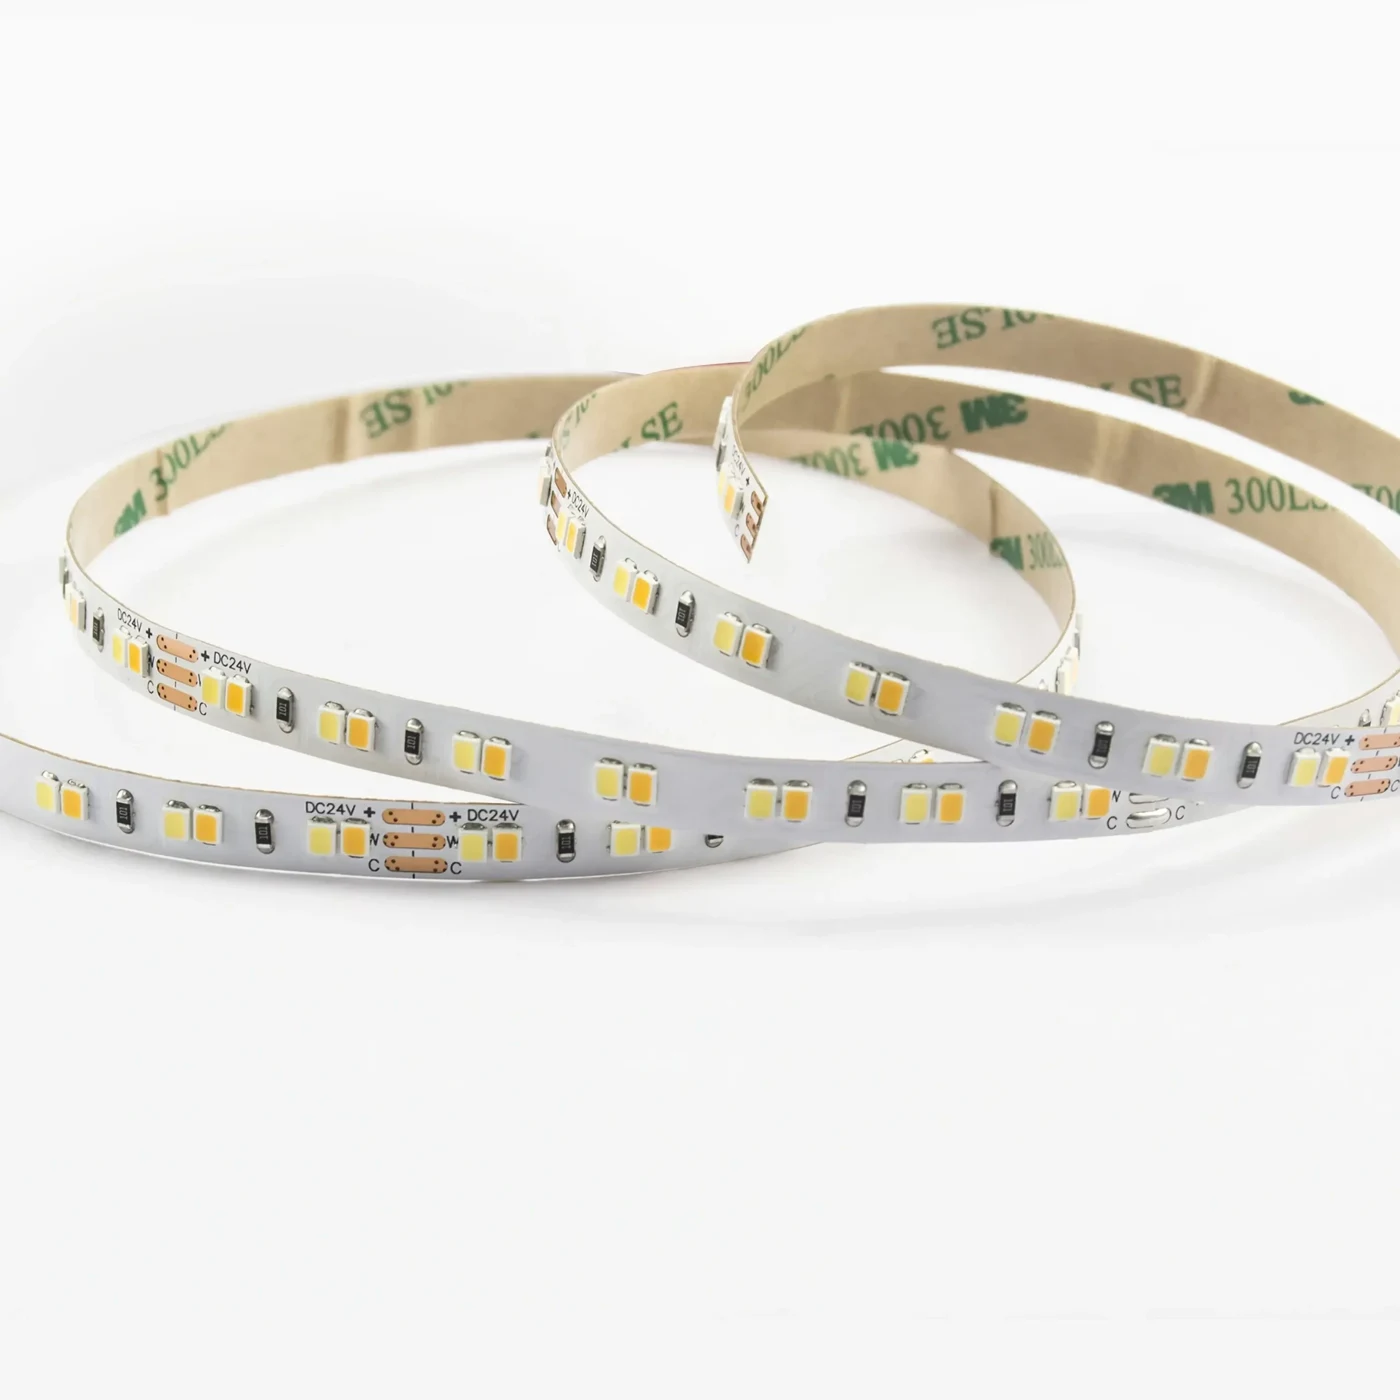
Leave room for the control interface
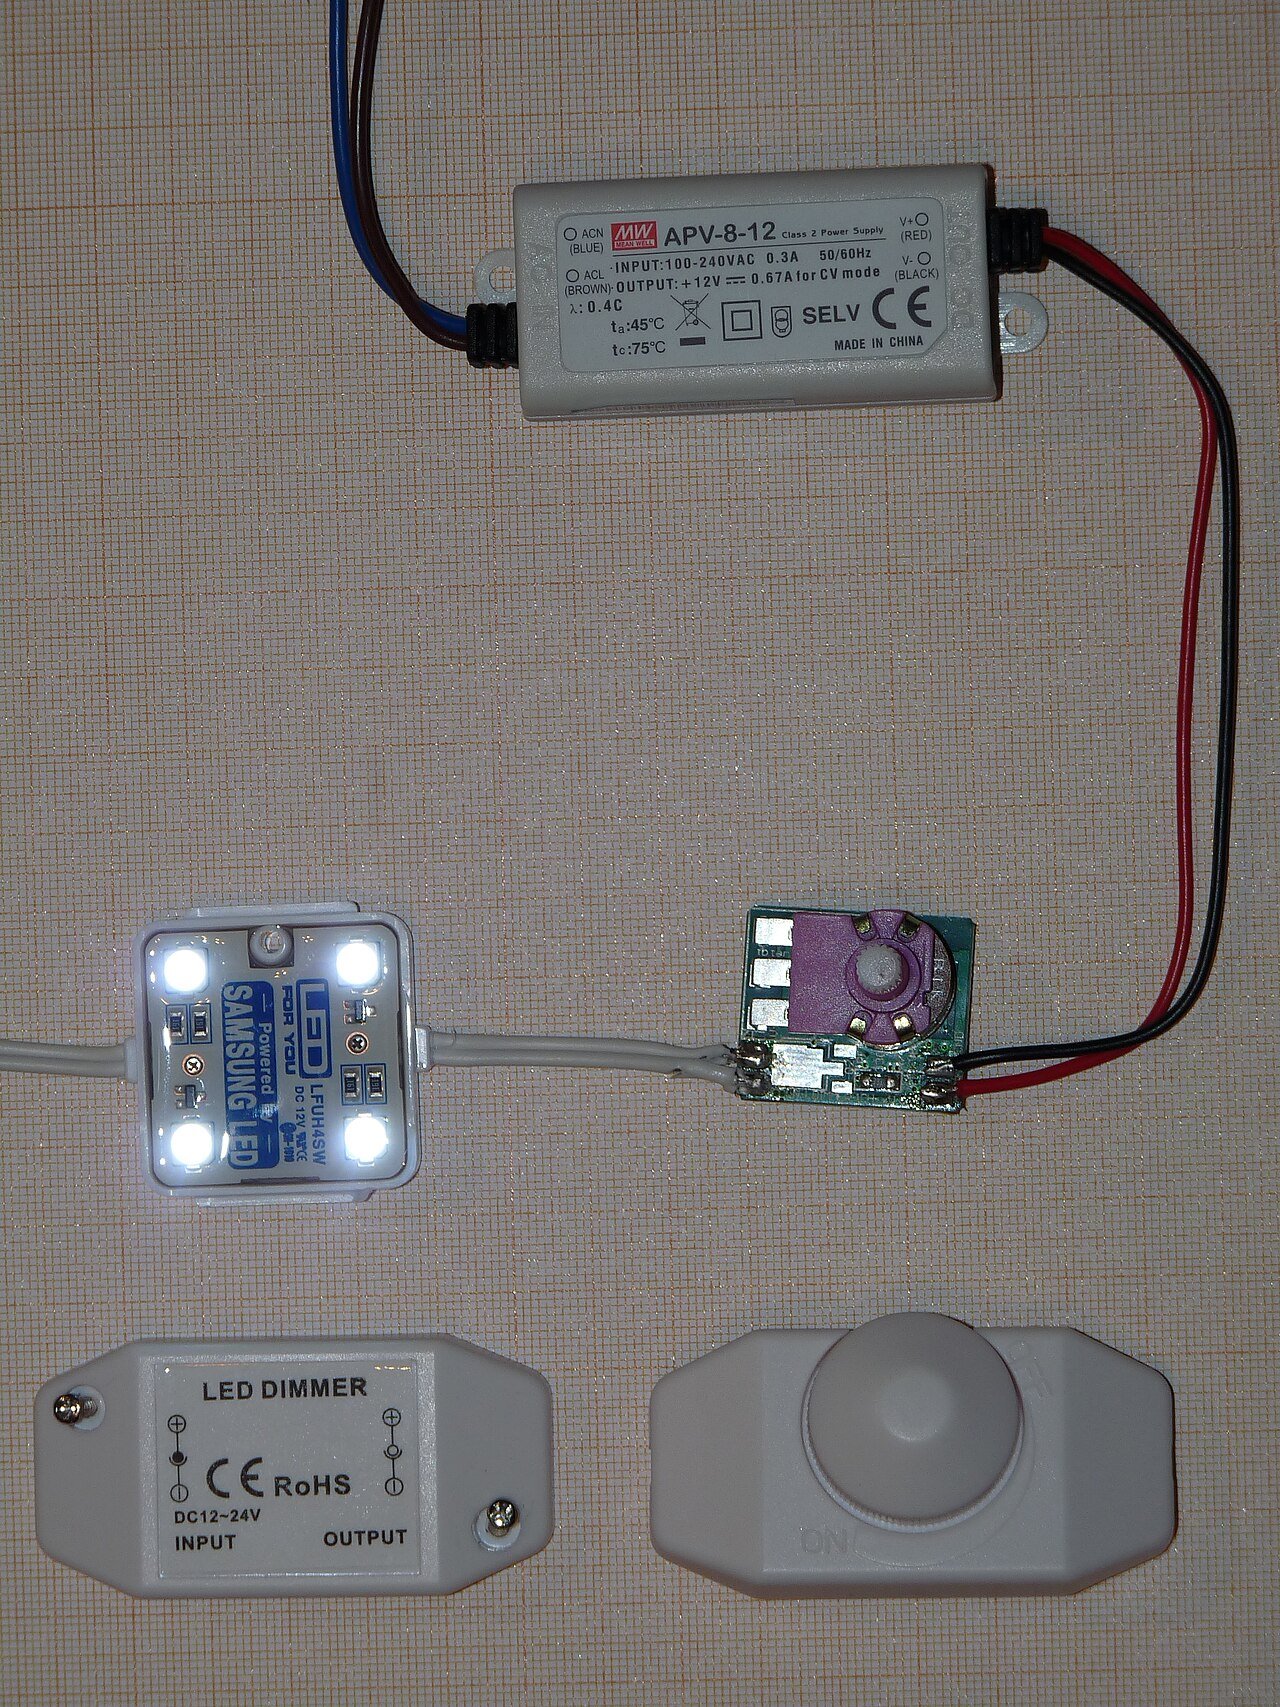
An inline dimmer is shown as a component reference. Agree which control interface the project needs; this example is not evidence of DALI-2, DMX512 or 0–10V compatibility.


Plan the ambient effect around seated and sleeping eye positions, with switches and service points within reach.
Discuss this assemblyPlan the ambient effect around seated and sleeping eye positions, with switches and service points within reach.
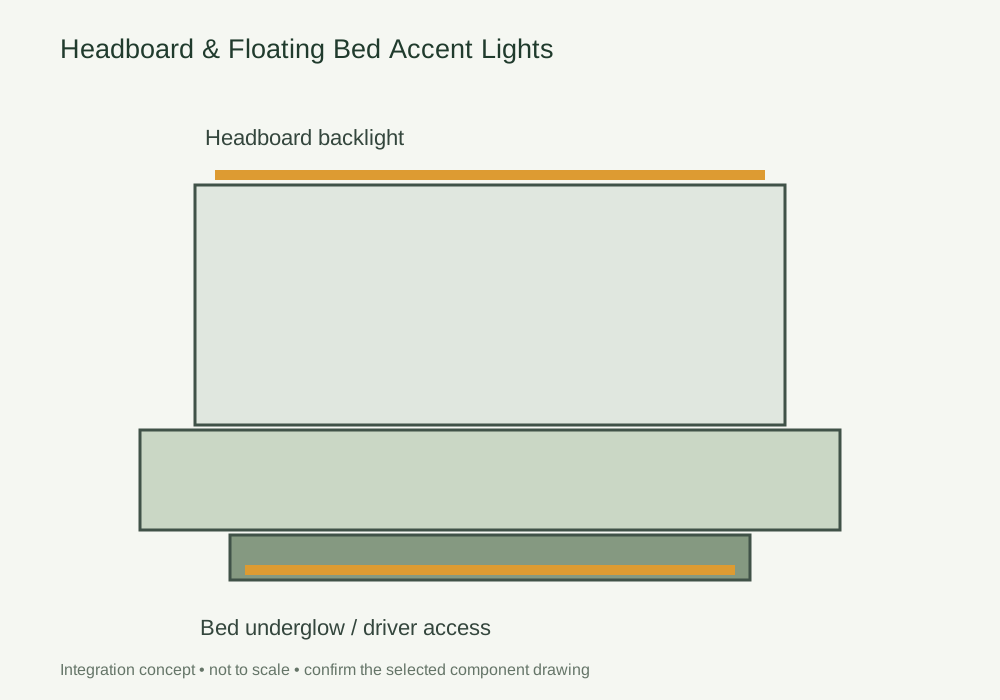
Show pillow and seated eye positions, reveal depth, floor clearance and approach paths. Mark switches and the driver location after surrounding furniture is installed.
Separate headboard light and bed underglow into the required control zones. Keep feeds, joints and service points accessible during cleaning and normal furniture movement.
Check the light at intended dimming levels from sleeping and seated positions. Test sensor activation from both sides where required and record the validated zone behaviour.
DESIGN DECISIONS
A headboard glow and a bed underglow serve different viewing positions and controls. Light visible from the pillow can become uncomfortable even if it looks restrained in a room photograph. Discuss manual switching, dimming and motion activation as distinct zones, with a service plan that remains usable after bedside furniture is installed.
| Decision | Required input | Review with the sample |
|---|---|---|
| Sightlines | Pillow, seated and standing positions | Shield the source from direct bedside view |
| Control zones | Headboard and floor-level functions | Define separate switching where the project requires it |
| Service access | Driver and joints behind finished furniture | Show the replacement route before fixing the headboard |
Use this concept to mark mounting positions, cable paths and service clearances on your fixture drawing. Dimensions and component references belong on the project drawing before machining.
Photographs support the adjacent selection decisions. The exact delivered components and their performance need their own drawings, documents and sample review.
An inline dimmer is shown as a component reference. Agree which control interface the project needs; this example is not evidence of DALI-2, DMX512 or 0–10V compatibility.
Use these selection questions in the assembly brief. Confirm availability, compatibility and performance for the proposed configuration.
Agree the reveal, reflecting finish and dimming behaviour in the room mock-up.
Check sensor coverage, timeout and whether movement on either side should activate the light.
Compare the source with the fixture dimensions and intended light effect. A complete supply schedule also identifies the profile, controls, connectors and the work included in the assembly.
State the quantity basis and open decisions. A labelled assembly schedule keeps design, purchasing and installation working from the same reference.
FREQUENTLY ASKED QUESTIONS
Practical answers for the furniture drawing, sample review and purchasing brief.
Ask a project question →Only if that behaviour is intended. Many briefs need independent manual headboard control and motion-triggered floor-level light.
The actual headboard reveal, bed clearance, floor finish, switches and intended dimming settings. Review from the pillow and both approach paths.
Only if that is the intended guest behaviour. A bed underglow triggered at night may need different control from a headboard accent. Define the zones, manual override and sensor sightlines before wiring them together.
Include Drawing revision and finished dimensions, Module quantity and order basis, Source, profile and control references. Add quantities by furniture module and identify the configuration or sample already selected. This gives the drawing review a defined scope before pricing and assembly approval.
CONTINUE THE SPECIFICATION
Use the wider furniture brief to coordinate this lighting detail with adjacent modules and project teams.

Coordinate machining, light direction and the shelf support before the section is released for cutting.
View the solution →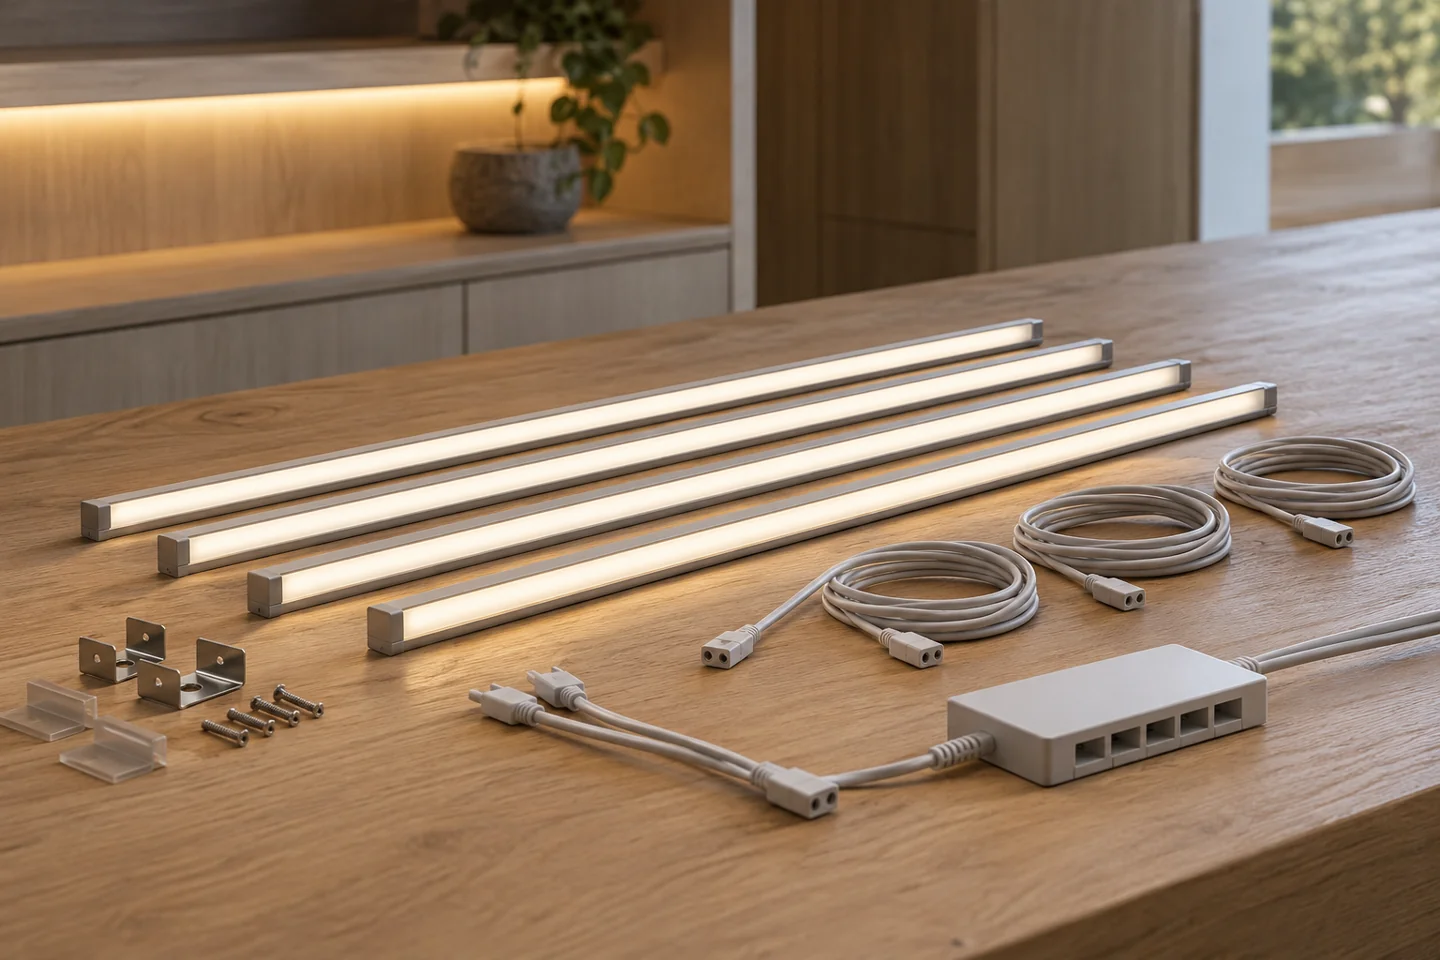
Use an assembly schedule to link each section to the correct harness branch and package.
View the solution →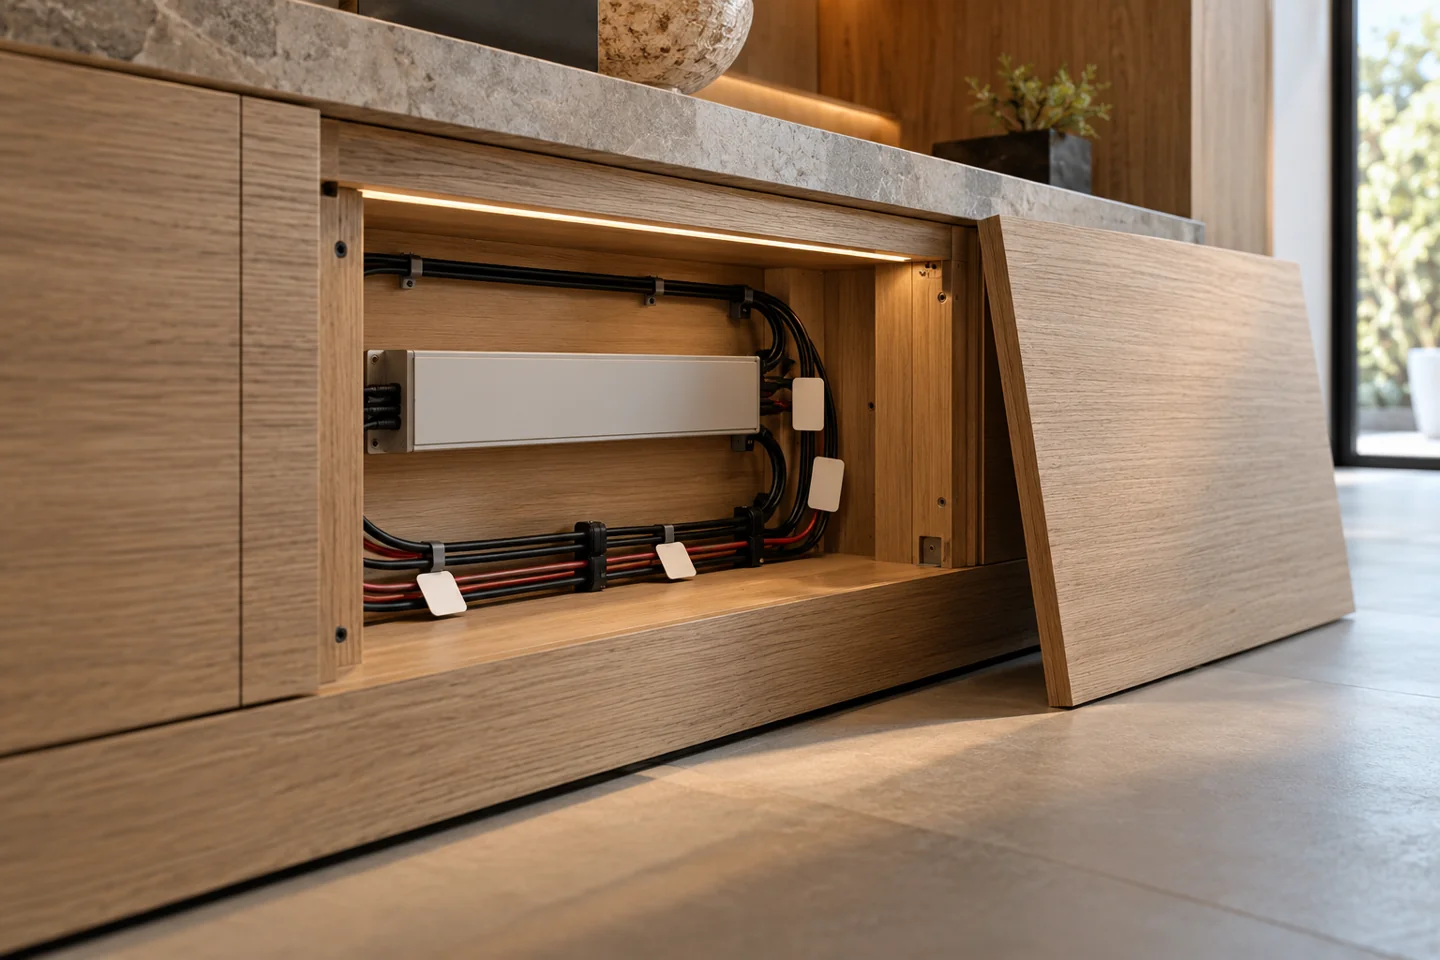
Added as the twentieth subscene: reserve an accessible electrical compartment and a route for replacement without dismantling finished joinery.
View the solution →