Read the illuminated surface
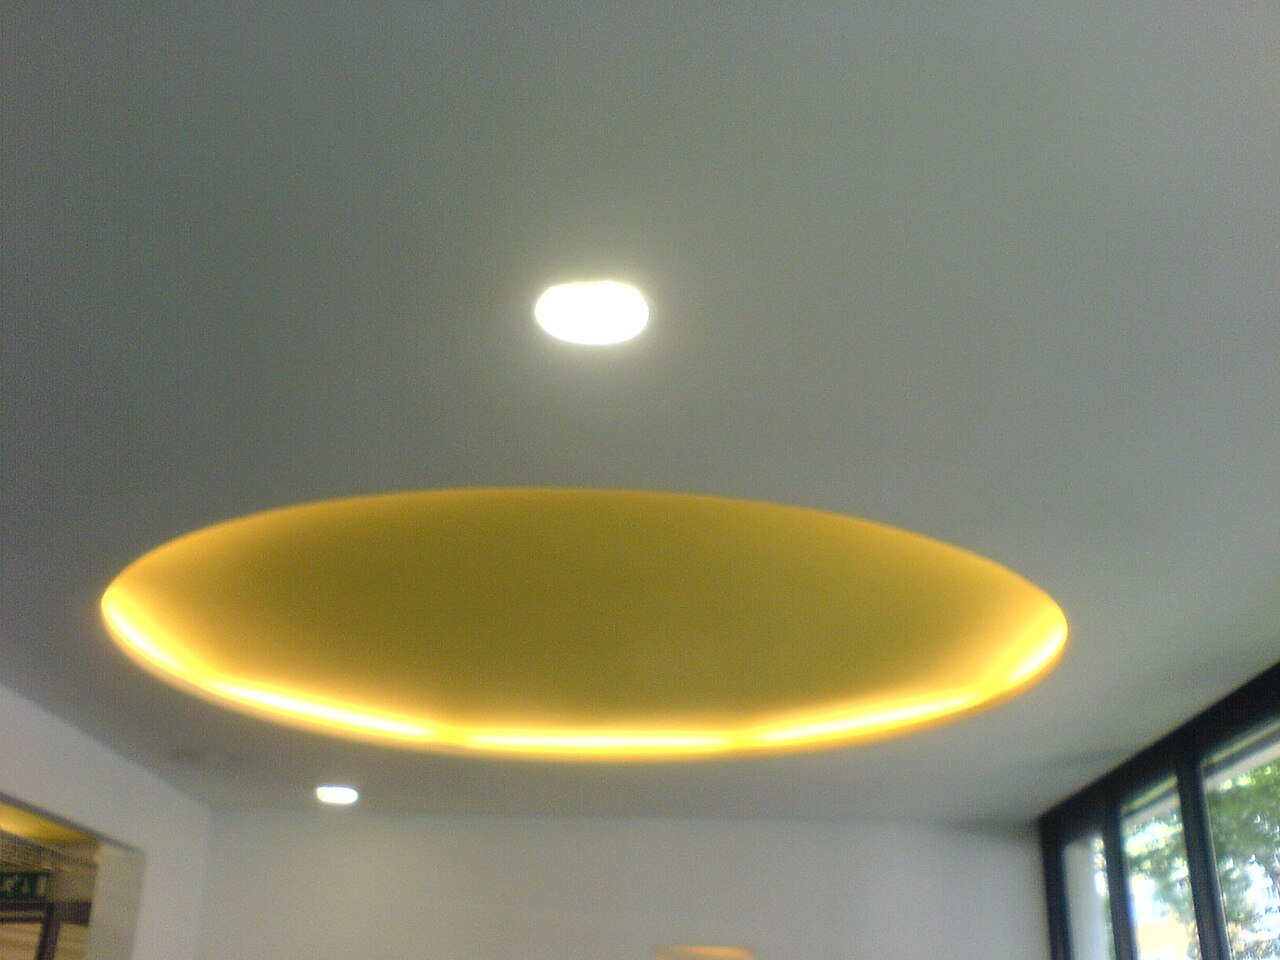
A real indirect-light installation shows how the architectural surface becomes part of the effect. The source position, finish and access must be resolved for the project.

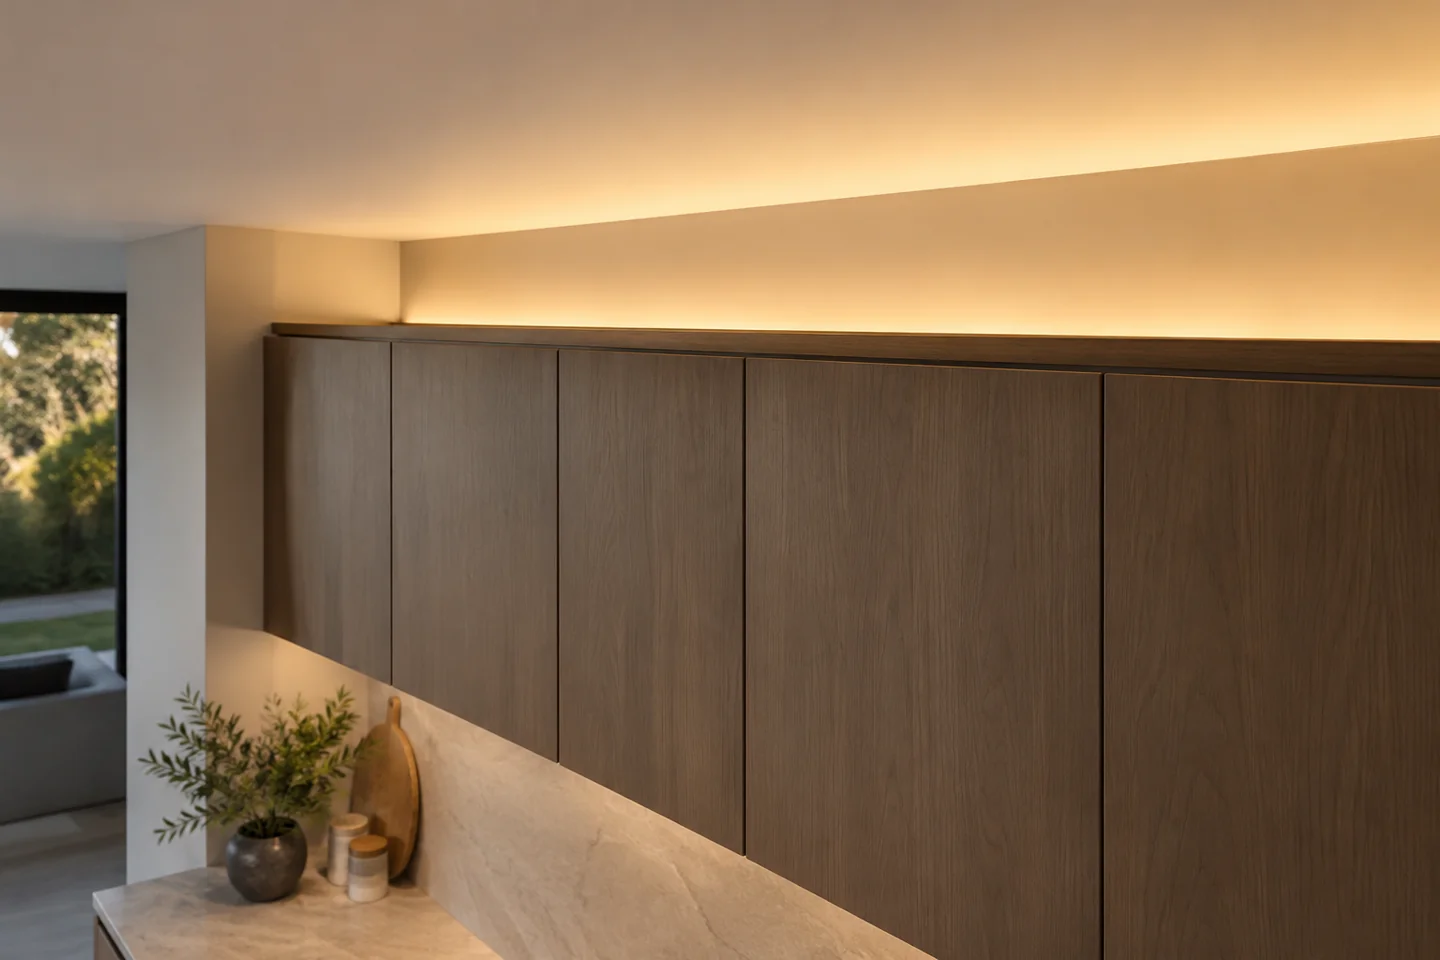
Define the ceiling reveal and the access route for the driver and distribution leads.
Discuss this assemblyDefine the ceiling reveal and the access route for the driver and distribution leads.
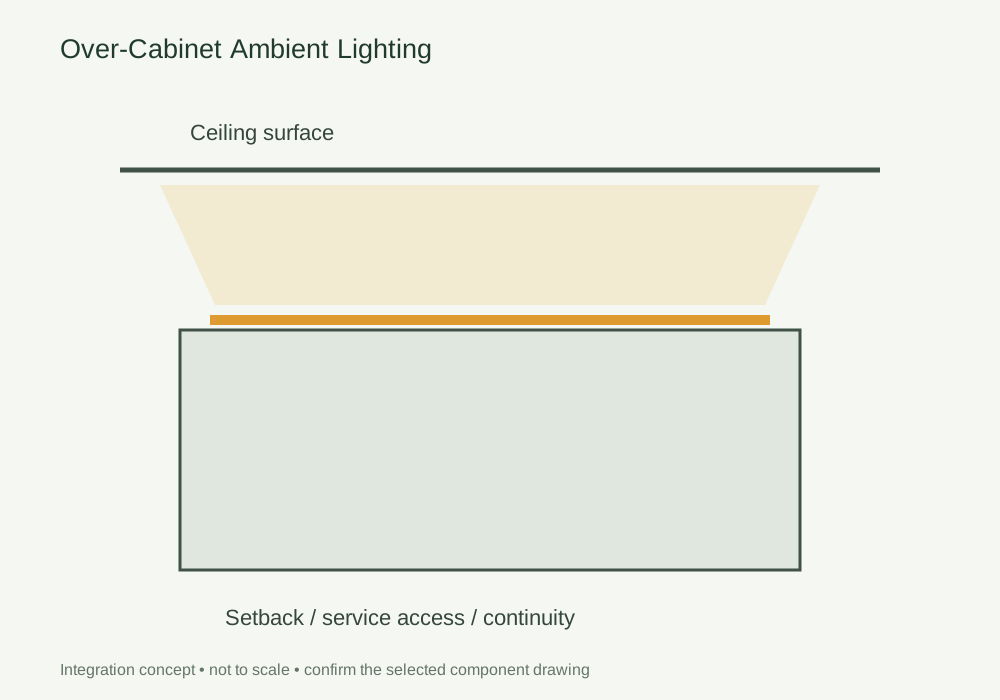
Dimension the ceiling reveal, source setback and sightlines from adjoining spaces. Locate the driver compartment and every distribution feed before the top panel becomes inaccessible.
Match the driver, distribution box and leads to their exact mating series, polarity and load. Leave the access and ventilation required by the selected parts documentation.
Check the ceiling effect, control behaviour and branch identification on a representative cabinet. Retain the final wiring schedule and accessible driver location with the approval.
DESIGN DECISIONS
An upper-cabinet light can reveal every uneven ceiling patch if it sits too close to the surface. The cabinet height and ceiling setback should be reviewed together with light distribution. Long rows also need an accessible distribution plan so that adding one cabinet does not make the final branch difficult to identify or replace.
| Decision | Required input | Review with the sample |
|---|---|---|
| Ceiling reveal | Finished cabinet and ceiling levels | Compare setbacks in a representative top section |
| Distribution | Branch count, cable routes and controls | Identify each cabinet feed and confirm the mating connector series |
| Driver location | Accessible space and thermal instructions | Keep the driver reachable after the top panels are fitted |
Use this concept to mark mounting positions, cable paths and service clearances on your fixture drawing. Dimensions and component references belong on the project drawing before machining.
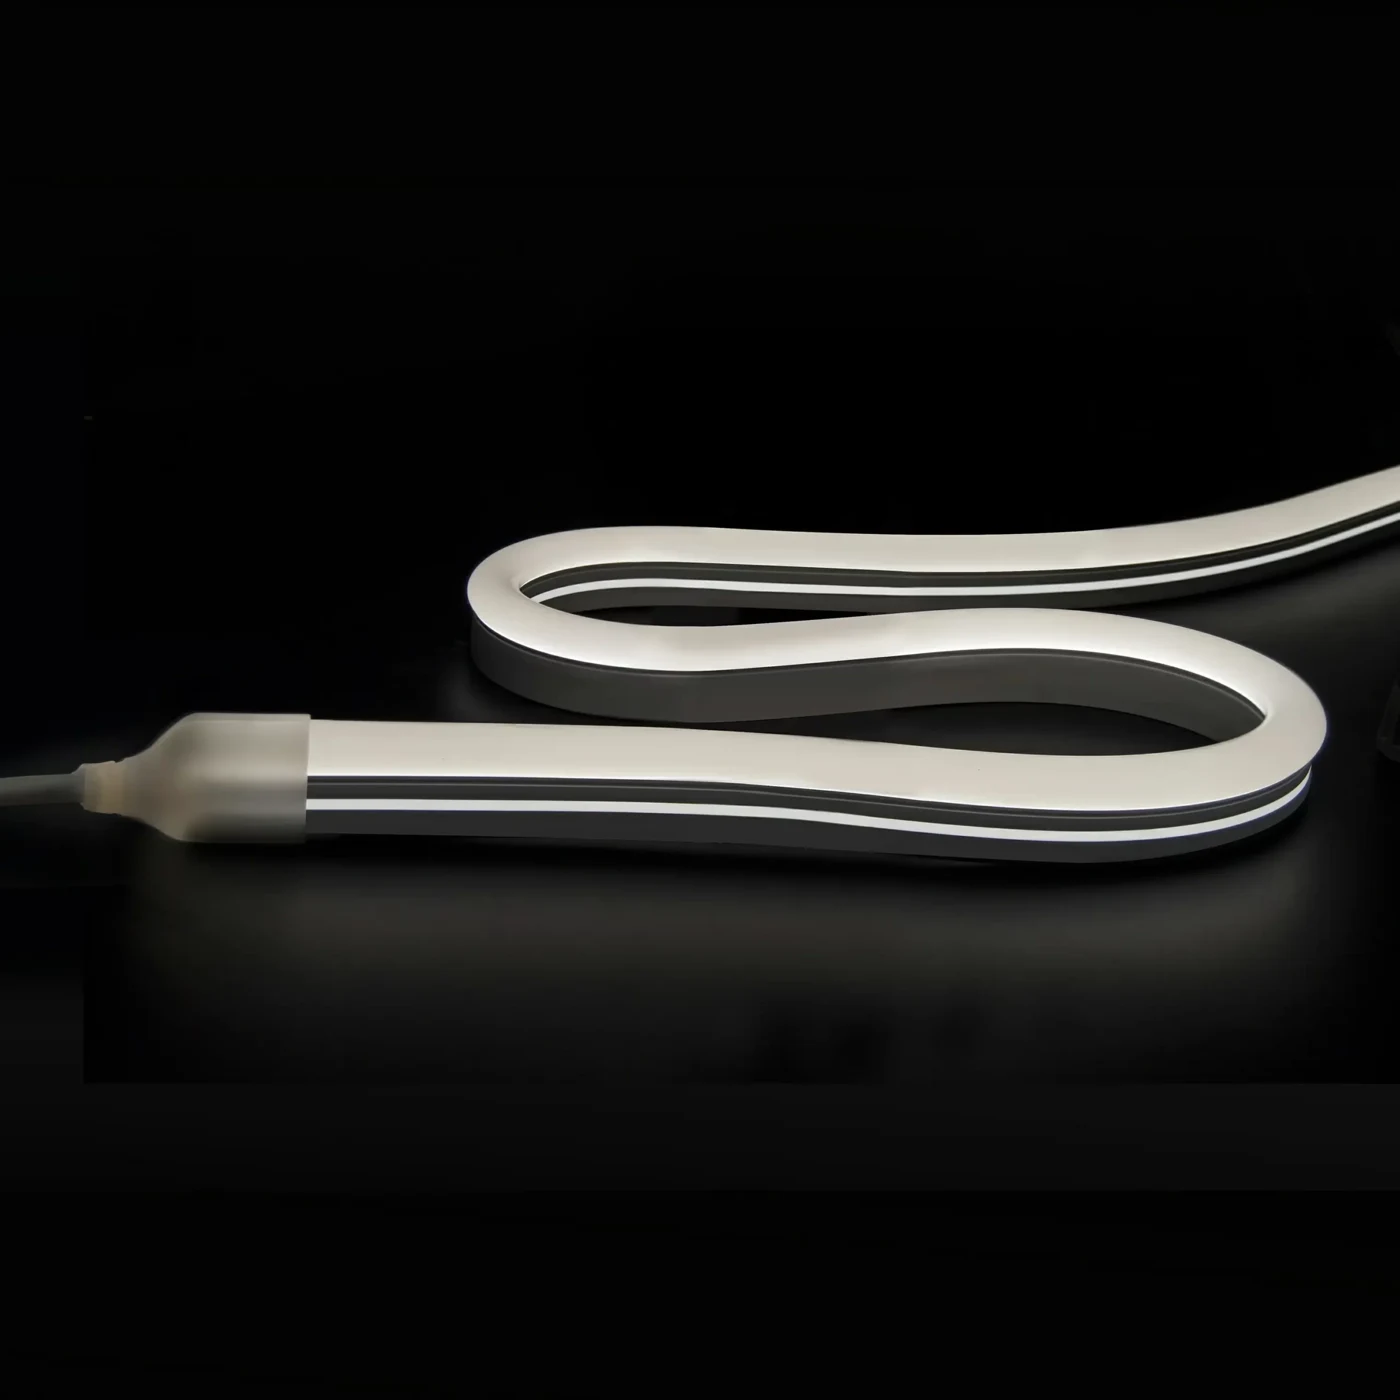
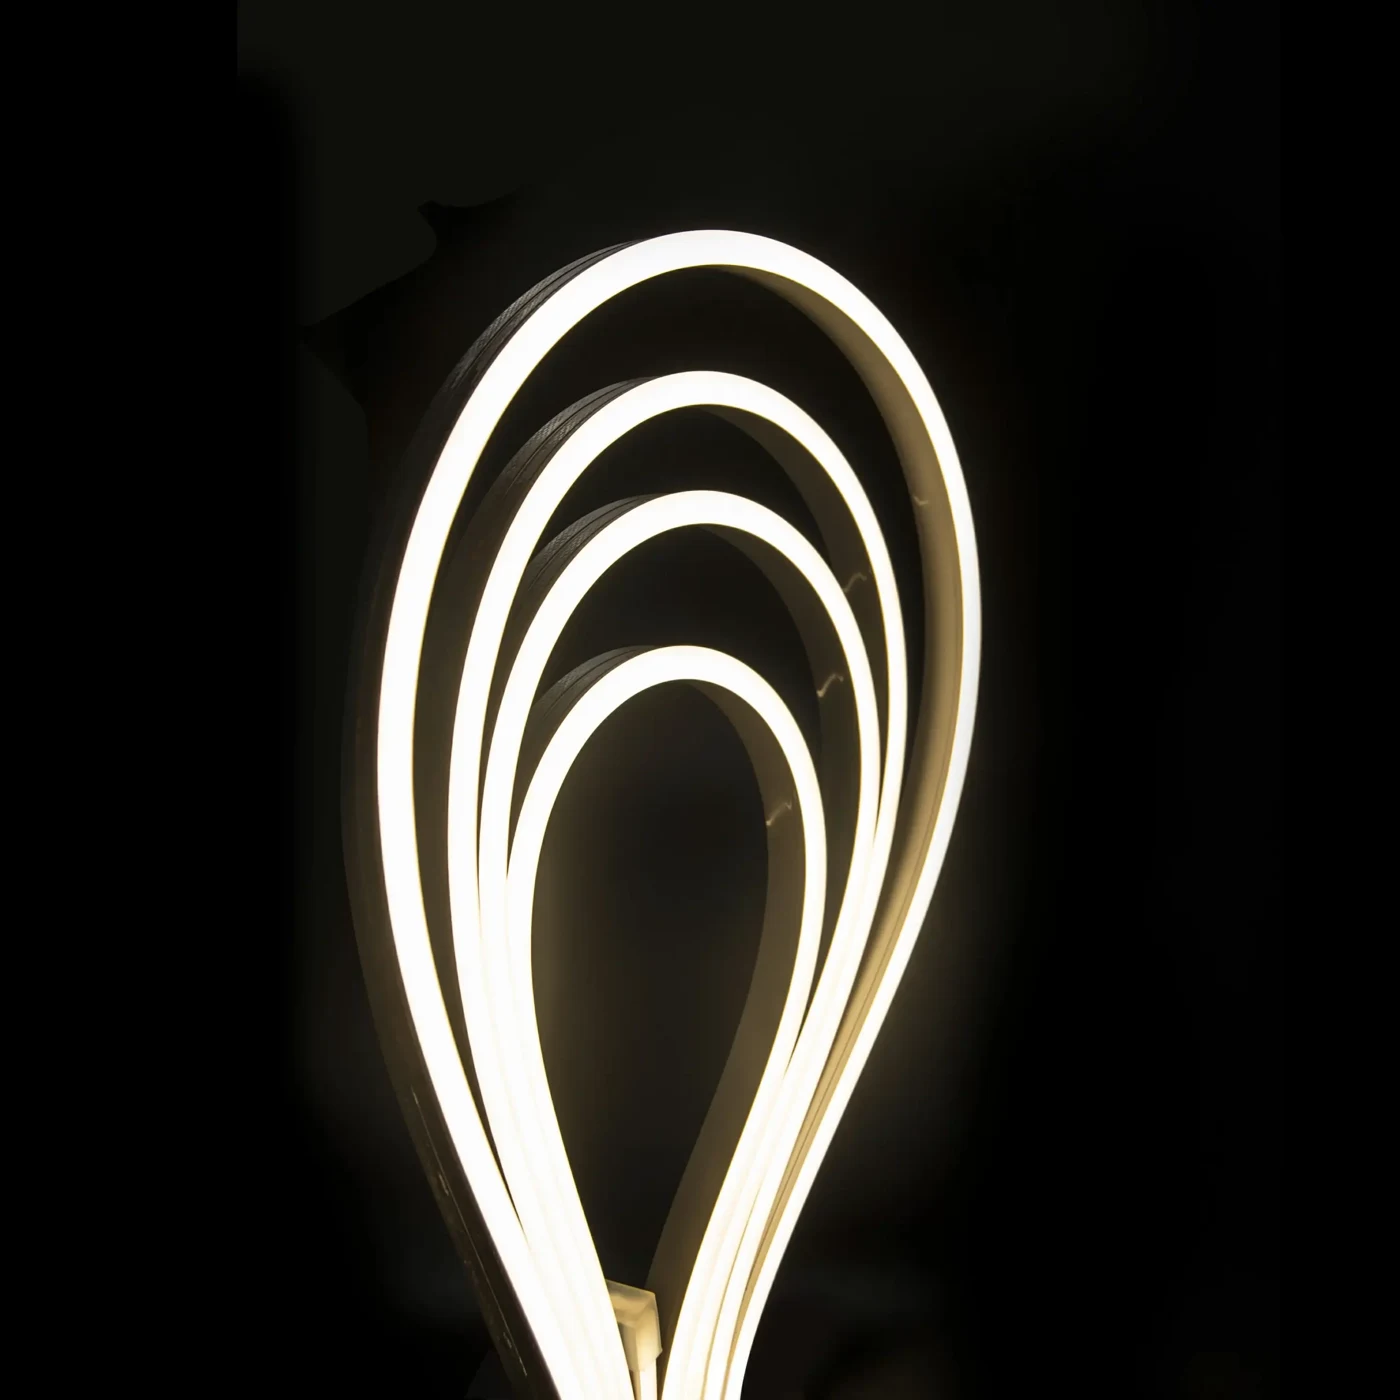
Photographs support the adjacent selection decisions. The exact delivered components and their performance need their own drawings, documents and sample review.
A real indirect-light installation shows how the architectural surface becomes part of the effect. The source position, finish and access must be resolved for the project.
Use these selection questions in the assembly brief. Confirm availability, compatibility and performance for the proposed configuration.
Agree the measurement plane and target illuminance; the phrase alone is not a lux specification.
Confirm the exact mating series, pinout, current rating and polarity; connector names do not establish compatibility.
Identify the matching housings, contacts and cable size for the selected system.
Check load, enclosure dimensions, ventilation and replacement access.
Compare the source with the fixture dimensions and intended light effect. A complete supply schedule also identifies the profile, controls, connectors and the work included in the assembly.
State the quantity basis and open decisions. A labelled assembly schedule keeps design, purchasing and installation working from the same reference.
FREQUENTLY ASKED QUESTIONS
Practical answers for the furniture drawing, sample review and purchasing brief.
Ask a project question →Only where the selected driver instructions and electrical design permit it, with the required access and ventilation. Avoid inaccessible enclosed pockets.
Source position, surface irregularities, beam distribution and section joints all affect the wash. Review the finished ceiling material and the longest intended run.
Not by itself. Ceiling distance, ledges, beam direction and surface finish affect the distribution. Review the full mounting section and the visible wash before deciding whether a change in output is needed.
Include Drawing revision and finished dimensions, Module quantity and order basis, Source, profile and control references. Add quantities by furniture module and identify the configuration or sample already selected. This gives the drawing review a defined scope before pricing and assembly approval.
CONTINUE THE SPECIFICATION
Use the wider furniture brief to coordinate this lighting detail with adjacent modules and project teams.
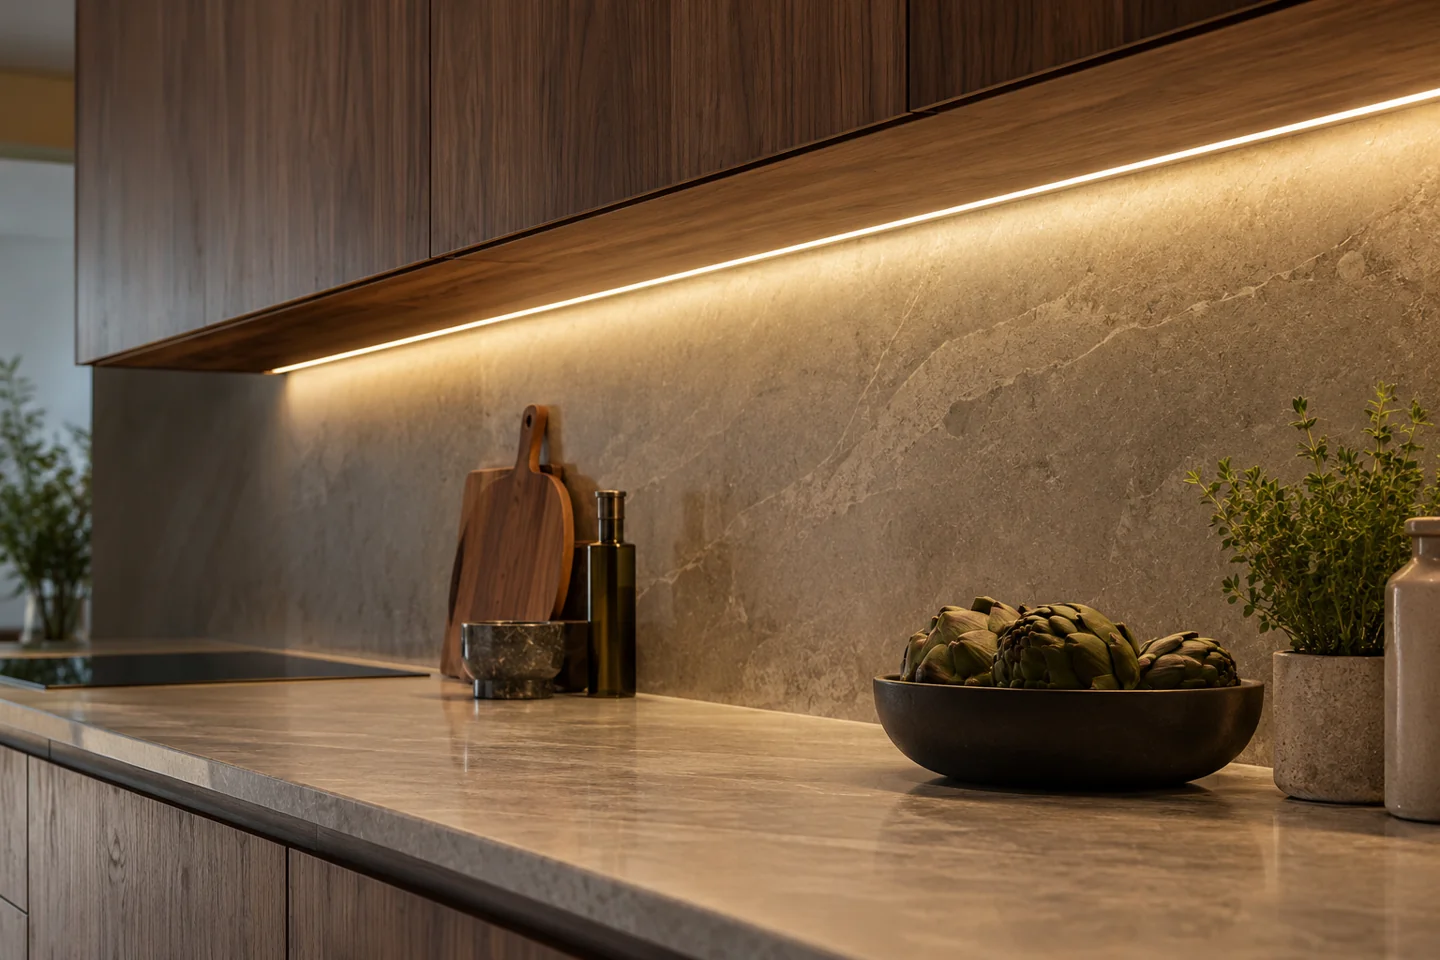
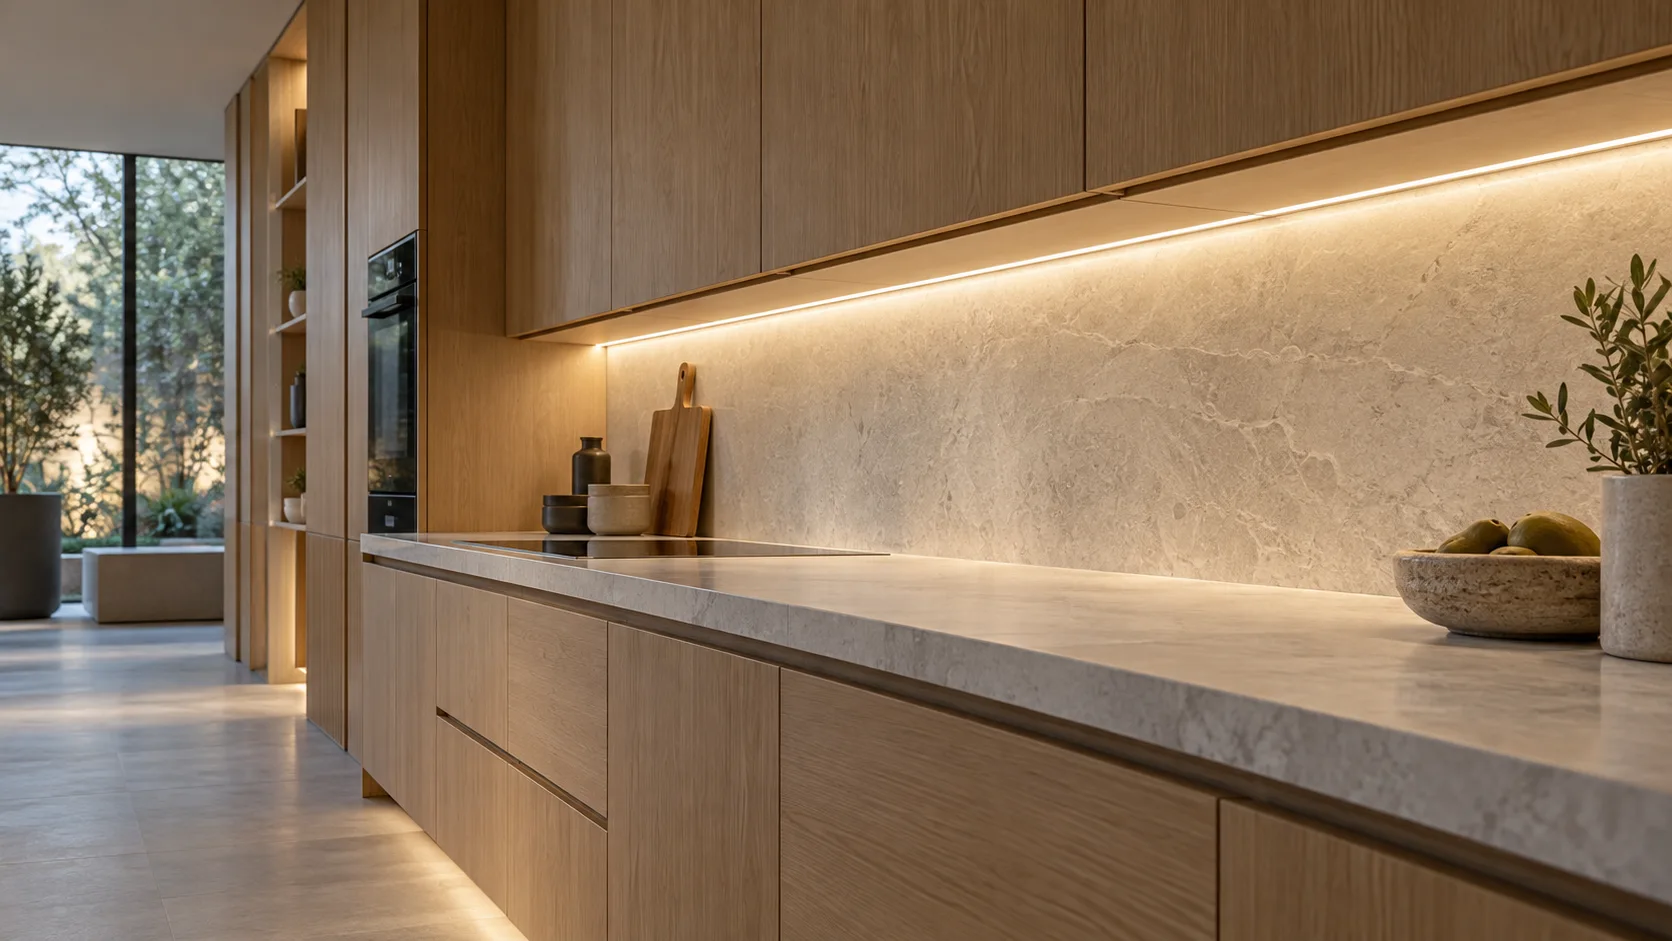
Set the light line around the worktop and backsplash. Check the channel angle, diffuser, hand position and feed location on the cabinet drawing.
View the solution →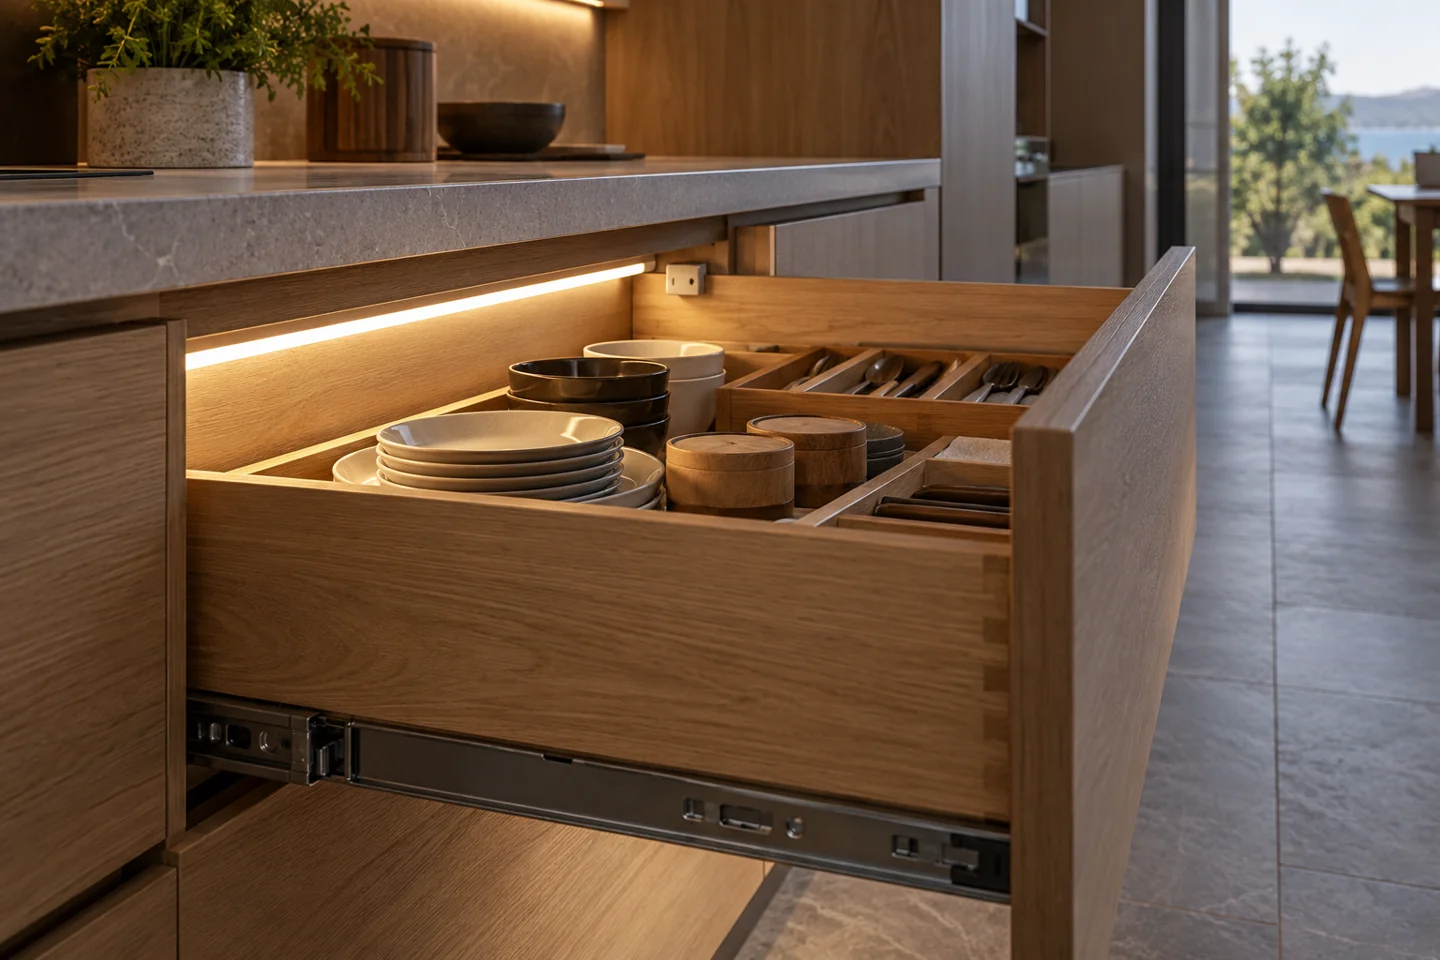
Keep illumination out of the drawer runner envelope. Plan how the light switches, how the cable moves and how a replacement can be reached.
View the solution →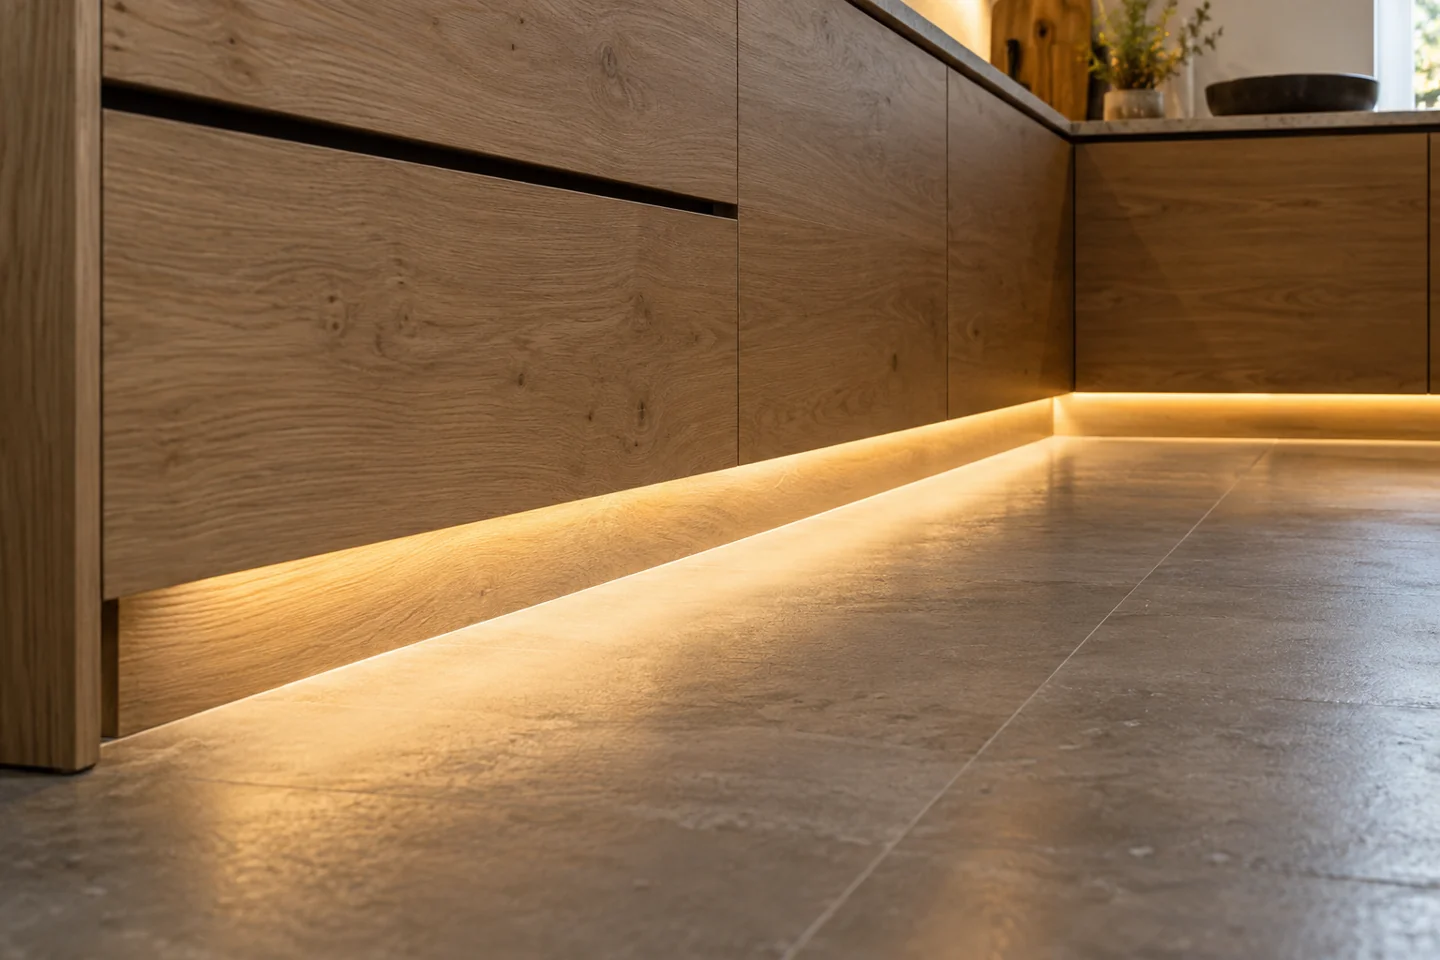
Treat the plinth, floor finish, corners and cleaning exposure as one installation detail.
View the solution →