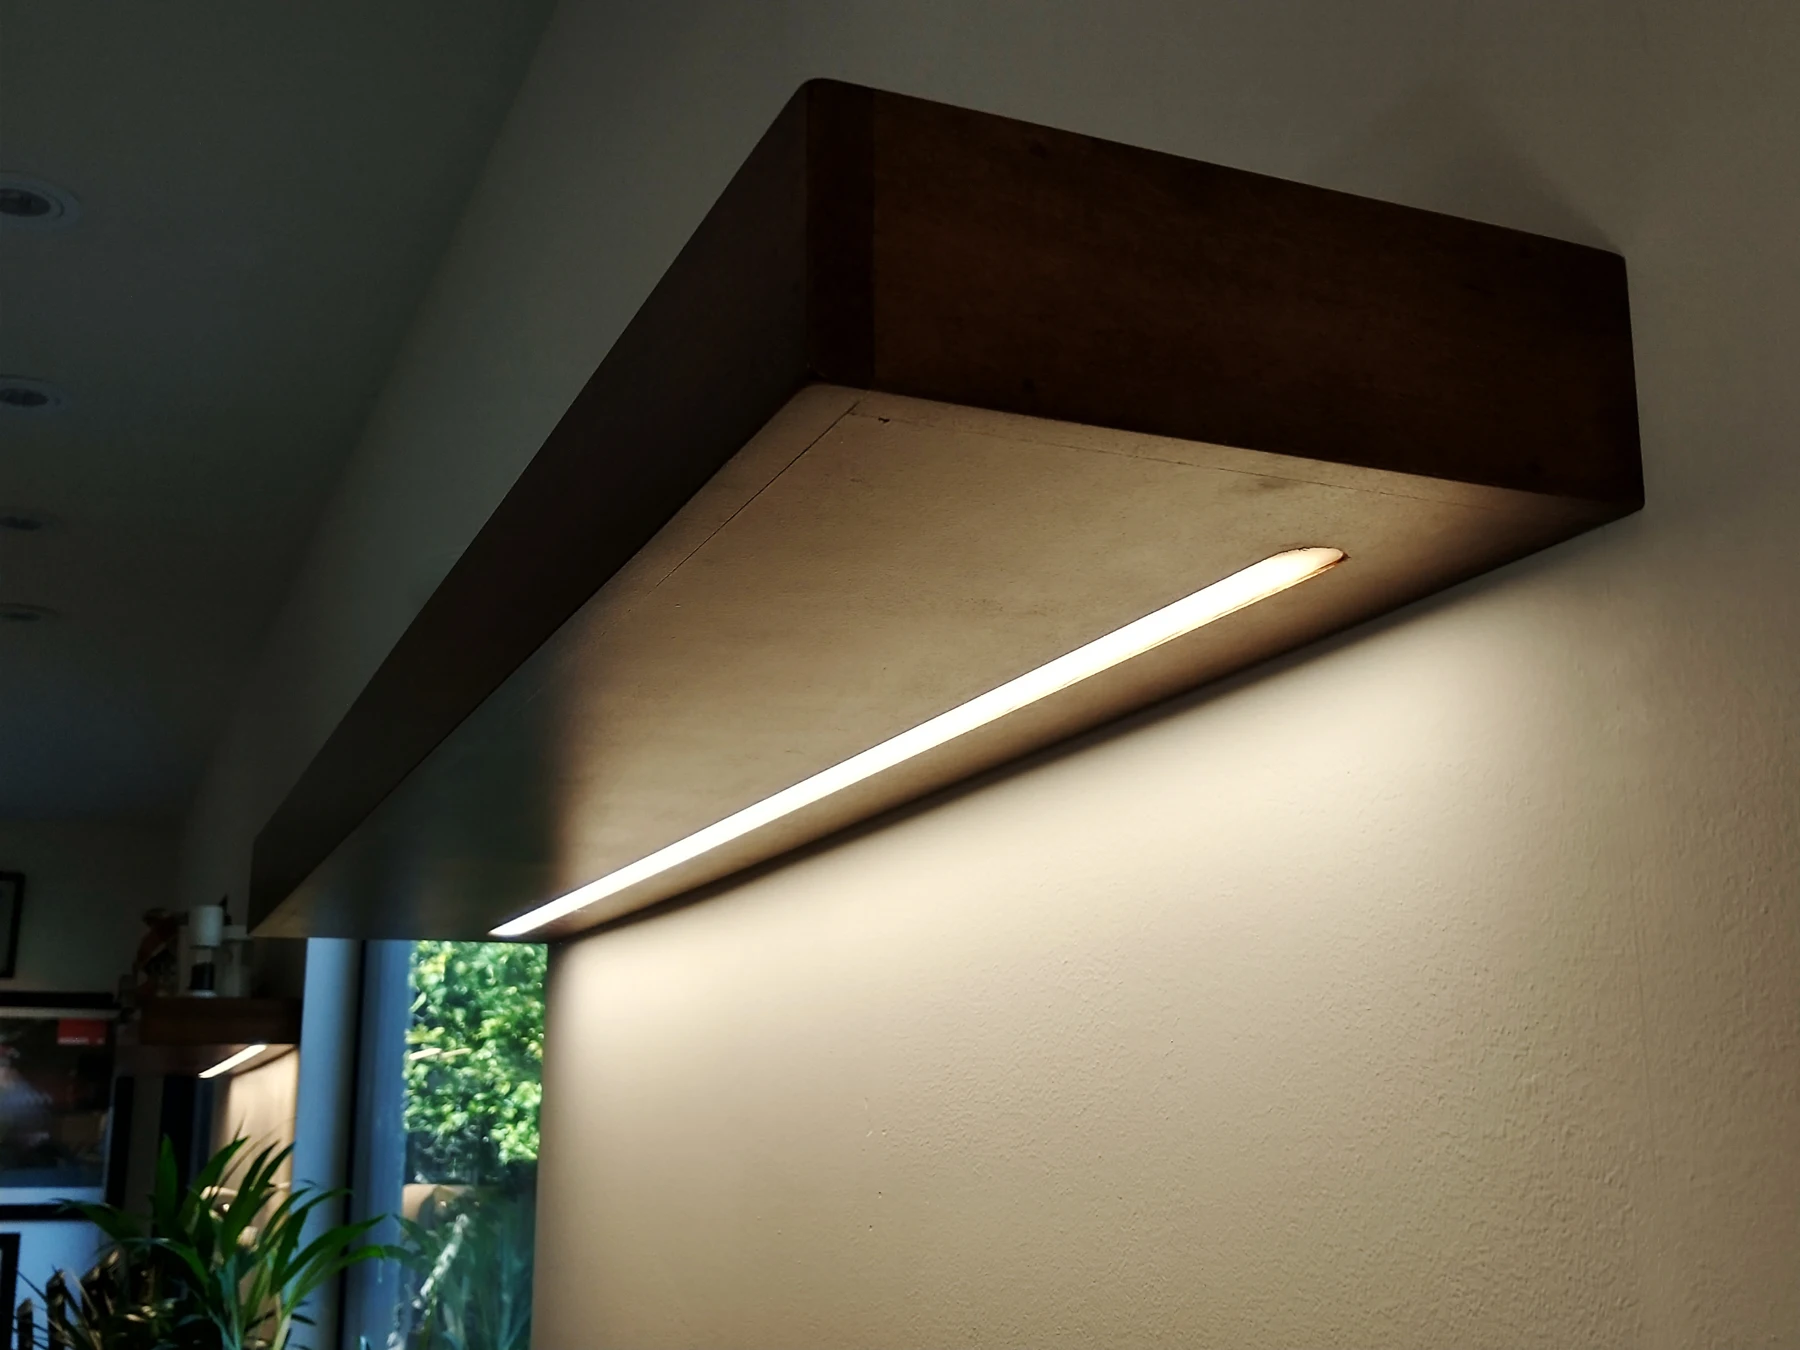
Source placement beneath a shelf
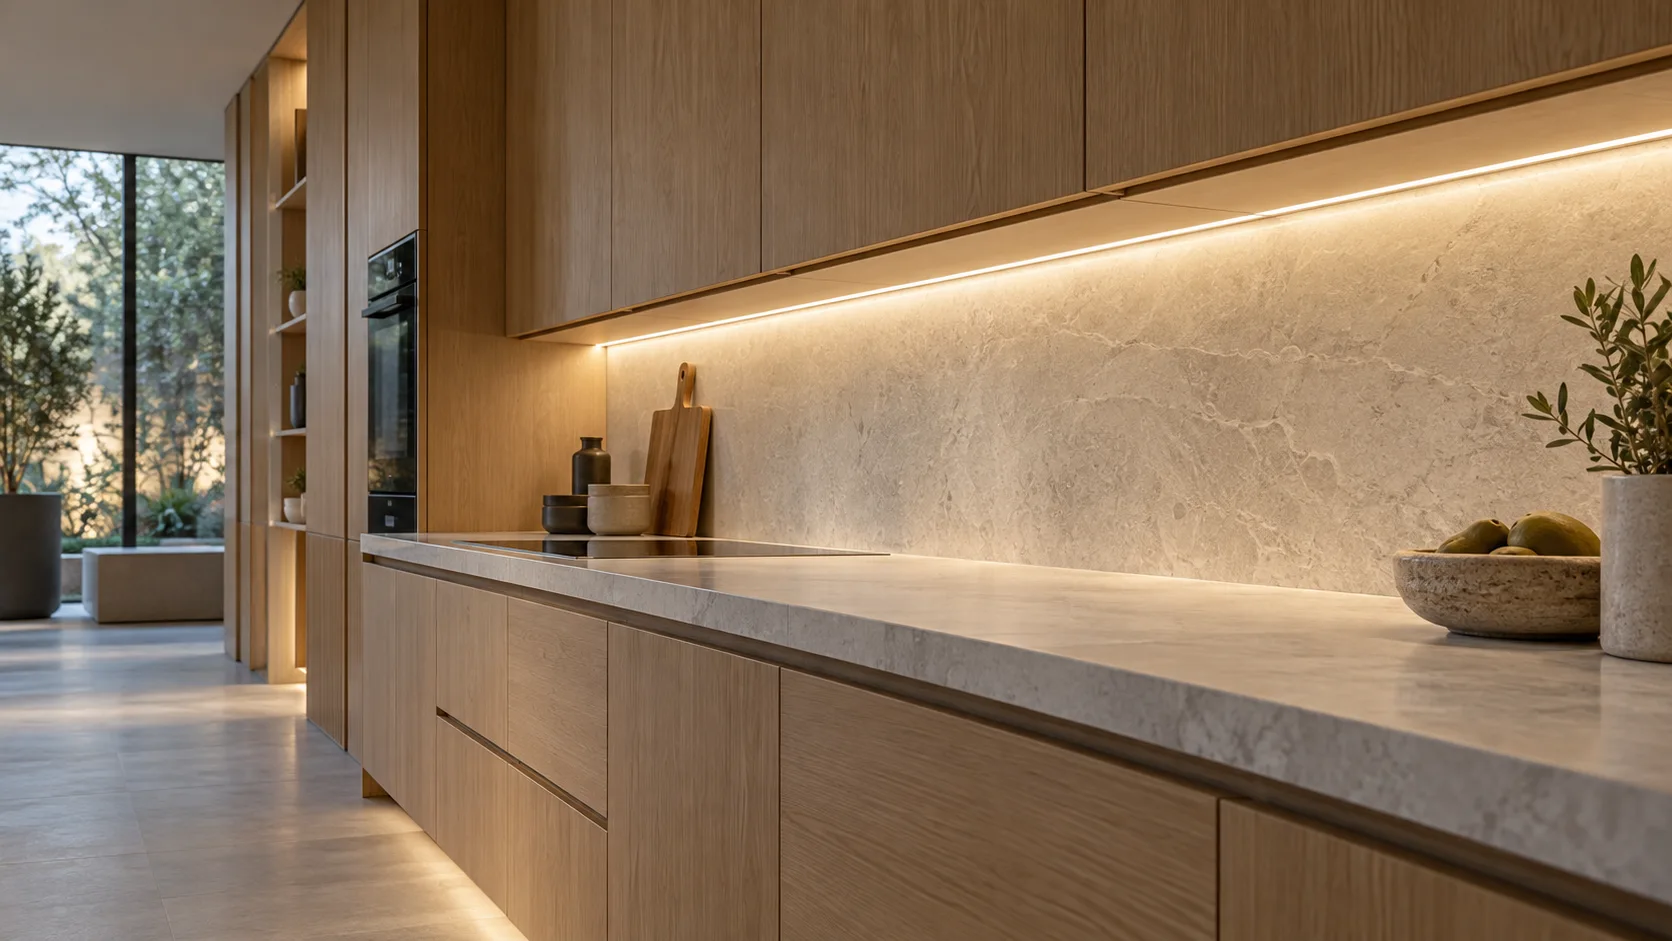
The photograph shows a completed under-shelf installation. Compare the source setback and reflective surfaces; it does not document the LED model or measured output.

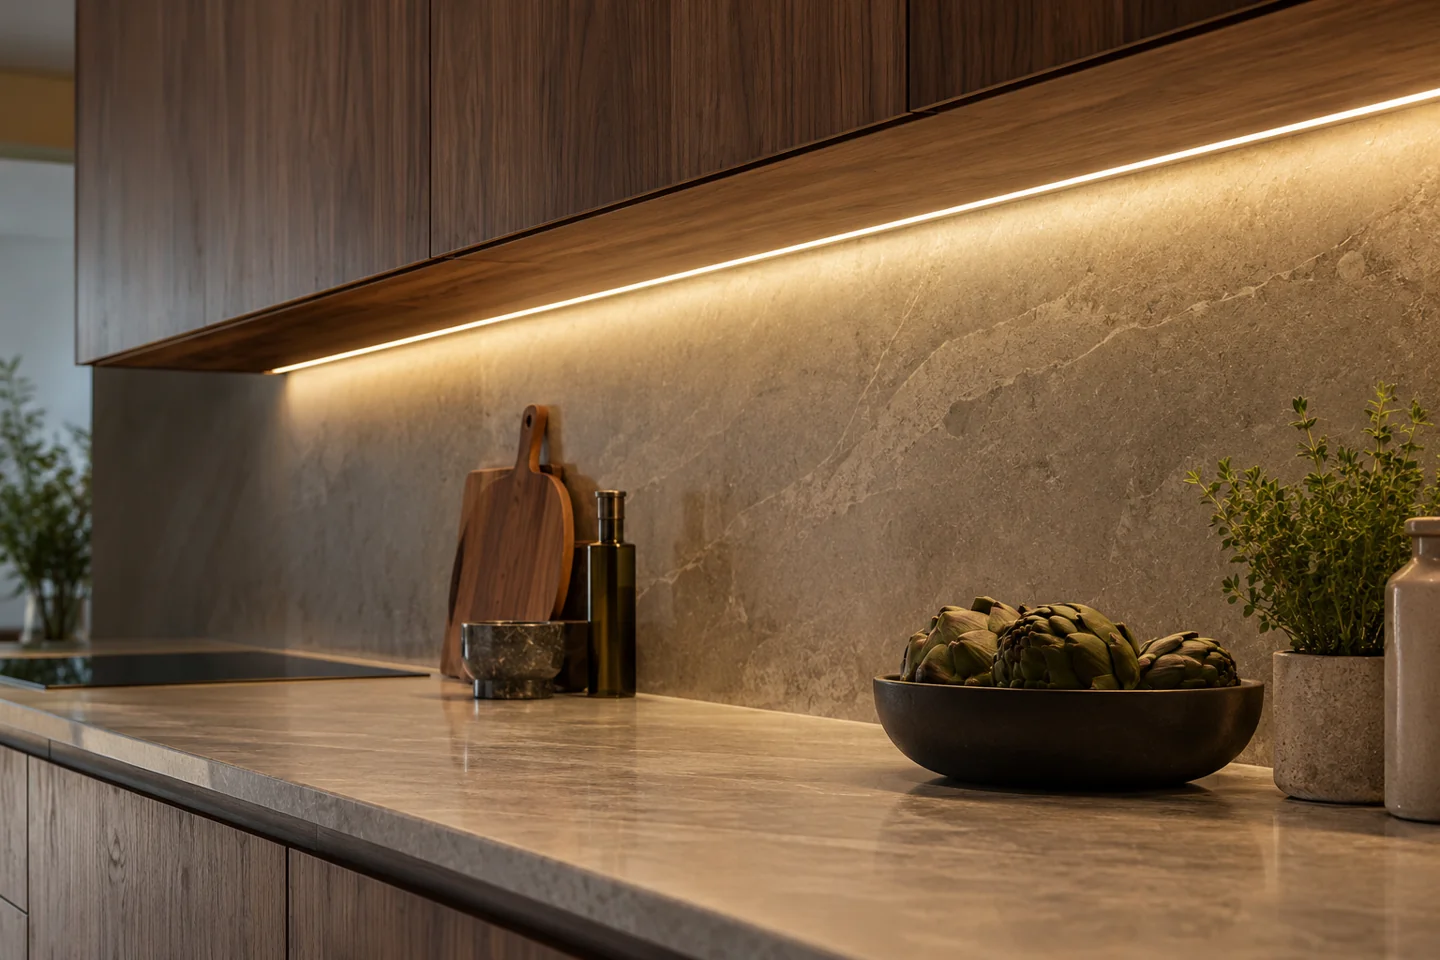
Set the light line around the worktop and backsplash. Check the channel angle, diffuser, hand position and feed location on the cabinet drawing.
Discuss this assemblySet the light line around the worktop and backsplash. Check the channel angle, diffuser, hand position and feed location on the cabinet drawing.
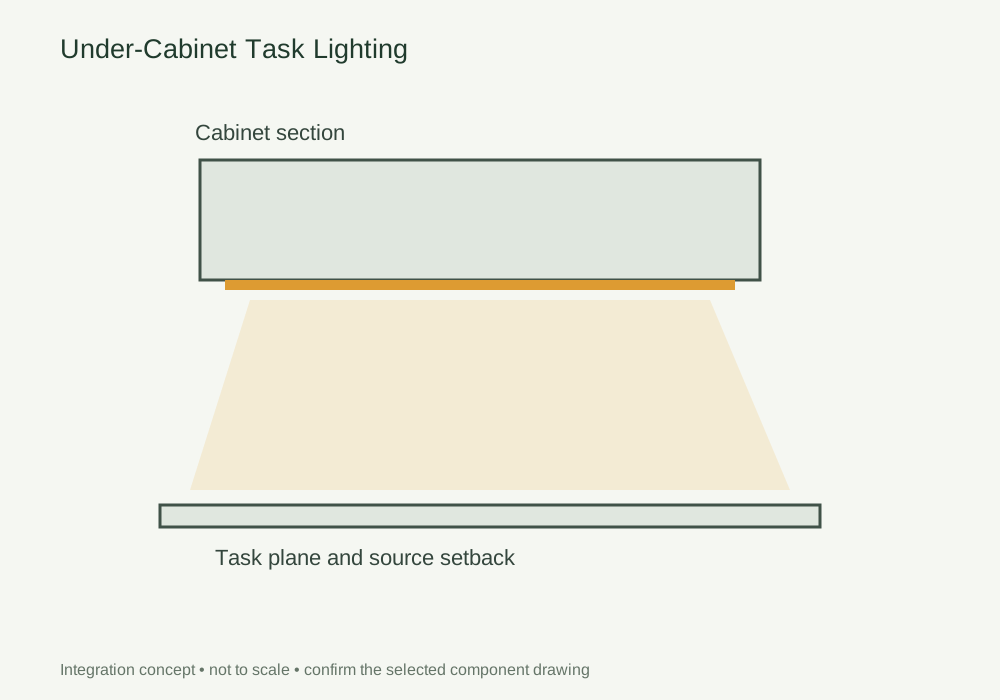
Dimension cabinet setback, front fascia and backsplash against the worktop. Mark where the user stands so that the proposed light does not place the task in the user’s shadow.
Coordinate the channel angle, diffuser, sensor and lead exit before cutting the groove. Keep the connection and driver accessible after the cabinet is installed.
Review shadows, reflected source images and sensor behaviour with the intended worktop finish. Keep the approved mounting position and light assembly together in the drawing record.
DESIGN DECISIONS
Front-edge mounting often keeps the light in front of the person preparing food. A rear-mounted source can leave hands in shadow, while a forward-facing channel may reflect in a polished backsplash. Compare these positions in a short section of the actual cabinet rather than settling the detail from a room photograph.
| Decision | Required input | Review with the sample |
|---|---|---|
| Source setback | Cabinet fascia depth and normal eye positions | Position the channel so the working surface is lit without exposing the diffuser |
| Profile choice | Recess depth, channel angle and diffuser clearance | Compare a flat recess with a 45 degree corner profile in the same finish |
| Sensor interface | Hand approach and nearby steam or objects | Keep the sensor within reach and check unintended switching |
Use this concept to mark mounting positions, cable paths and service clearances on your fixture drawing. Dimensions and component references belong on the project drawing before machining.
Photographs support the adjacent selection decisions. The exact delivered components and their performance need their own drawings, documents and sample review.
The photograph shows a completed under-shelf installation. Compare the source setback and reflective surfaces; it does not document the LED model or measured output.
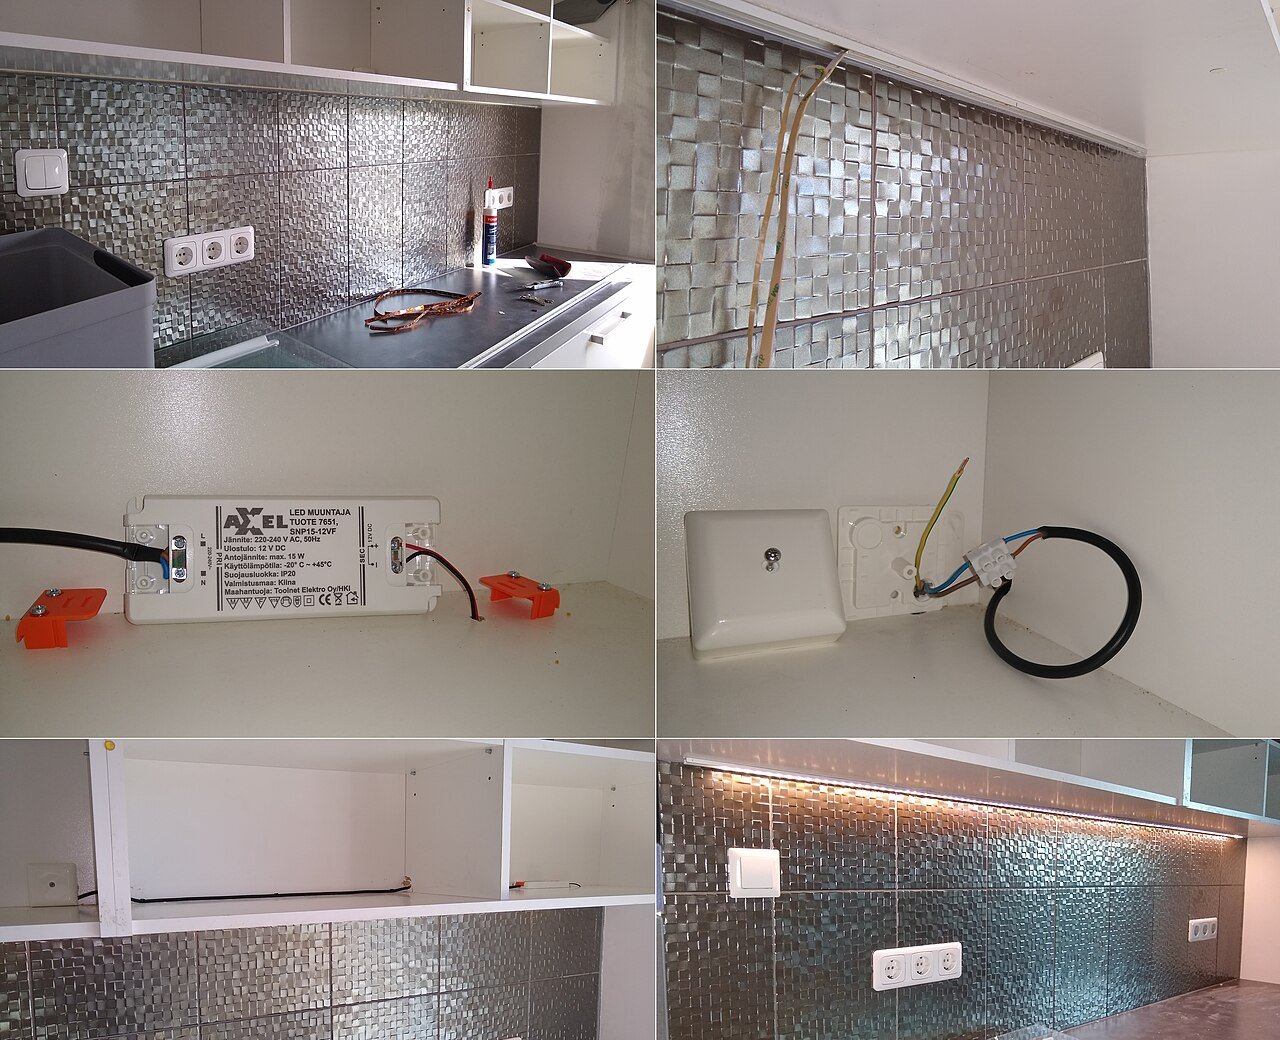
This external installation sequence shows the light section and accessible supply position. It is a reference for coordinating access, not a wiring instruction for your selected kit.
Use these selection questions in the assembly brief. Confirm availability, compatibility and performance for the proposed configuration.
Review the visible line through the intended diffuser and recess depth.
Define sensor placement, switching distance and behaviour near reflective finishes.
Check beam direction, fascia clearance and how the profile meets adjacent panels.
Compare the source with the fixture dimensions and intended light effect. A complete supply schedule also identifies the profile, controls, connectors and the work included in the assembly.
State the quantity basis and open decisions. A labelled assembly schedule keeps design, purchasing and installation working from the same reference.
FREQUENTLY ASKED QUESTIONS
Practical answers for the furniture drawing, sample review and purchasing brief.
Ask a project question →The diffuser, source spacing and available mixing depth determine the finished appearance. Evaluate the complete channel at the intended viewing distance. COB construction alone does not establish a spotless installed result.
Yes, if the selected switching and distribution arrangement supports the combined load and intended control logic. List every branch, cable length and connector before choosing the control point.
It can, but test the work surface with a person standing in the normal position. A rear source may be shadowed by hands or utensils. Compare it with a front setback in the same cabinet section.
Include Drawing revision and finished dimensions, Module quantity and order basis, Source, profile and control references. Add quantities by furniture module and identify the configuration or sample already selected. This gives the drawing review a defined scope before pricing and assembly approval.
CONTINUE THE SPECIFICATION
Use the wider furniture brief to coordinate this lighting detail with adjacent modules and project teams.
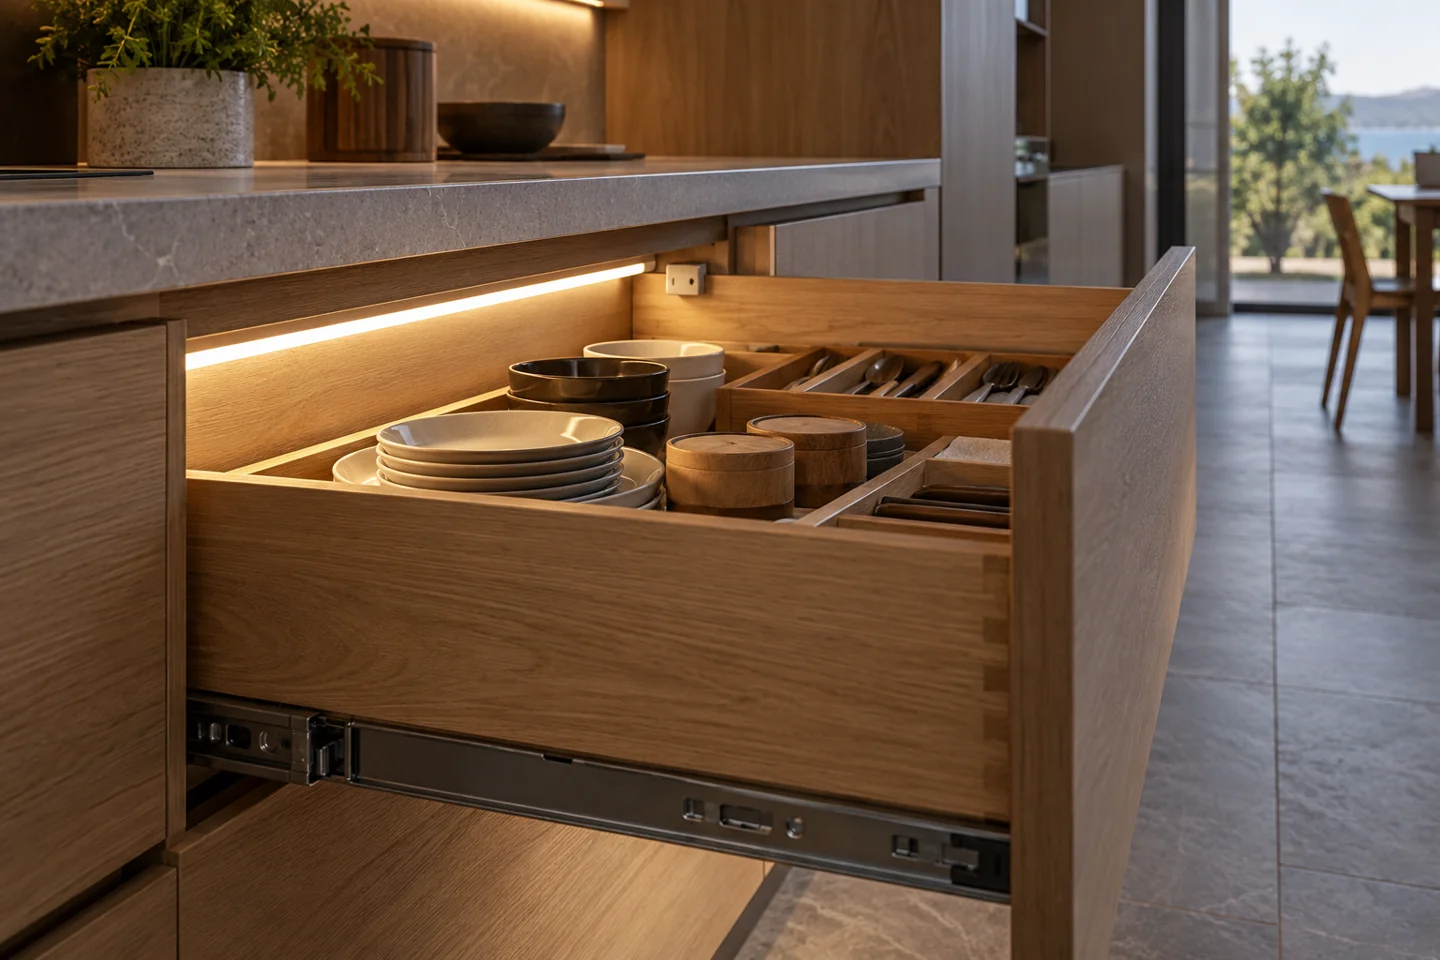
Keep illumination out of the drawer runner envelope. Plan how the light switches, how the cable moves and how a replacement can be reached.
View the solution →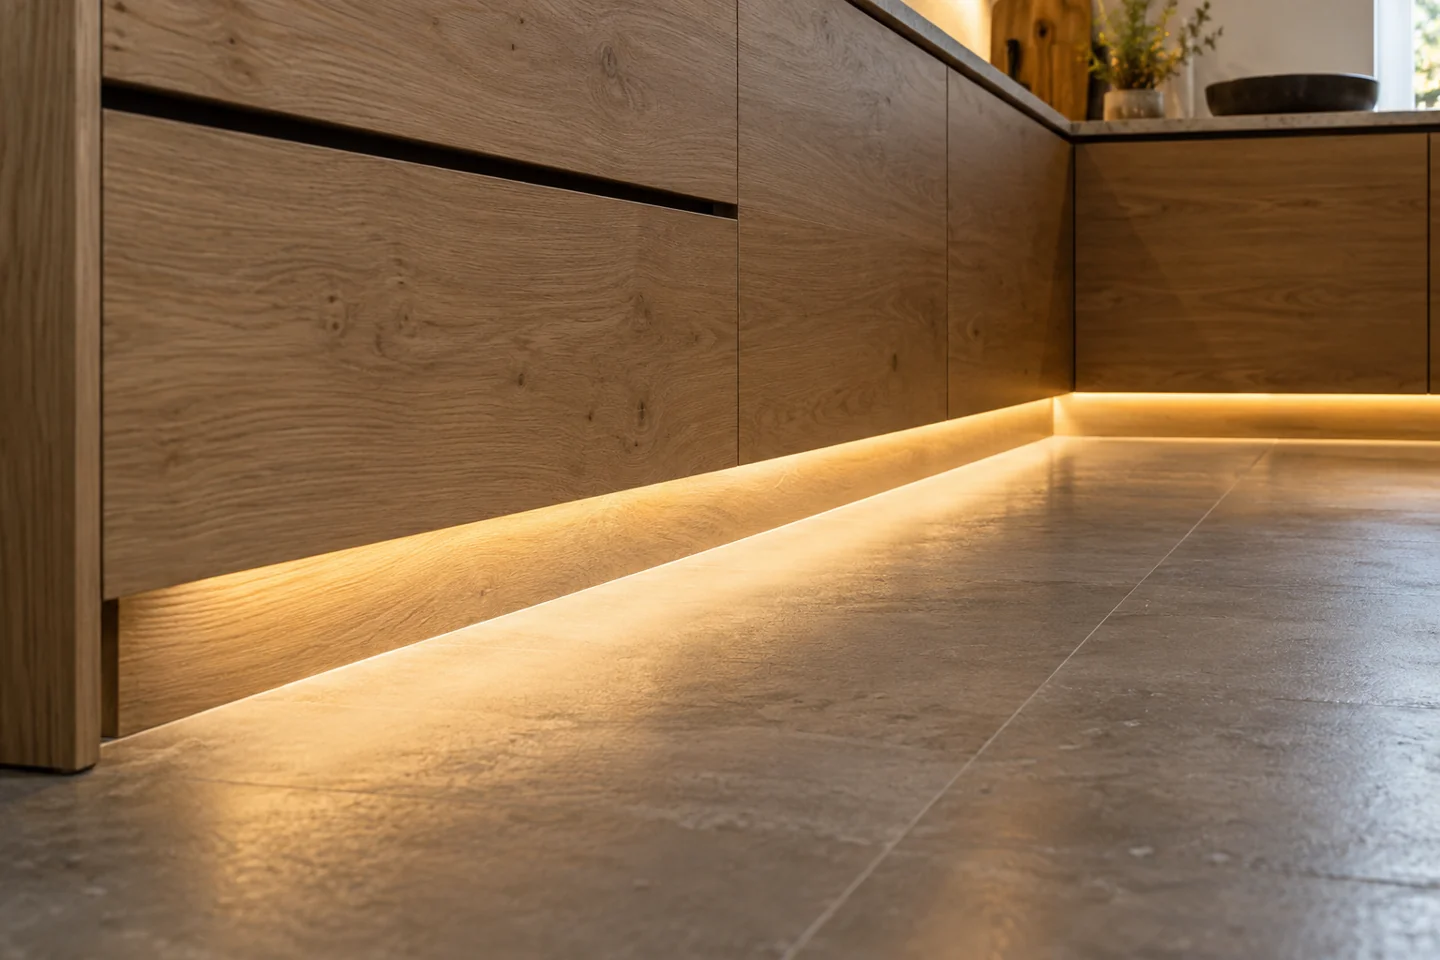
Treat the plinth, floor finish, corners and cleaning exposure as one installation detail.
View the solution →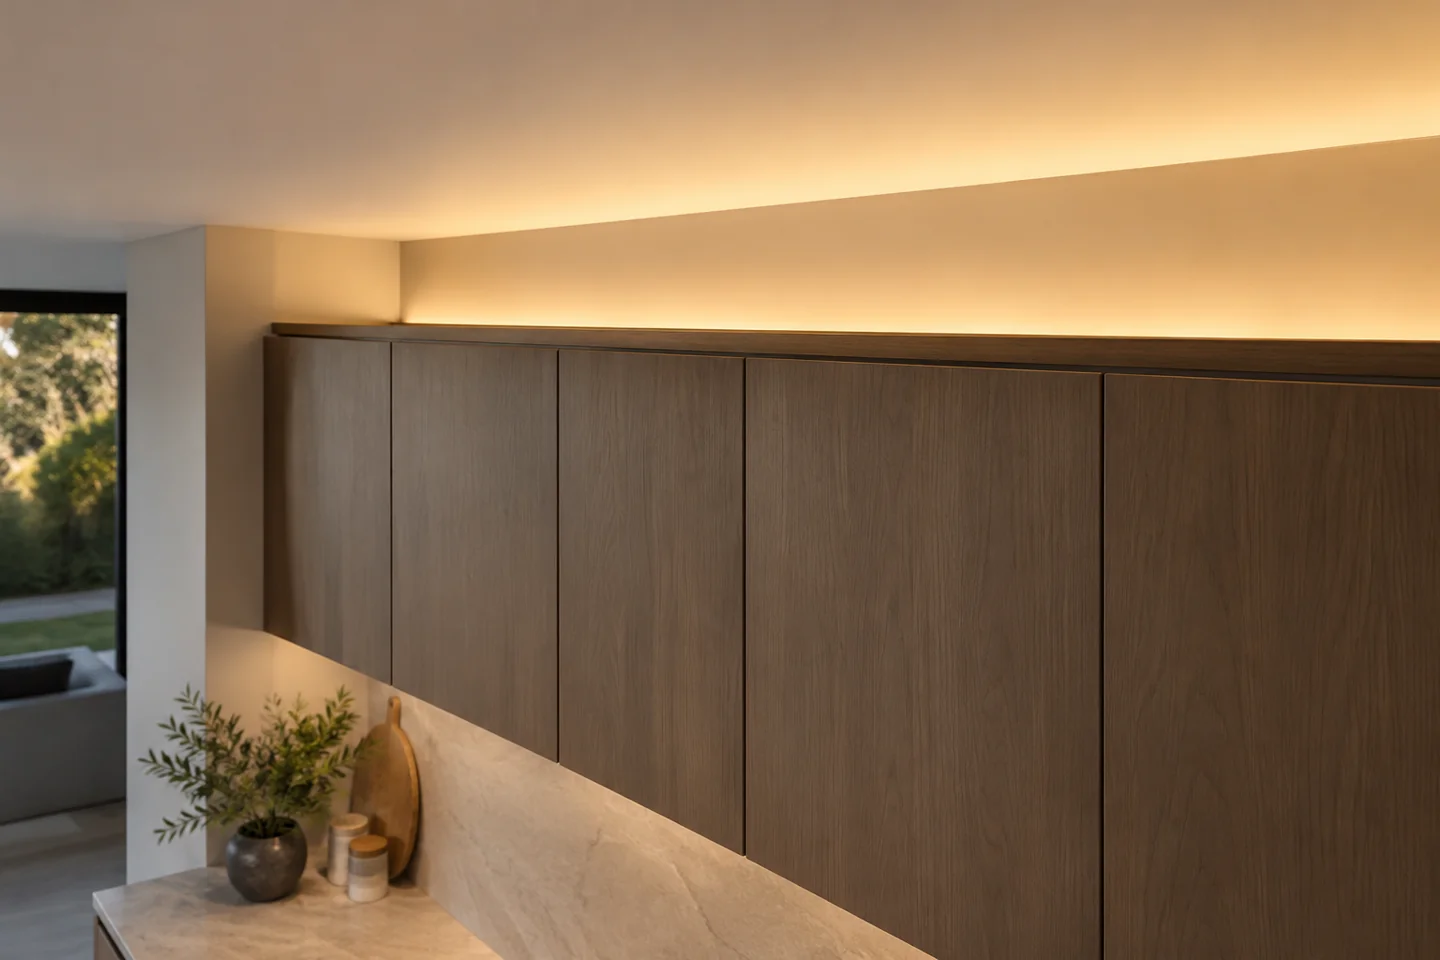
Define the ceiling reveal and the access route for the driver and distribution leads.
View the solution →