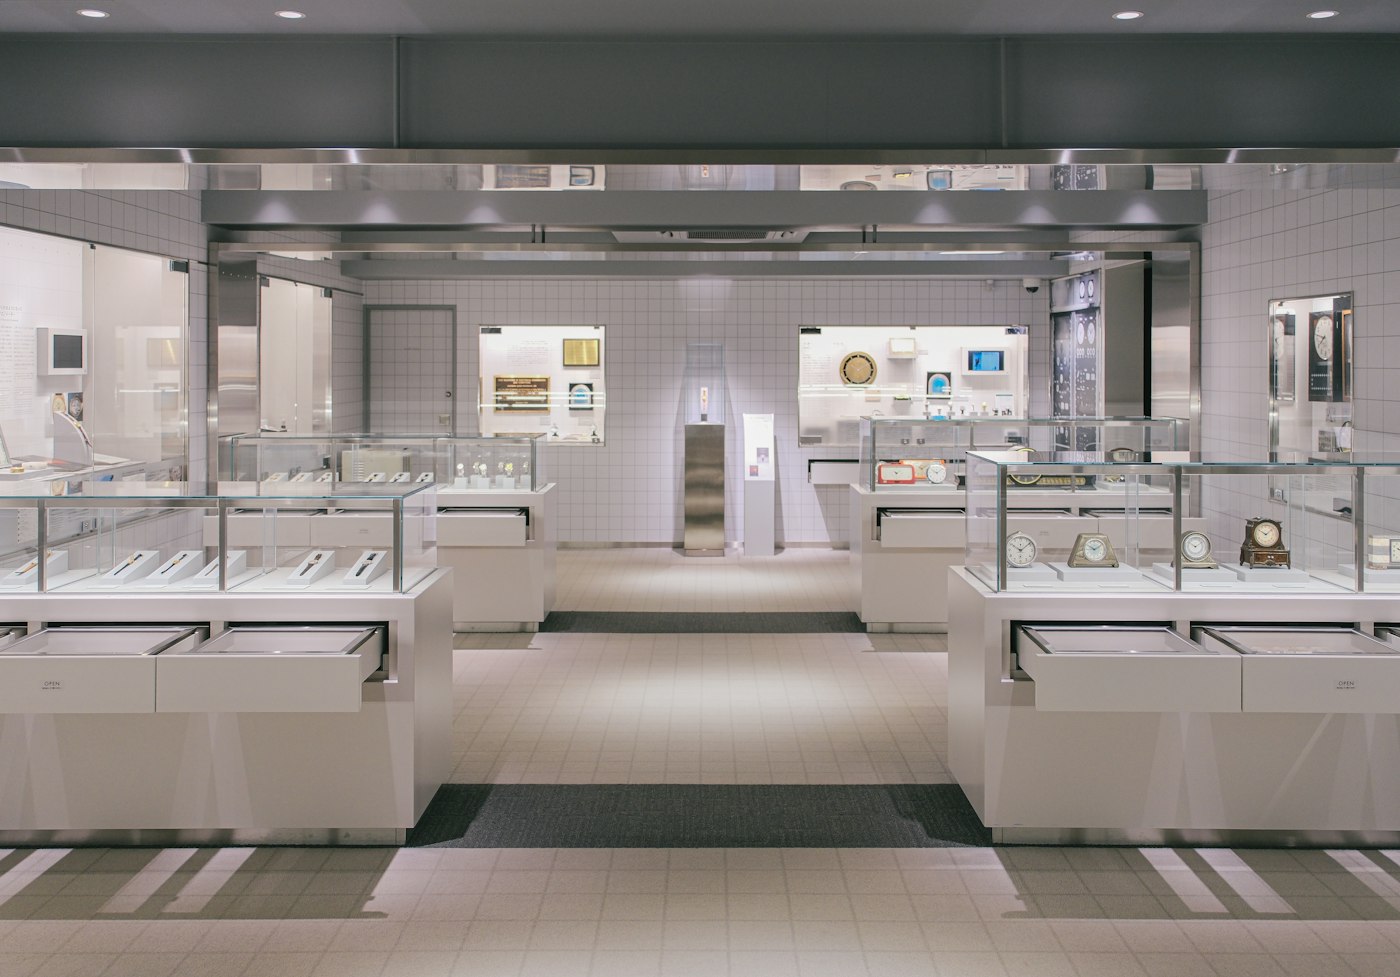
Micro-Recessed Glass Shelf Edge
Keep the light source discreet around glass thickness, shelf supports and the cabinet front.
View the solution →
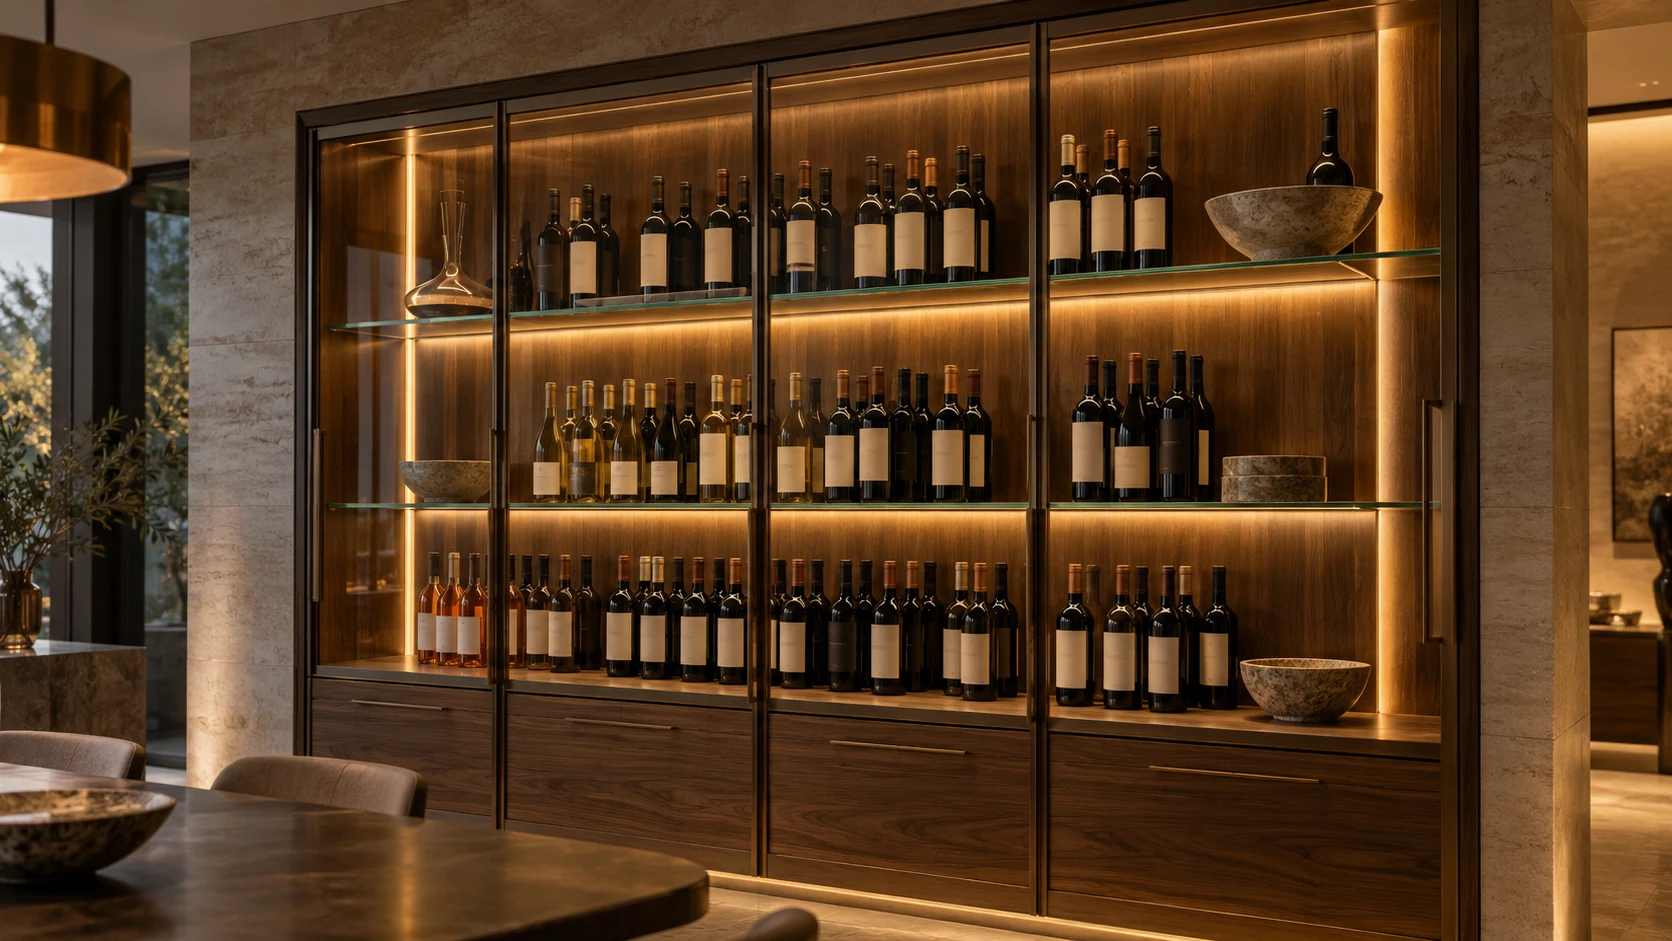
Quiet, warm light for bottle displays and glazed cabinets. Resolve shelf edges, reflections, cable visibility and thermal conditions before approving the assembly.
Discuss this assemblyQuiet, warm light for bottle displays and glazed cabinets. Resolve shelf edges, reflections, cable visibility and thermal conditions before approving the assembly.
Keep the light source discreet around glass thickness, shelf supports and the cabinet front.
View the solution →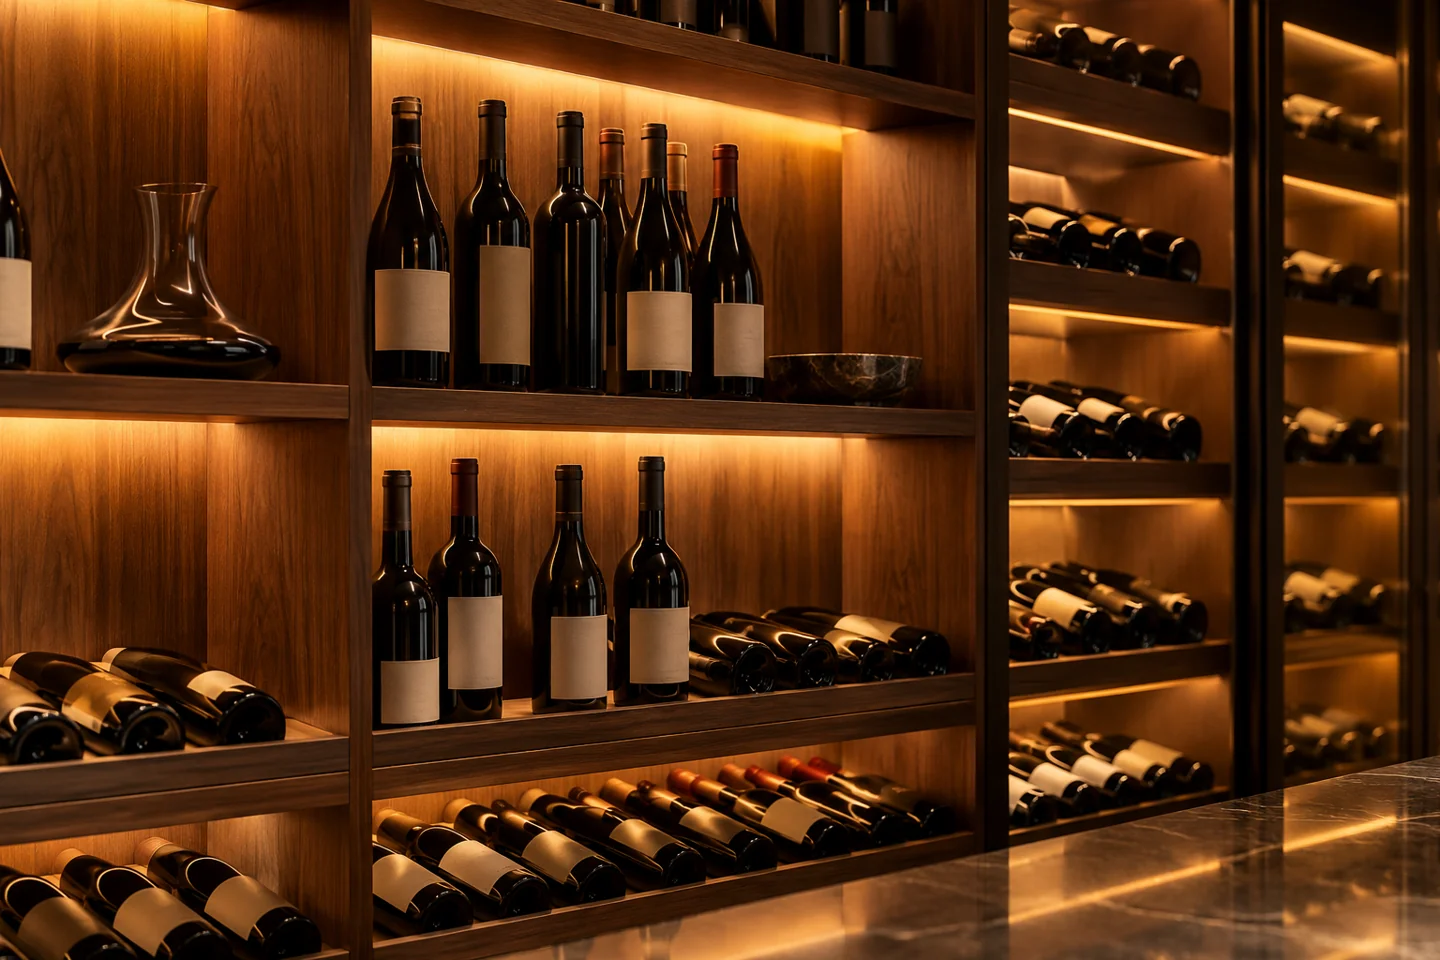
Balance label readability and the cabinet finish with the permitted temperature conditions around stored bottles.
View the solution →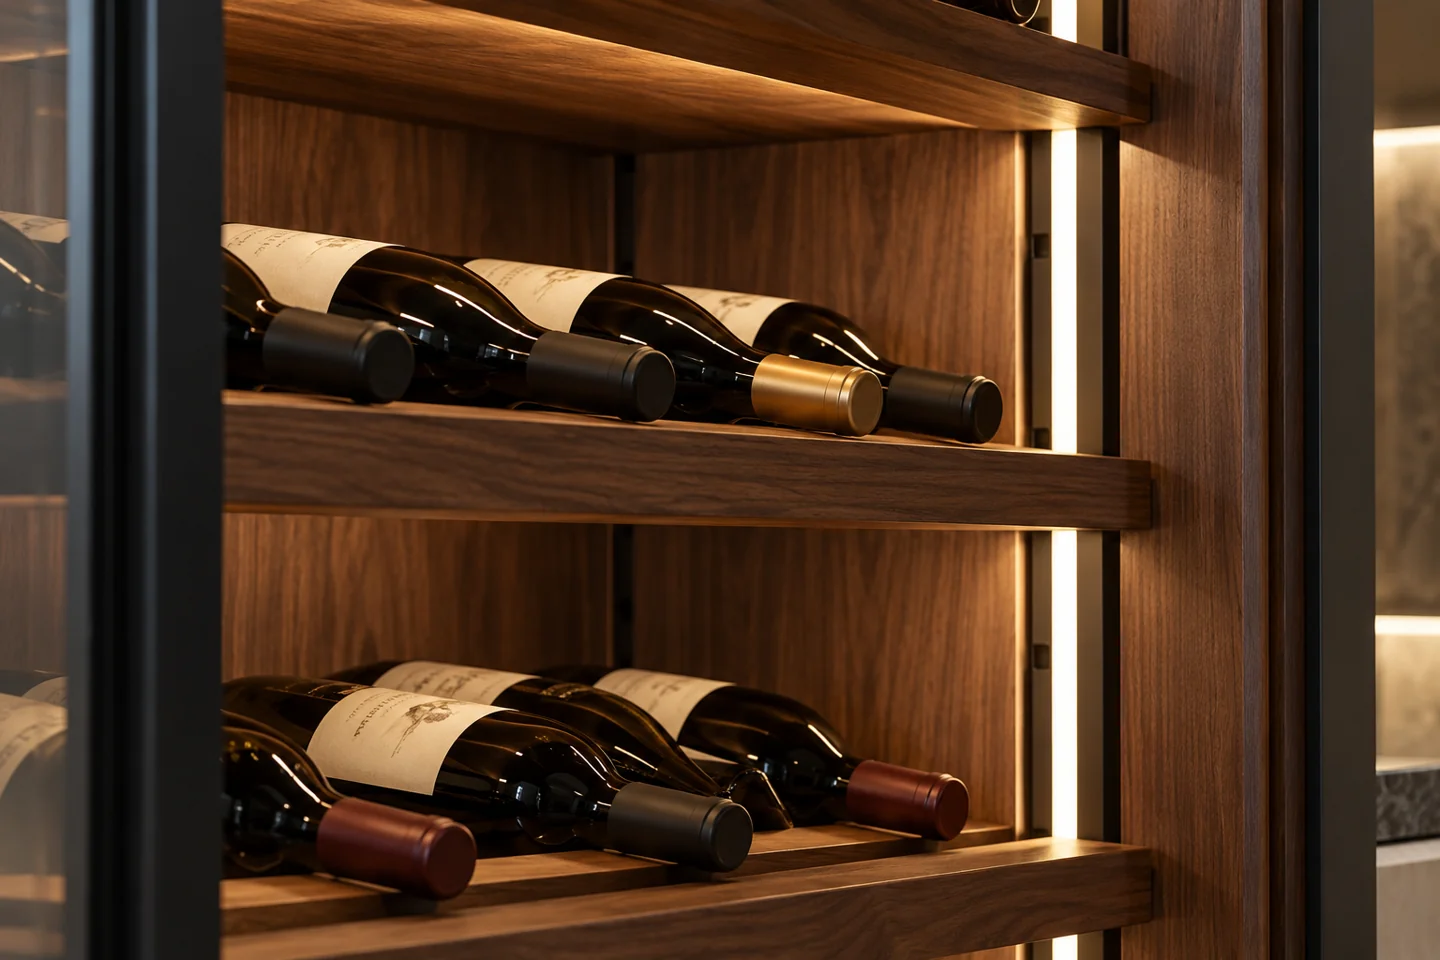
Coordinate shelf movement with the power interface. An apparently cable-free shelf still needs an identified electrical path.
View the solution →Plan the glass shelf, bottle position and cabinet finish together. Separate fixed backlighting from movable shelf lighting, and identify the temperature conditions around the stored wine. A shelf power system needs its own track, contact and load schedule.
DESIGN DECISIONS
A wine cabinet & cellar lighting brief should distinguish the visible effect from the assembly needed to achieve it. Start with the furniture sections and the way the space is used. Each detail below addresses its own installation, control and maintenance decisions; it should not inherit a specification simply because it sits in the same room.
| Decision | Required input | Review with the sample |
|---|---|---|
| Micro-Recessed Glass Shelf Edge | Record glass thickness, edge treatment, supports and the intended cable path. Separate the structural support requirements from the lighting attachment on the drawing. | Review reflected LED images, edge hot spots and clip visibility with the actual shelf and displayed objects. Confirm cleaning access without disturbing the terminations. |
| Amber Warm Backlighting | Define bottle layout, cabinet finish and permitted operating conditions. State the selected warm CCT separately from the locations and limits for temperature assessment. | Evaluate bottle labels and warm appearance under the intended settings. Assess the cabinet temperature under the planned operating schedule rather than describing the result as heat-free. |
| Magnetic Powered Adjustable Shelves | Show shelf positions, supports, track alignment and load. Clarify whether the proposed interface uses conductive contacts or contactless power; these are different systems. | Move the shelf through its intended positions and inspect alignment and operation. Agree cleaning and inspection of contact surfaces before including the assembly in a repeat range. |
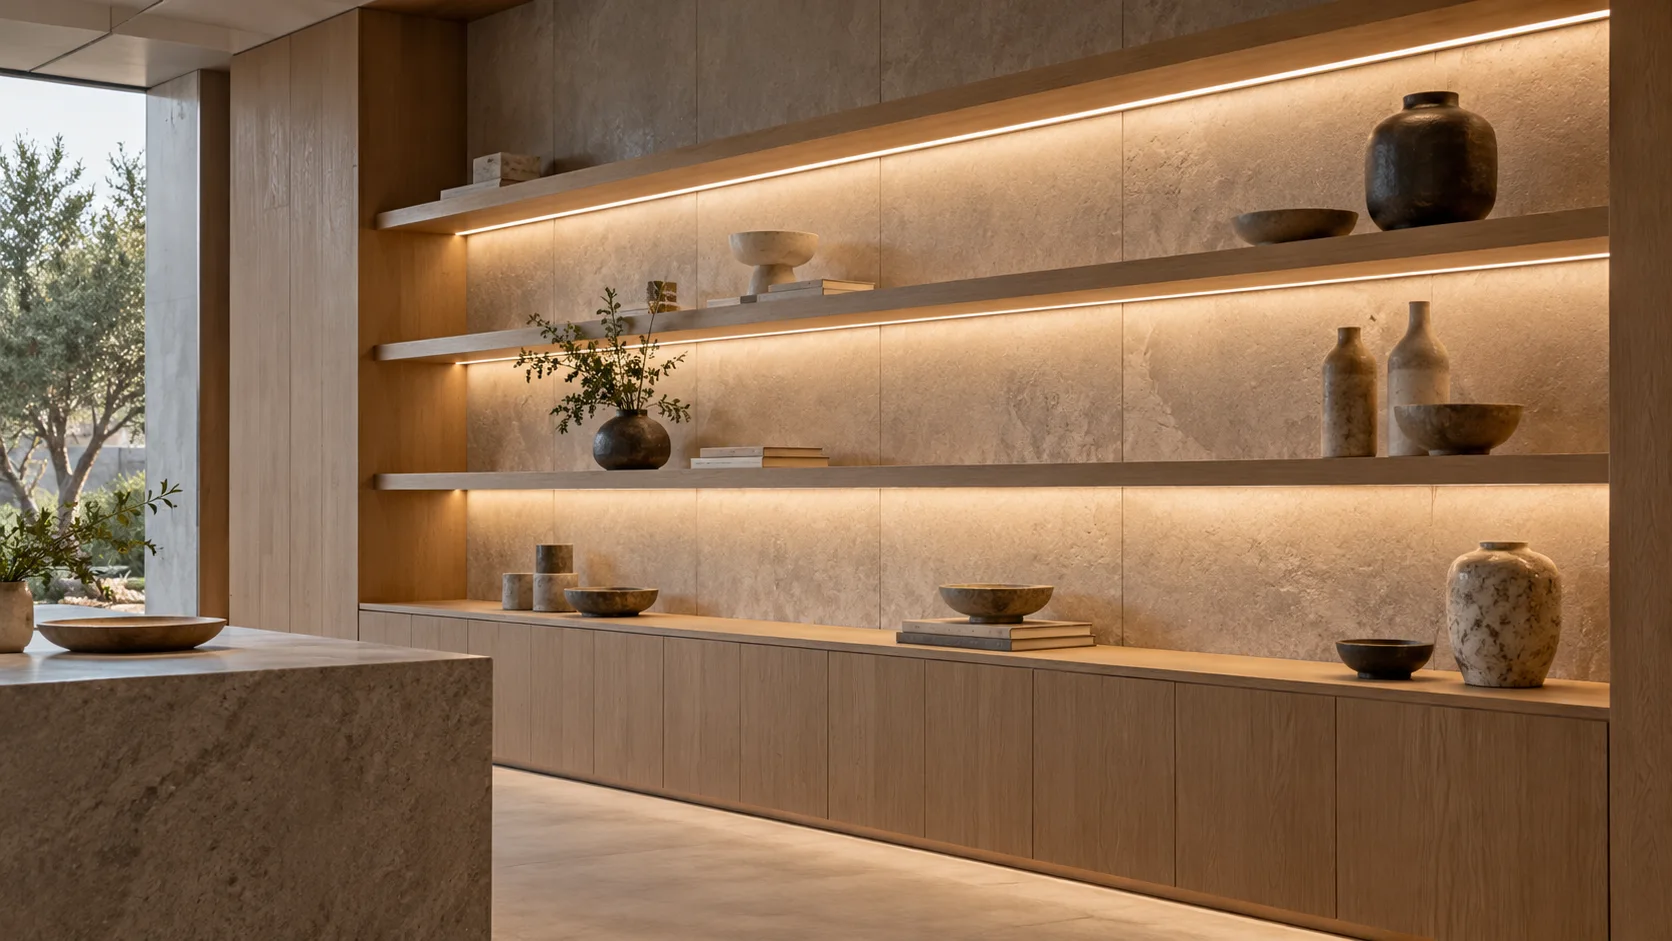
Use the scene images above with the corresponding installation notes below. A lighting detail should not inherit an unrelated wiring or mounting arrangement.
Record glass thickness, edge treatment, supports and the intended cable path. Separate the structural support requirements from the lighting attachment on the drawing.
Review this detail →Define bottle layout, cabinet finish and permitted operating conditions. State the selected warm CCT separately from the locations and limits for temperature assessment.
Review this detail →Show shelf positions, supports, track alignment and load. Clarify whether the proposed interface uses conductive contacts or contactless power; these are different systems.
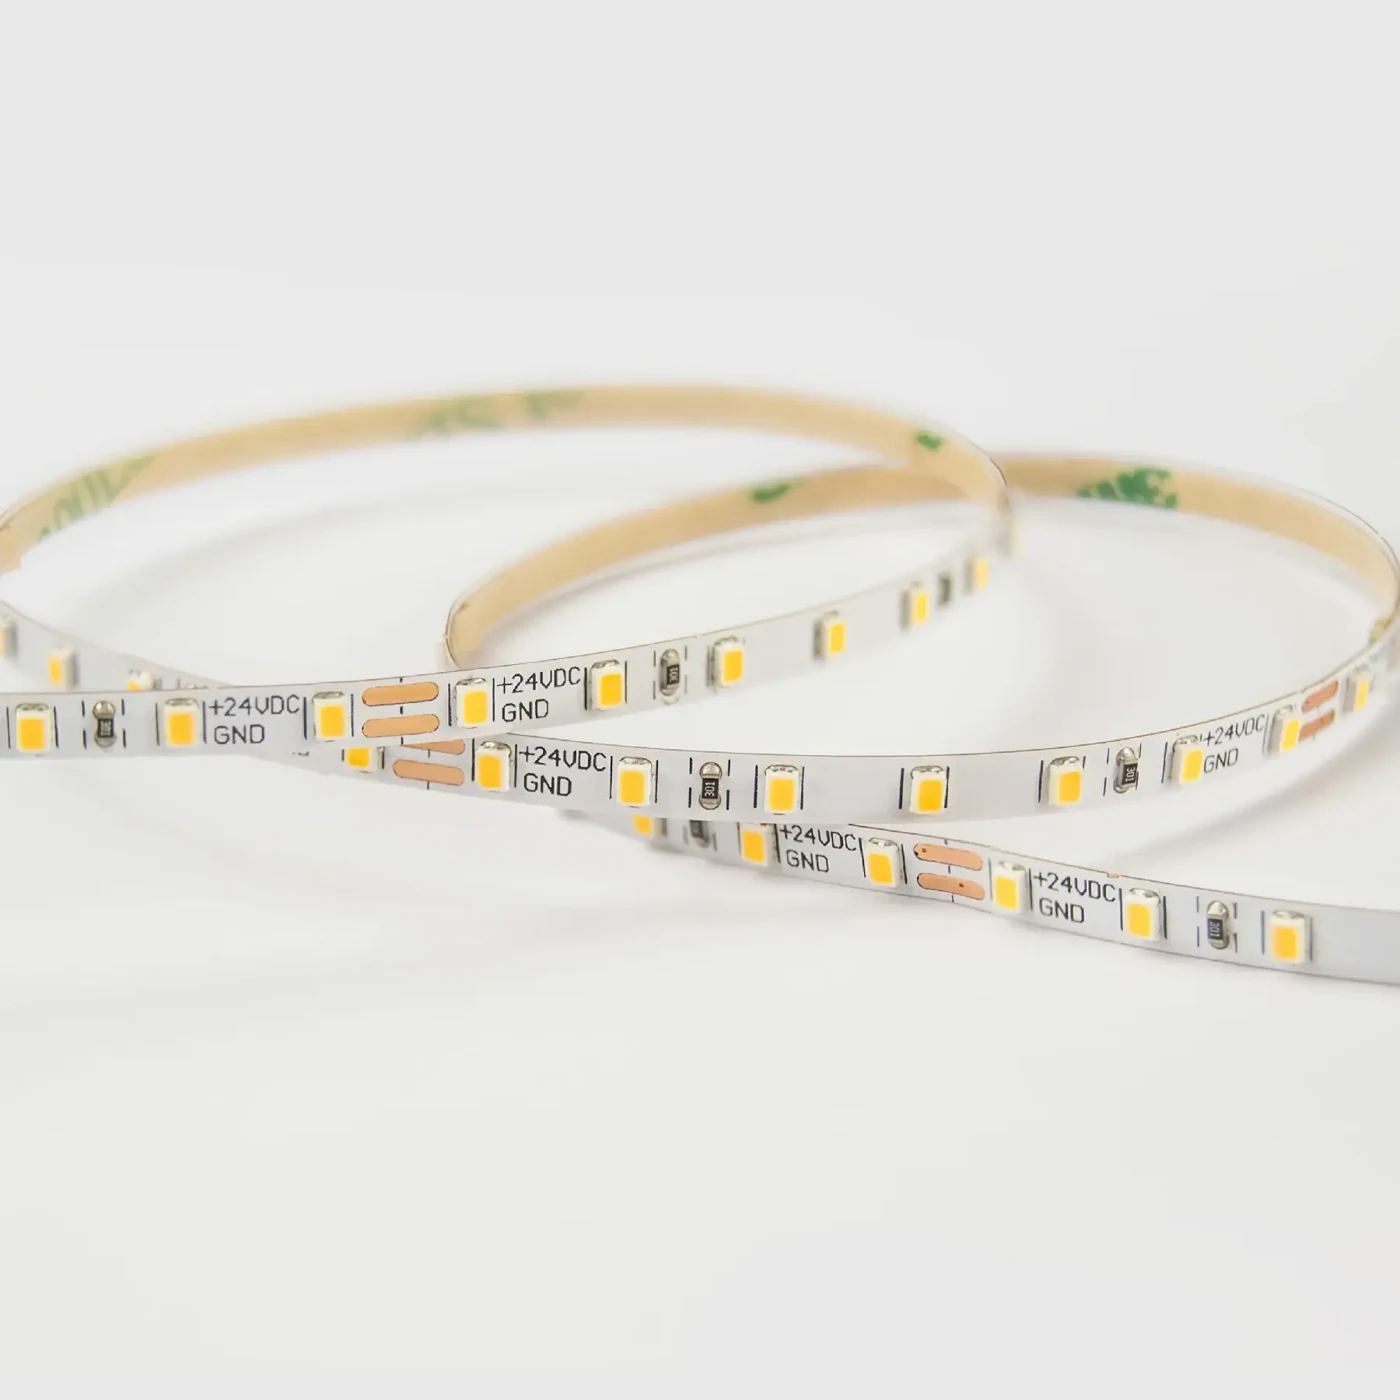
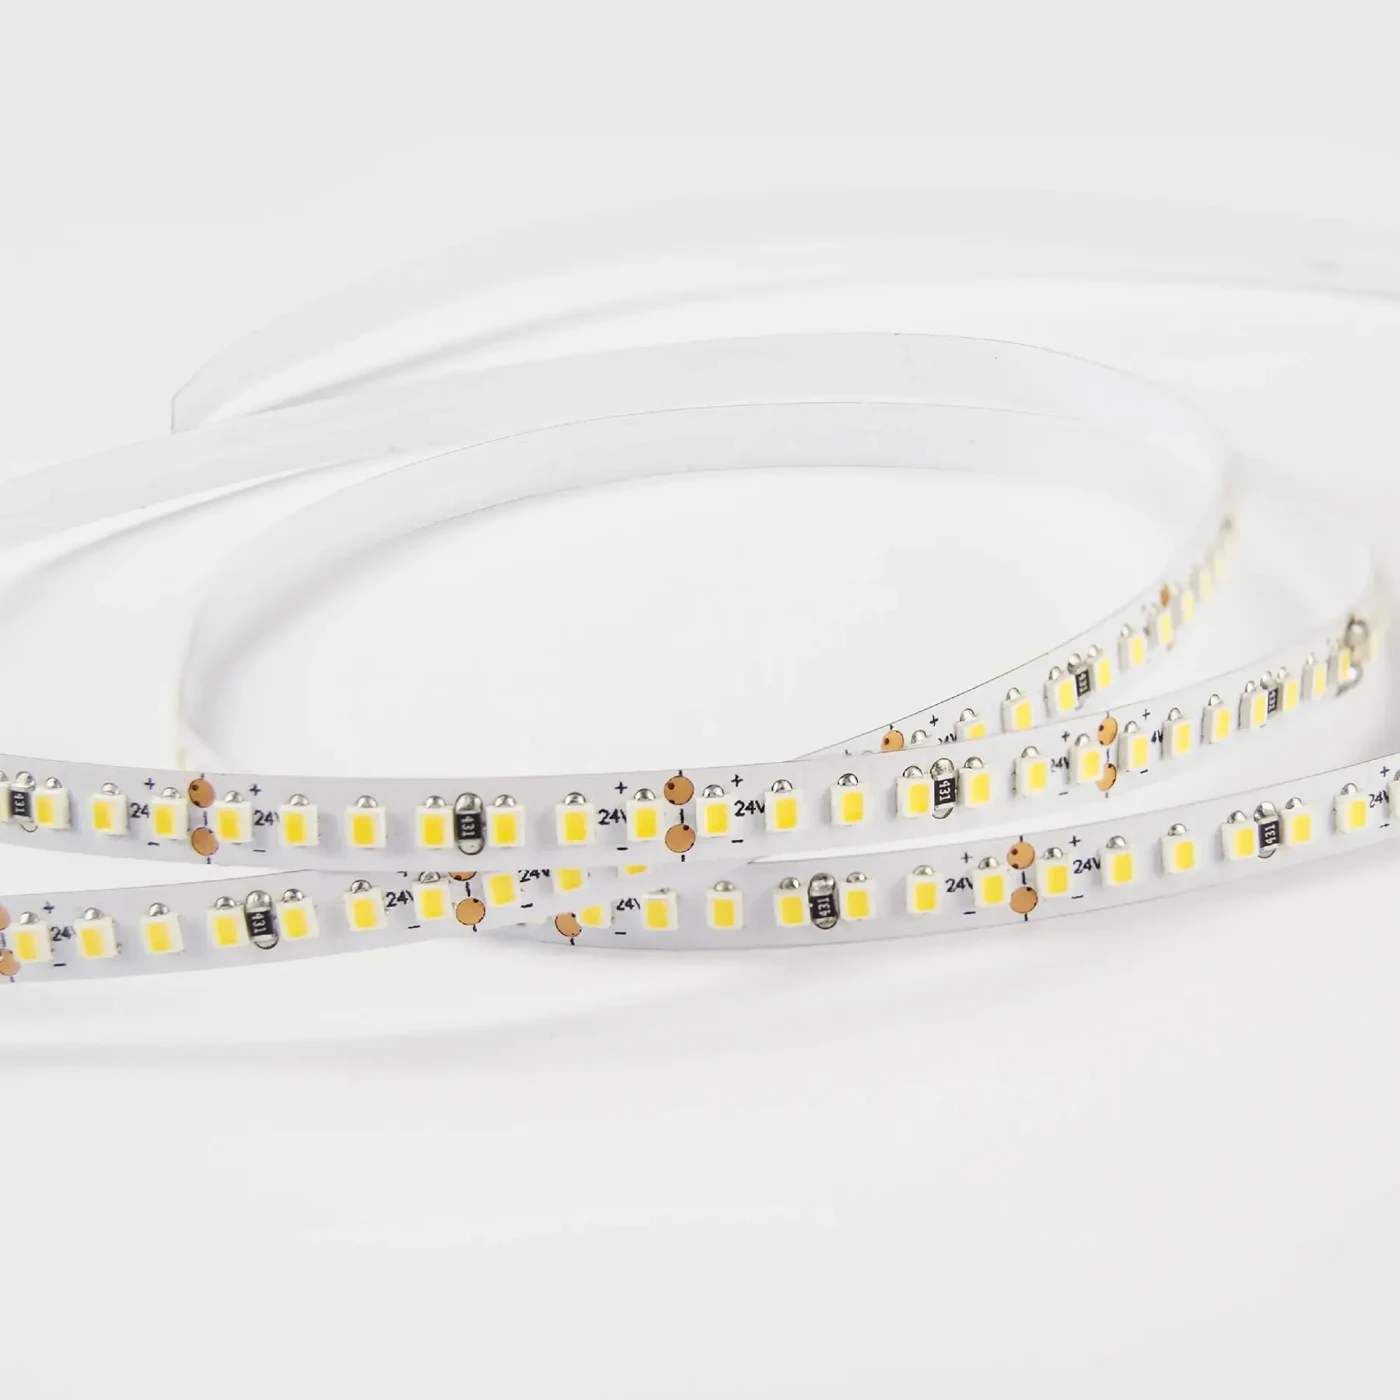
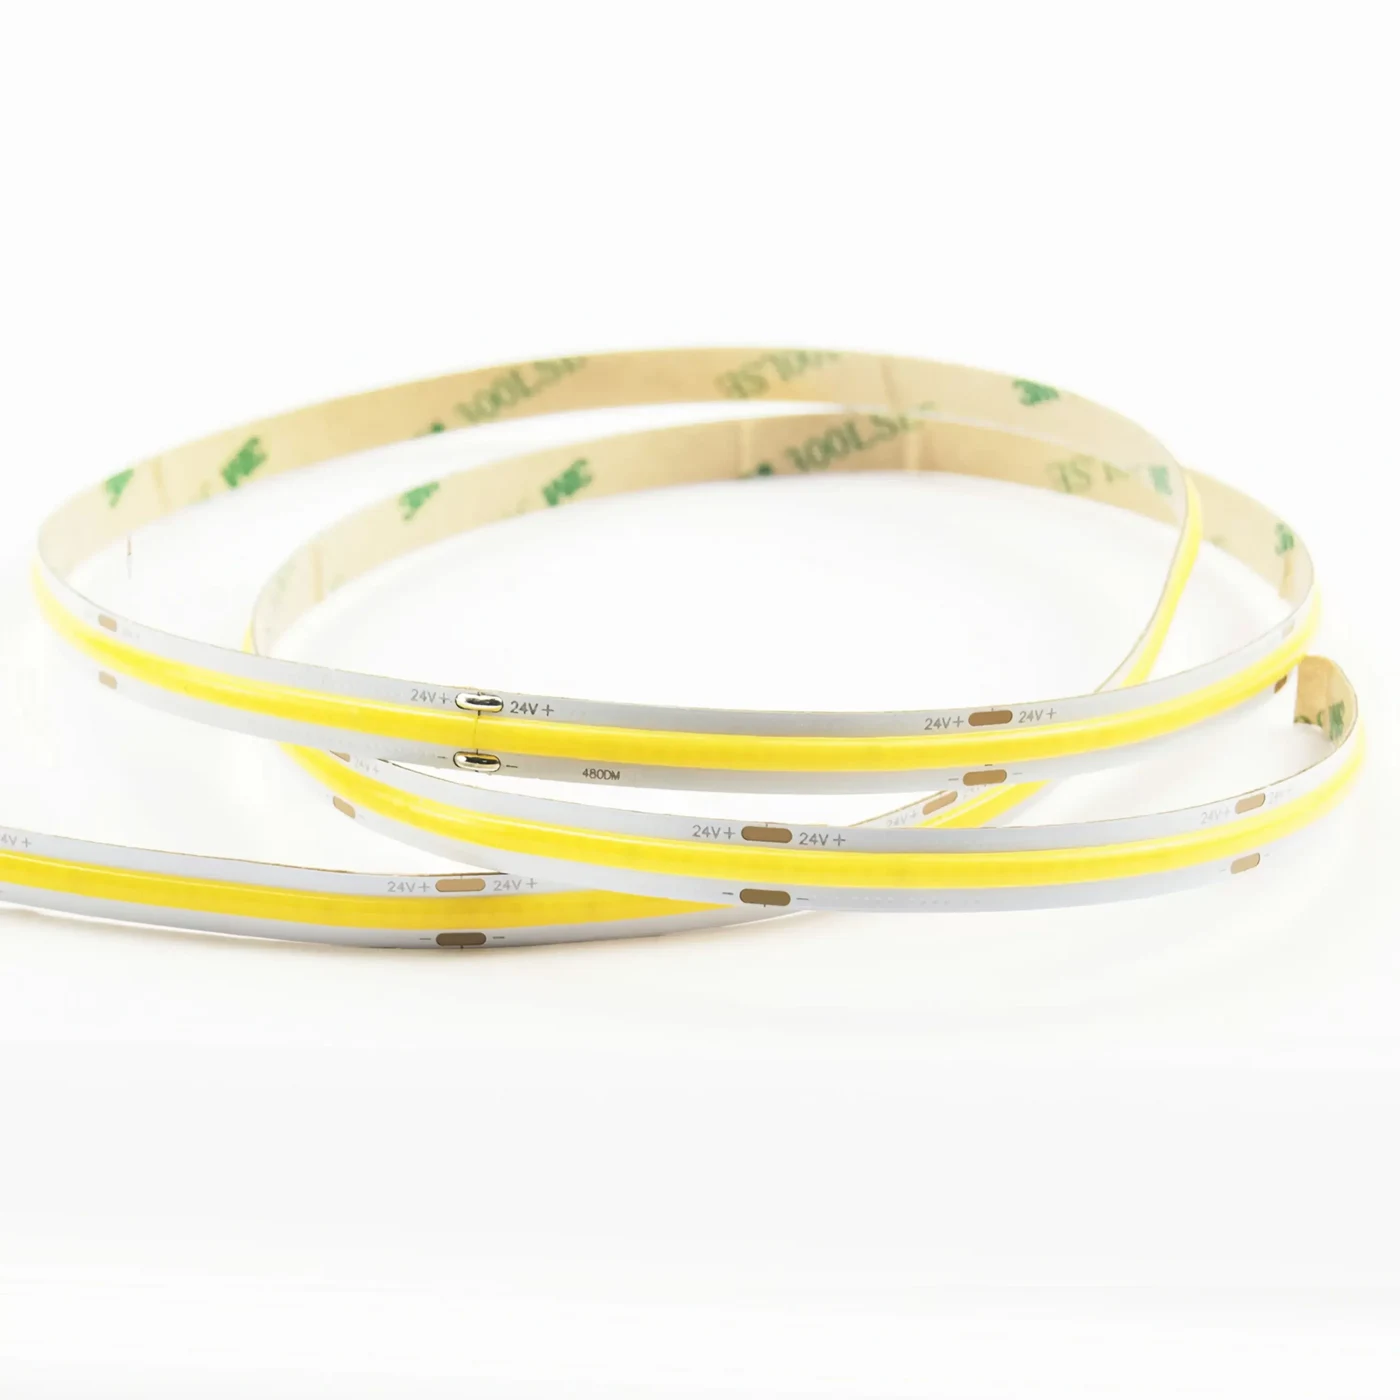
Review this detail →Photographs support the adjacent selection decisions. The exact delivered components and their performance need their own drawings, documents and sample review.

Use the real cabinet photograph to review the relationship between glass, objects and the surrounding finish. It does not demonstrate low-heat performance or a magnetic shelf power system.
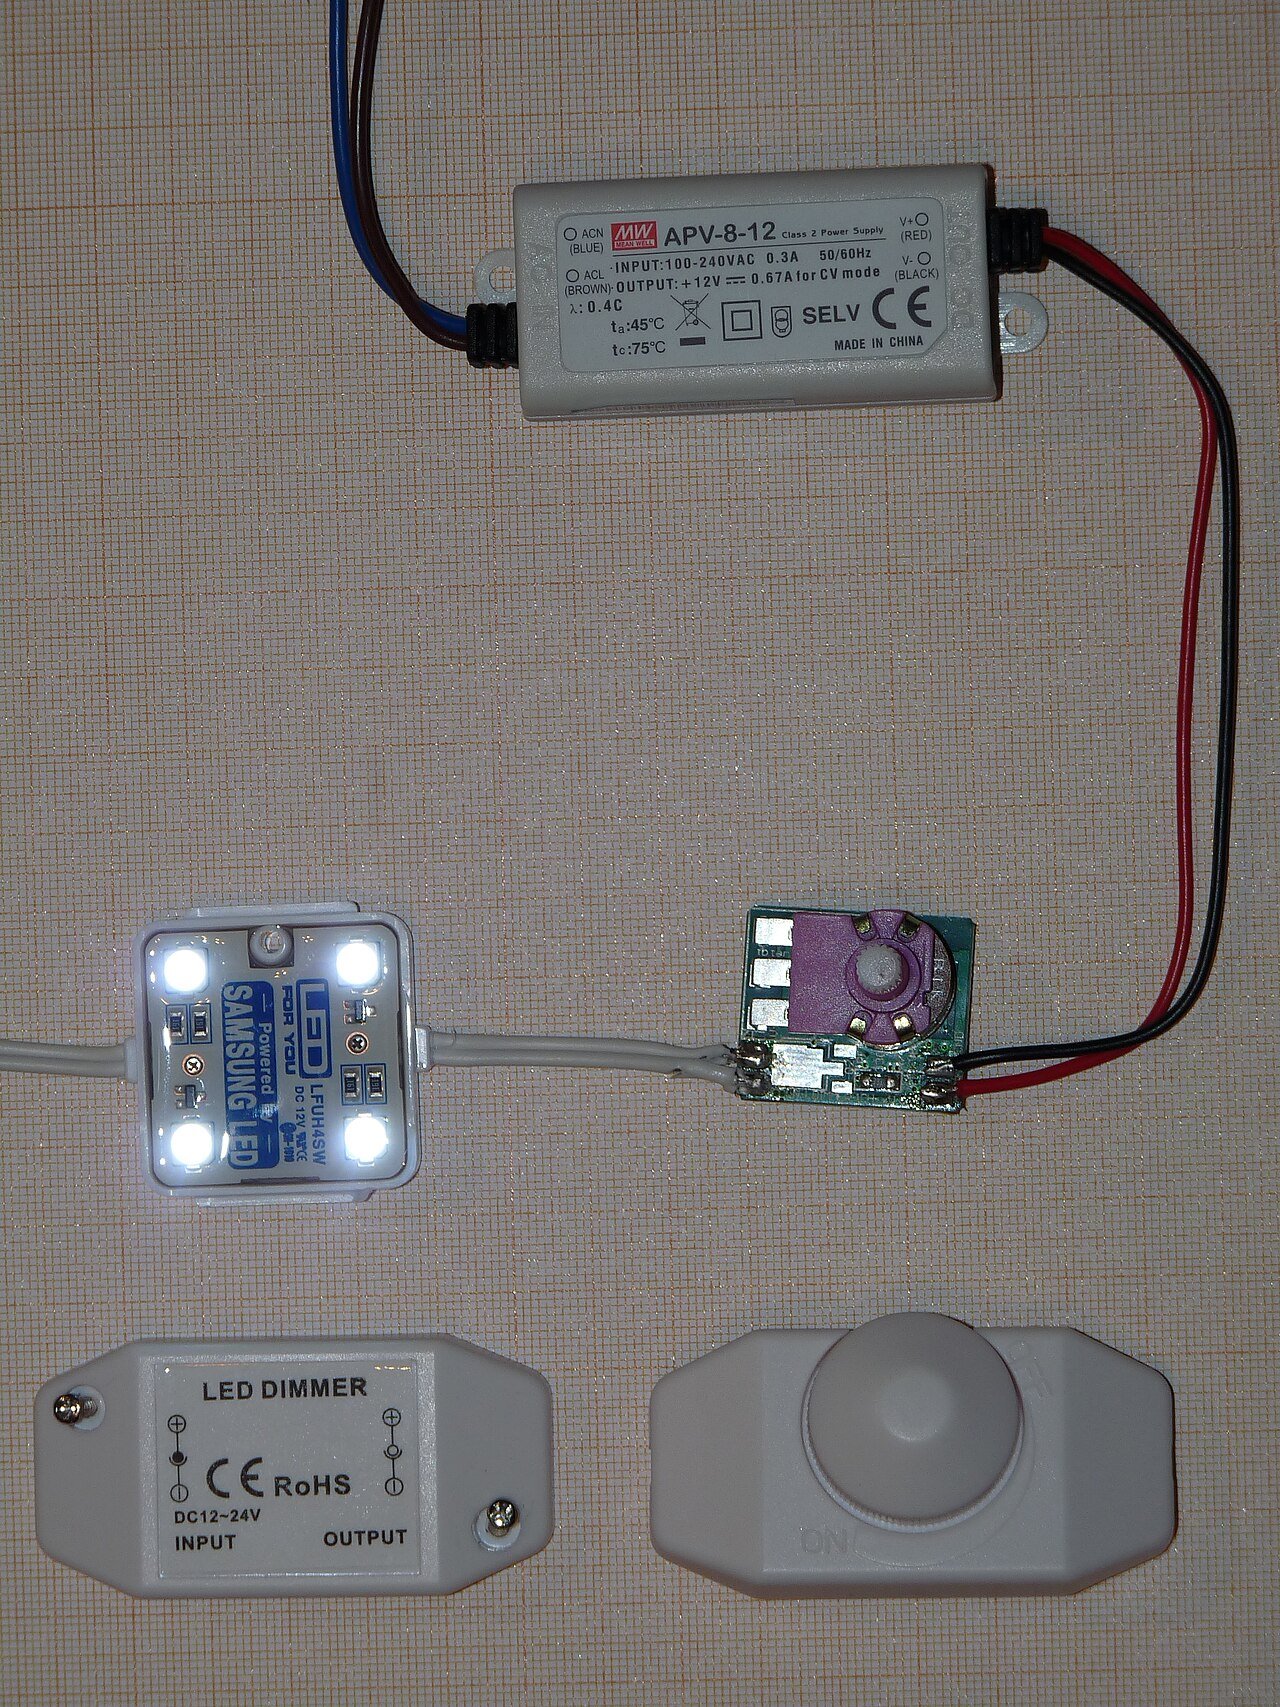
An inline dimmer is shown as a component reference. Agree which control interface the project needs; this example is not evidence of DALI-2, DMX512 or 0–10V compatibility.
Use these selection questions in the assembly brief. Confirm availability, compatibility and performance for the proposed configuration.
Coordinate the recess and the support detail; do not machine glass from a generic profile sketch.
Review the clip, diffuser and visible source pattern on a representative shelf.
Request a model-specific colour rendering report for the required CCT before specifying CRI95+.
State the selected CCT and colour consistency requirement, rather than treating both values as one setting.
Review operating power, mounting and cabinet ventilation under the intended use.
A brief using this phrase still needs thermal assessment: LED assemblies produce heat, so a heat-free result is not promised.
Confirm electrical compatibility, loading and an accessible ventilated location.
Review contact alignment, polarity, load and retention through shelf adjustment.
Clarify whether this means concealed conductive contacts or contactless power; they are different systems.
Show the concealed feed and accessible termination points on the joinery drawing.
Compare the source with the fixture dimensions and intended light effect. A complete supply schedule also identifies the profile, controls, connectors and the work included in the assembly.
State the quantity basis and open decisions. A labelled assembly schedule keeps design, purchasing and installation working from the same reference.
FREQUENTLY ASKED QUESTIONS
Practical answers for the furniture drawing, sample review and purchasing brief.
Ask a project question →Not necessarily. Review the actual bottles, labels, timber and glass with the intended warm-light samples. A very warm source can change label colours. Record the approved colour setting and whether task or maintenance lighting needs a separate circuit.
No. The source, driver and enclosed cabinet all contribute to the thermal conditions. Define the storage conditions with the cabinet specialist and assess the complete assembly. A scene photograph or the phrase low heat is not a temperature measurement.
Only with a shelf and power interface designed for the adjustment. Specify shelf positions, contact protection, electrical load and replacement access. A conductive track is not the same thing as contactless power transmission.
Include a representative glass shelf or timber section, the source and diffuser, its feed route and the intended bottles. Review reflections, exposed points, cable visibility and access before repeating the assembly across the cabinet range.
CONTINUE THE SPECIFICATION
Use the wider furniture brief to coordinate this lighting detail with adjacent modules and project teams.
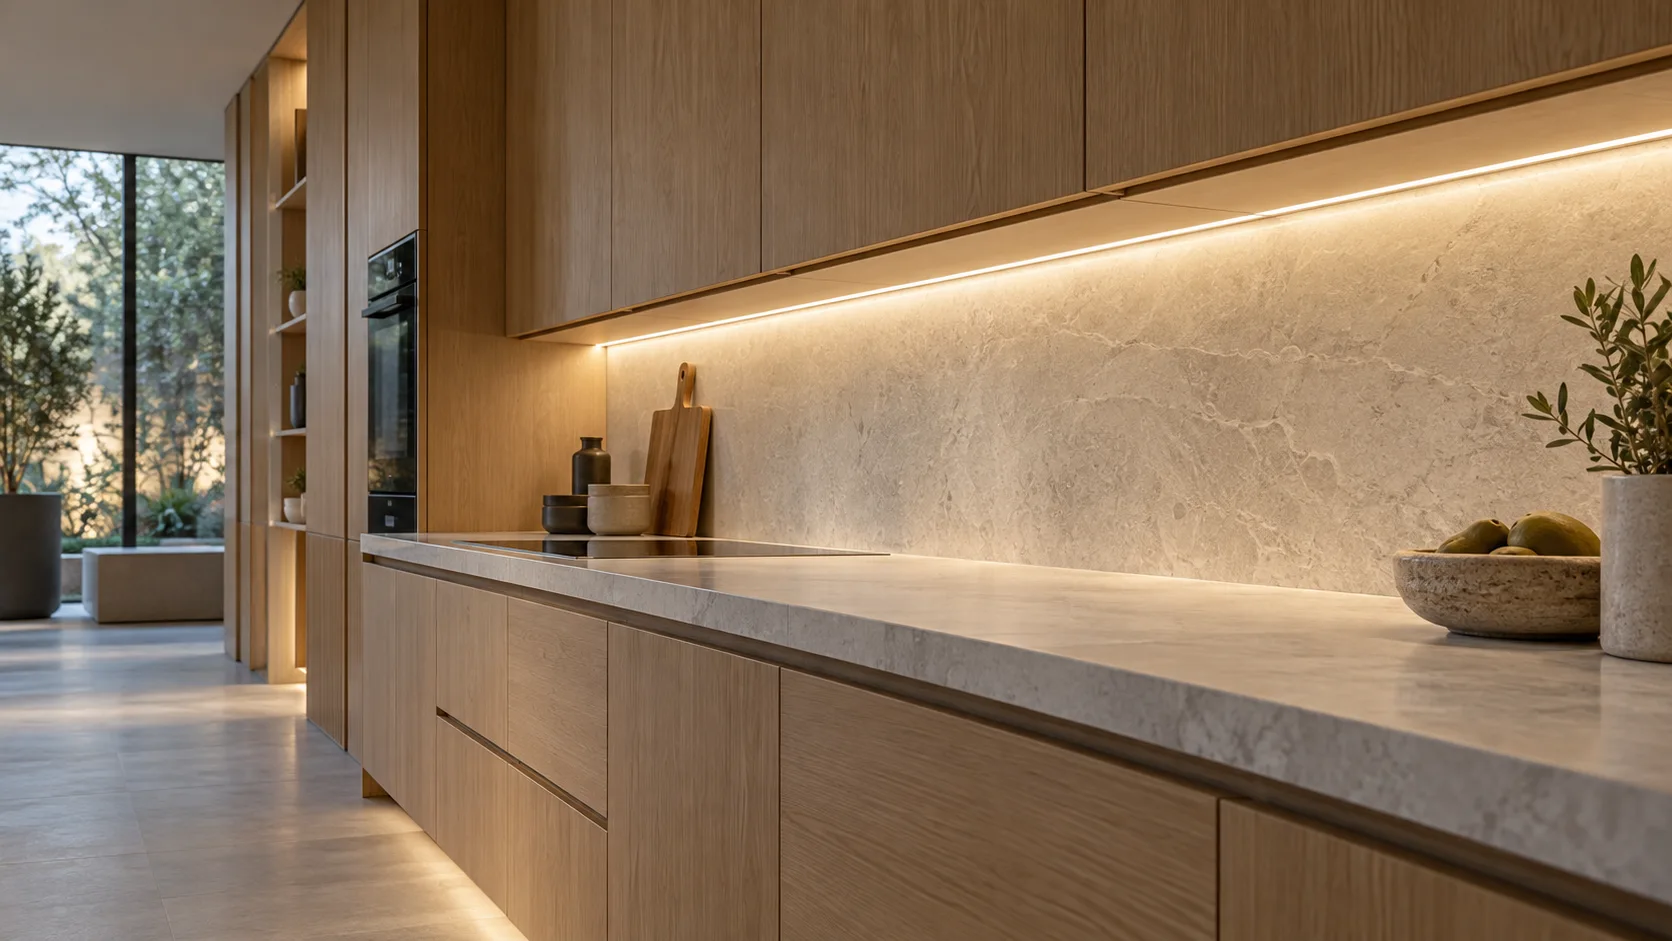
Worktop light, concealed cable routes and coordinated sensors—planned as one cabinet assembly, with cut lengths and connectors identified for each module.
View the solution →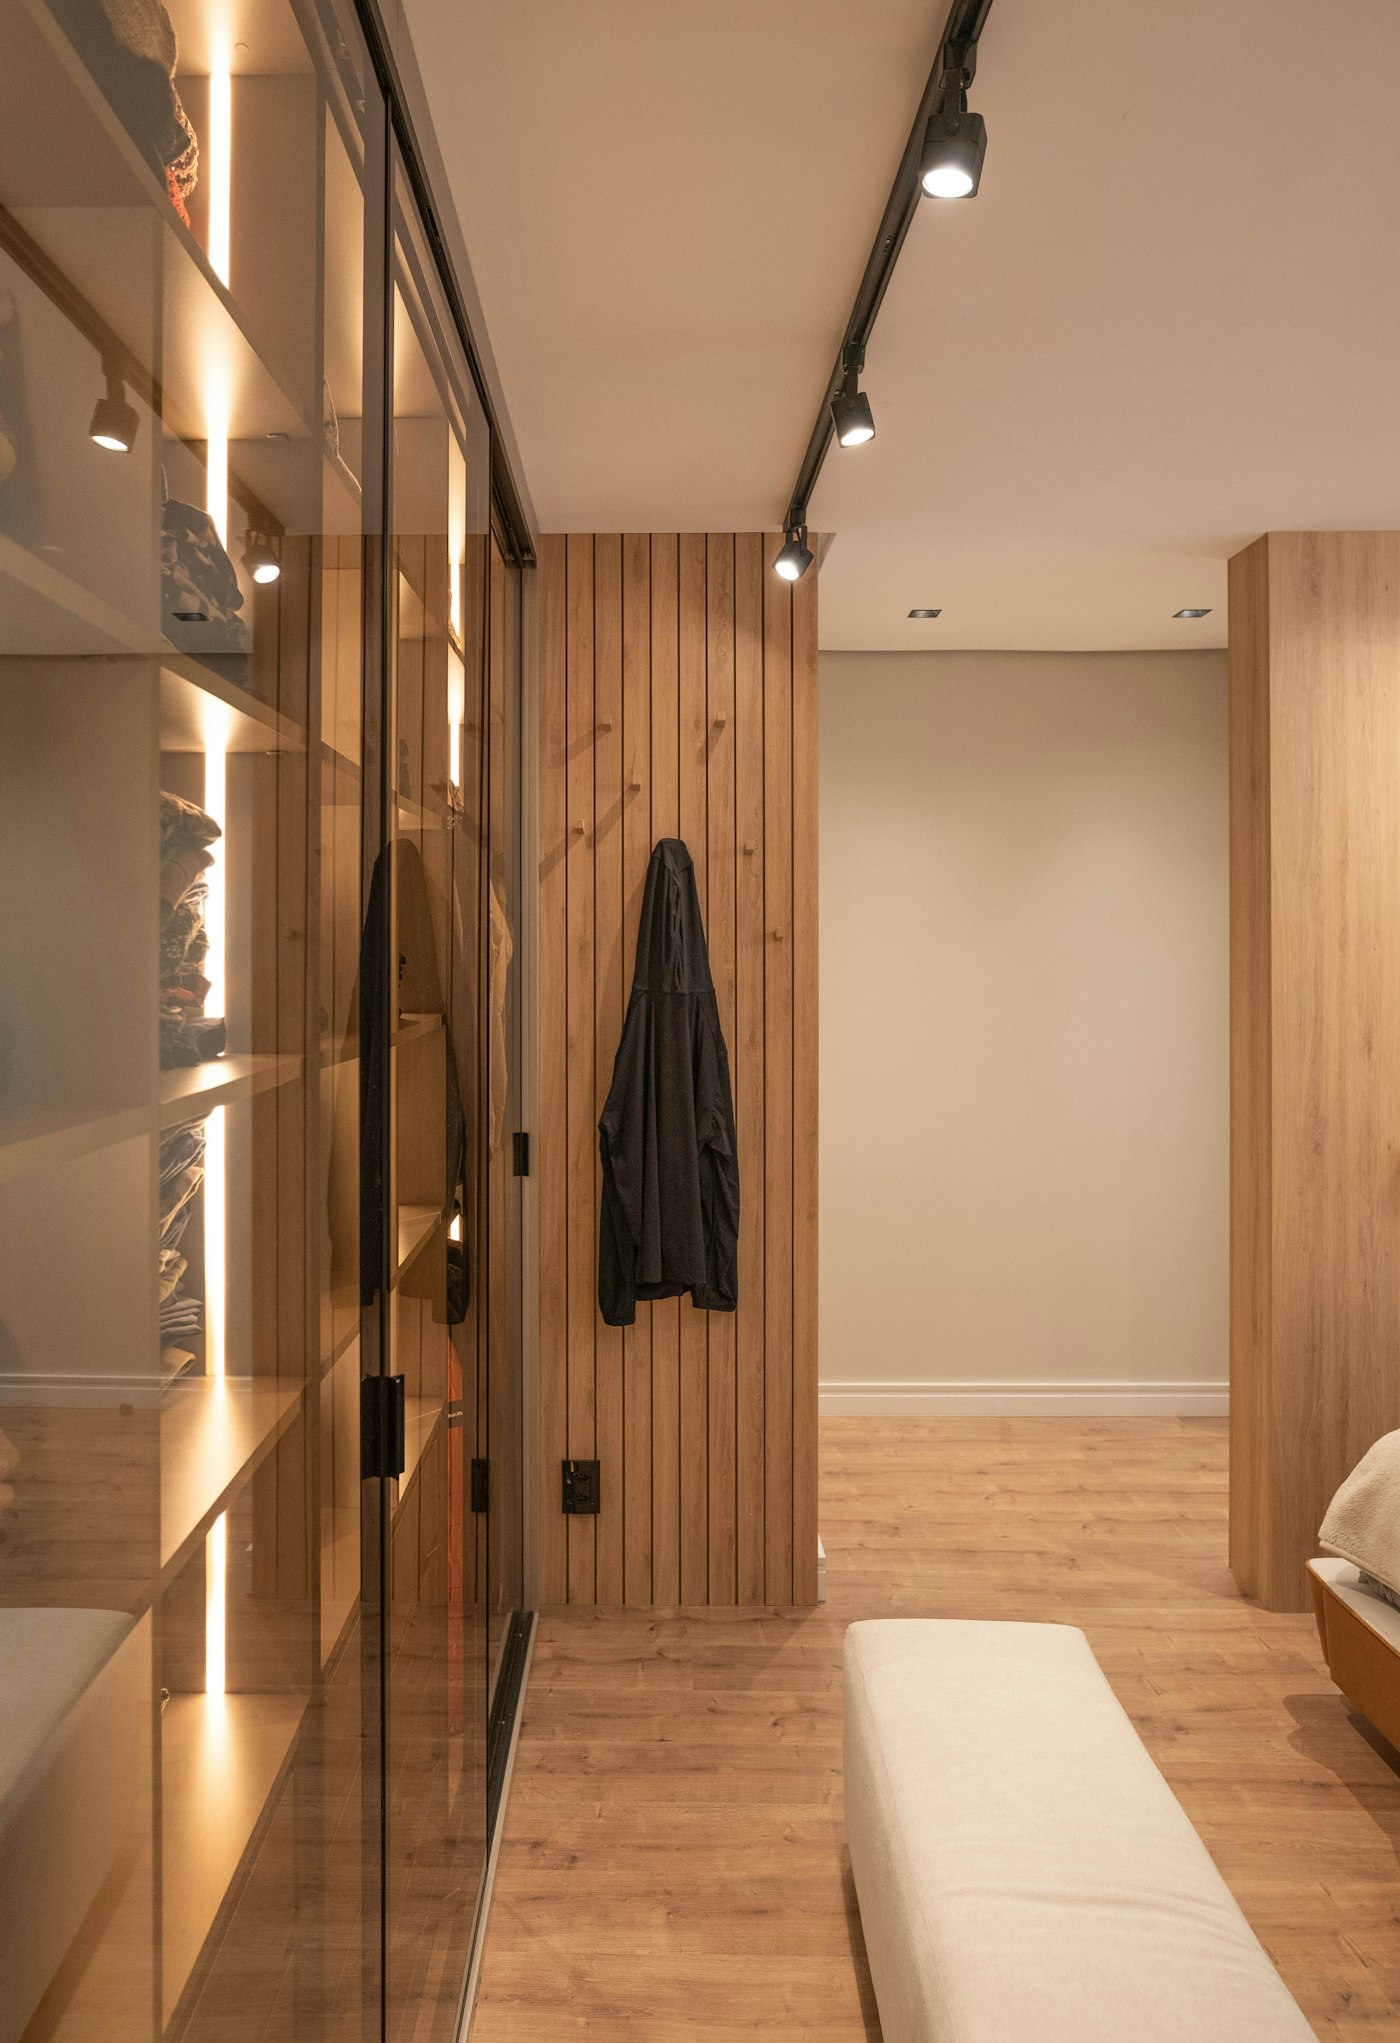
Integrated light for hanging rails, vertical panels and shoe or bag shelves. Match sensing, cable routes and light colour to each compartment.
View the solution →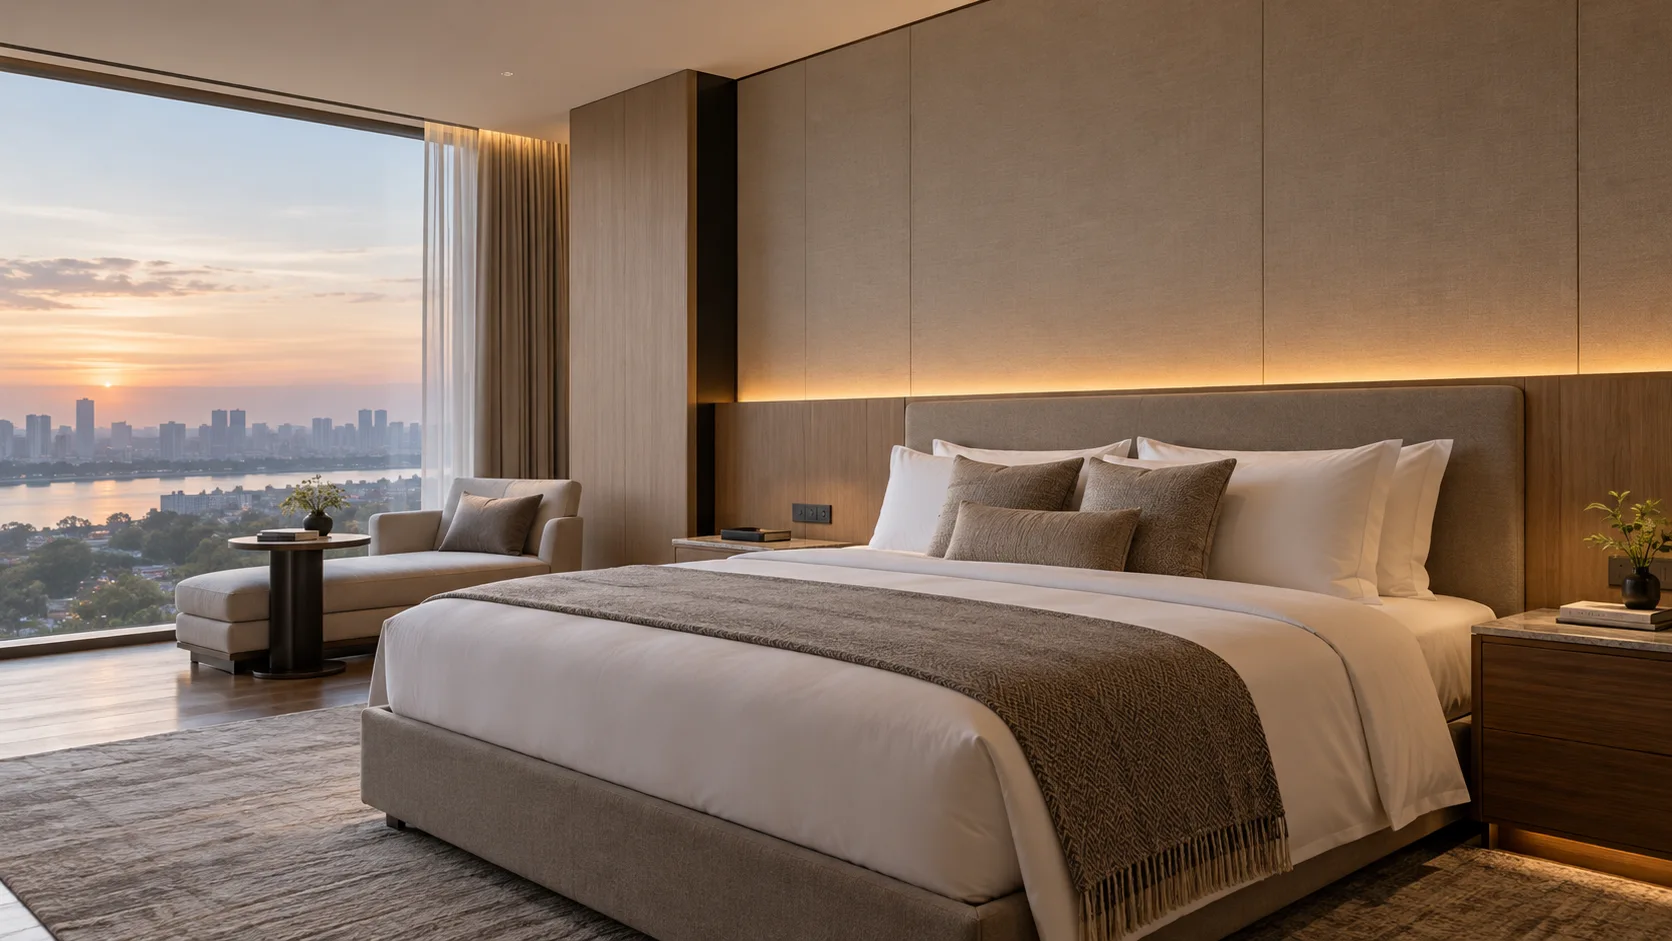
Repeatable lighting modules for shelves, headboards and fitted furniture. Keep the cut schedule, connectors, driver locations and packing list tied to the joinery drawings.
View the solution →