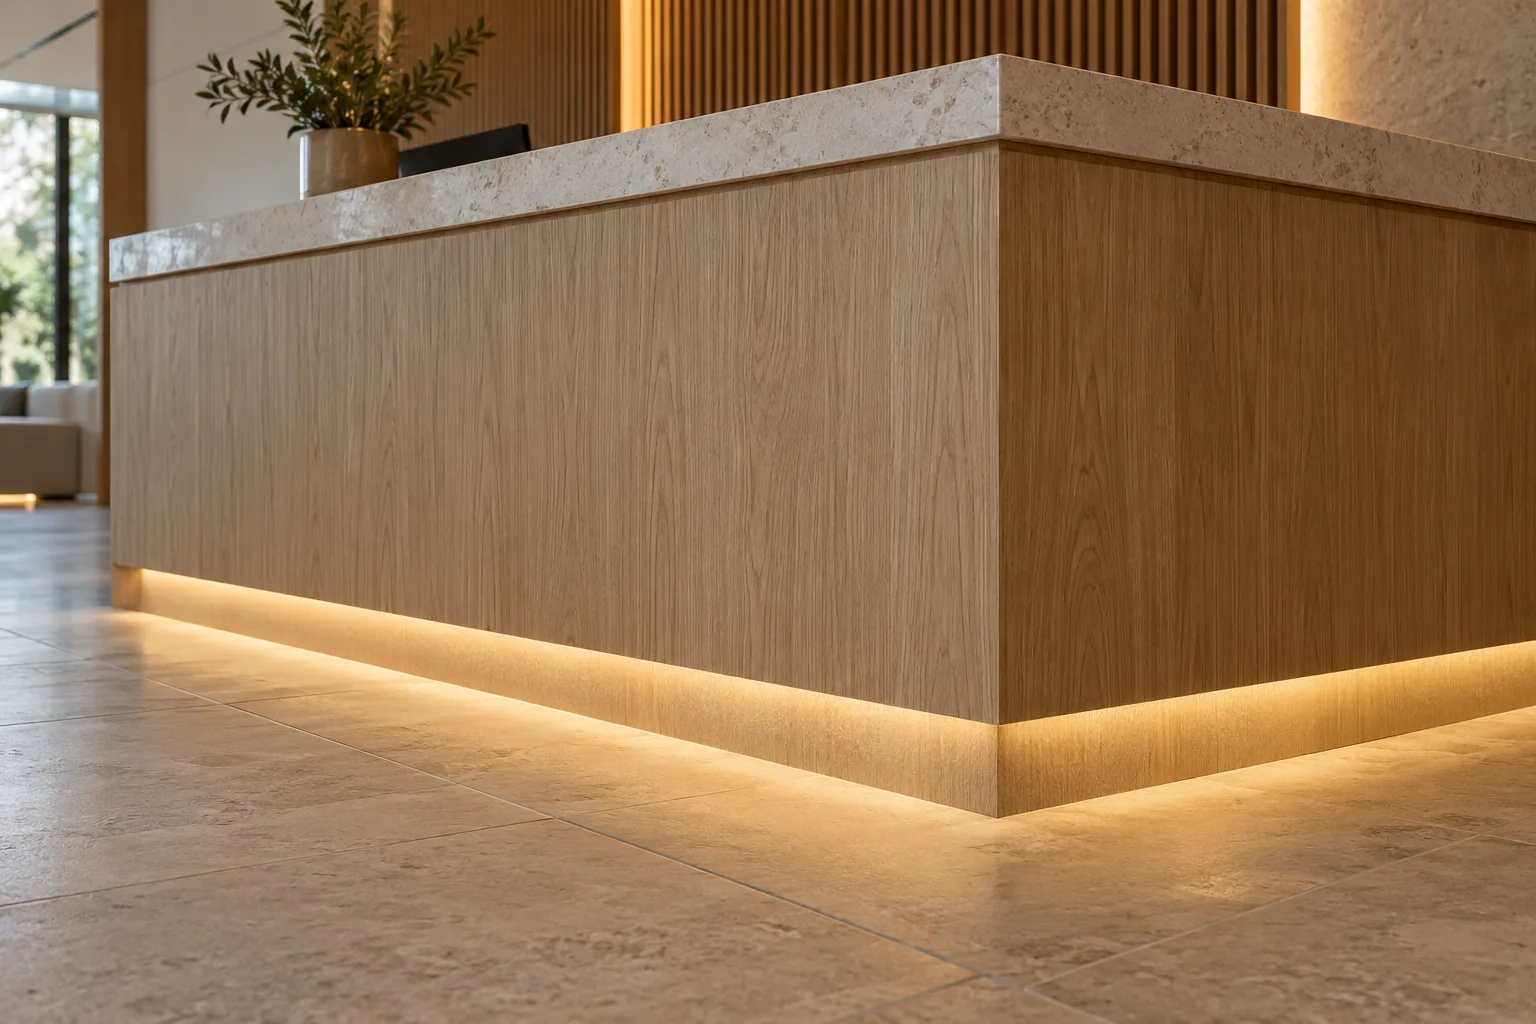
AI-generated concept illustration showing a recessed light position; not a completed project or a dimensioned detail.
Translate a signature desk detail into source sections that fit
Custom reception furniture often reaches the lighting supplier as a rendering showing one uninterrupted glow. The joinery manufacturer needs a more precise purchasing brief: what the line illuminates, how the desk is divided for manufacture and where its light assemblies can be connected. When specifying lighting for curved joinery, metal trims and stone finishes can also affect that translation. The sourcing task is to choose an assembly that follows the intended detail while fitting the production and installation sequence. Resolve those interfaces early enough that the lighting specification can inform the desk construction and its removable panels.
Recessed plinths and floating bases
An illuminated reception desk plinth depends on the base setback, floor finish and interruptions for supports or levelling access. Show those parts together on the desk section. For a desk delivered in modules, identify where the base detail is joined on site and whether the light assembly crosses that connection or ends within each removable furniture section.
Front-face reveals and curved features
Desk reveal lighting may expose a light line directly or use it to graze the adjacent face. Establish that intent before comparing a profile-based strip with an encapsulated flexible source. Show material junctions and desk radii on the drawing so the supplier can identify where source geometry and joinery geometry need separate consideration.
Transaction ledges and staff-side furniture
Lighting near a transaction ledge can be seen by visitors and staff from different heights. Review monitors, equipment, storage and knee space alongside the intended illuminated surface. If staff-side task lighting is needed, keep that function distinct in the schedule from decorative front lighting so its operation can be specified on its own terms.
See the installation behind the specification.
Each view addresses a named lighting detail. Illustrations show the design intent; select the actual components against the drawing and a representative sample.
AI-generated application illustration; not a completed BEXLIGHT project or measured performance. Component interfaces are illustrative.
Under-Shelf Recessed Joinery Lighting
Coordinate machining, light direction and the shelf support before the section is released for cutting.
Photographs support the adjacent selection decisions. The exact delivered components and their performance need their own drawings, documents and sample review.
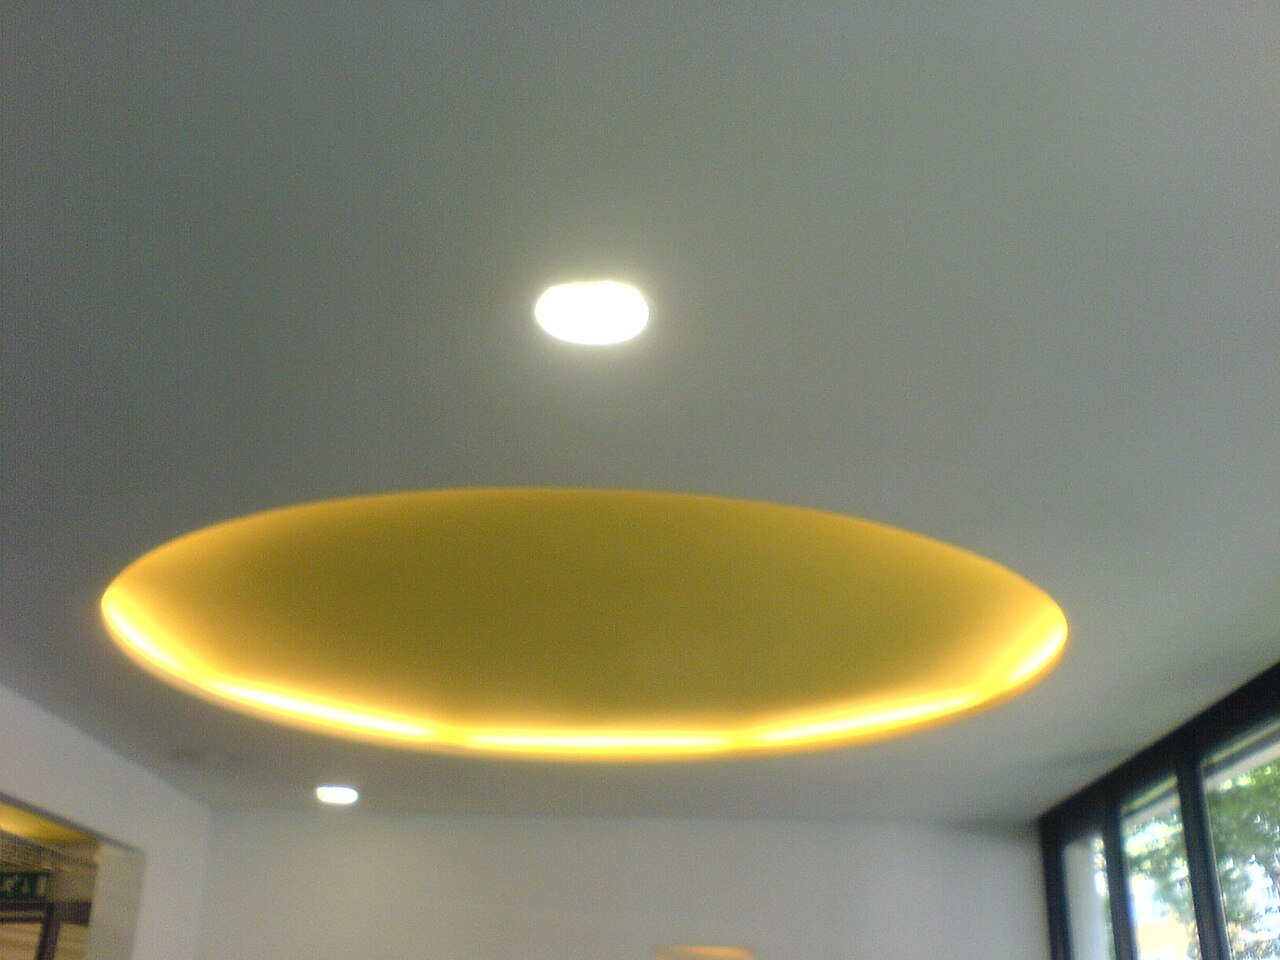
External reference photograph. Not a BEXLIGHT installation or a supplied component approval. Reproduced unchanged. Photo: User:Mattes · License.
Read the illuminated surface
A real indirect-light installation shows how the architectural surface becomes part of the effect. The source position, finish and access must be resolved for the project.
A source that fits the finished detail.
Compare the light line, assembly envelope and control requirements together. The routes below are starting points for a specification discussion.
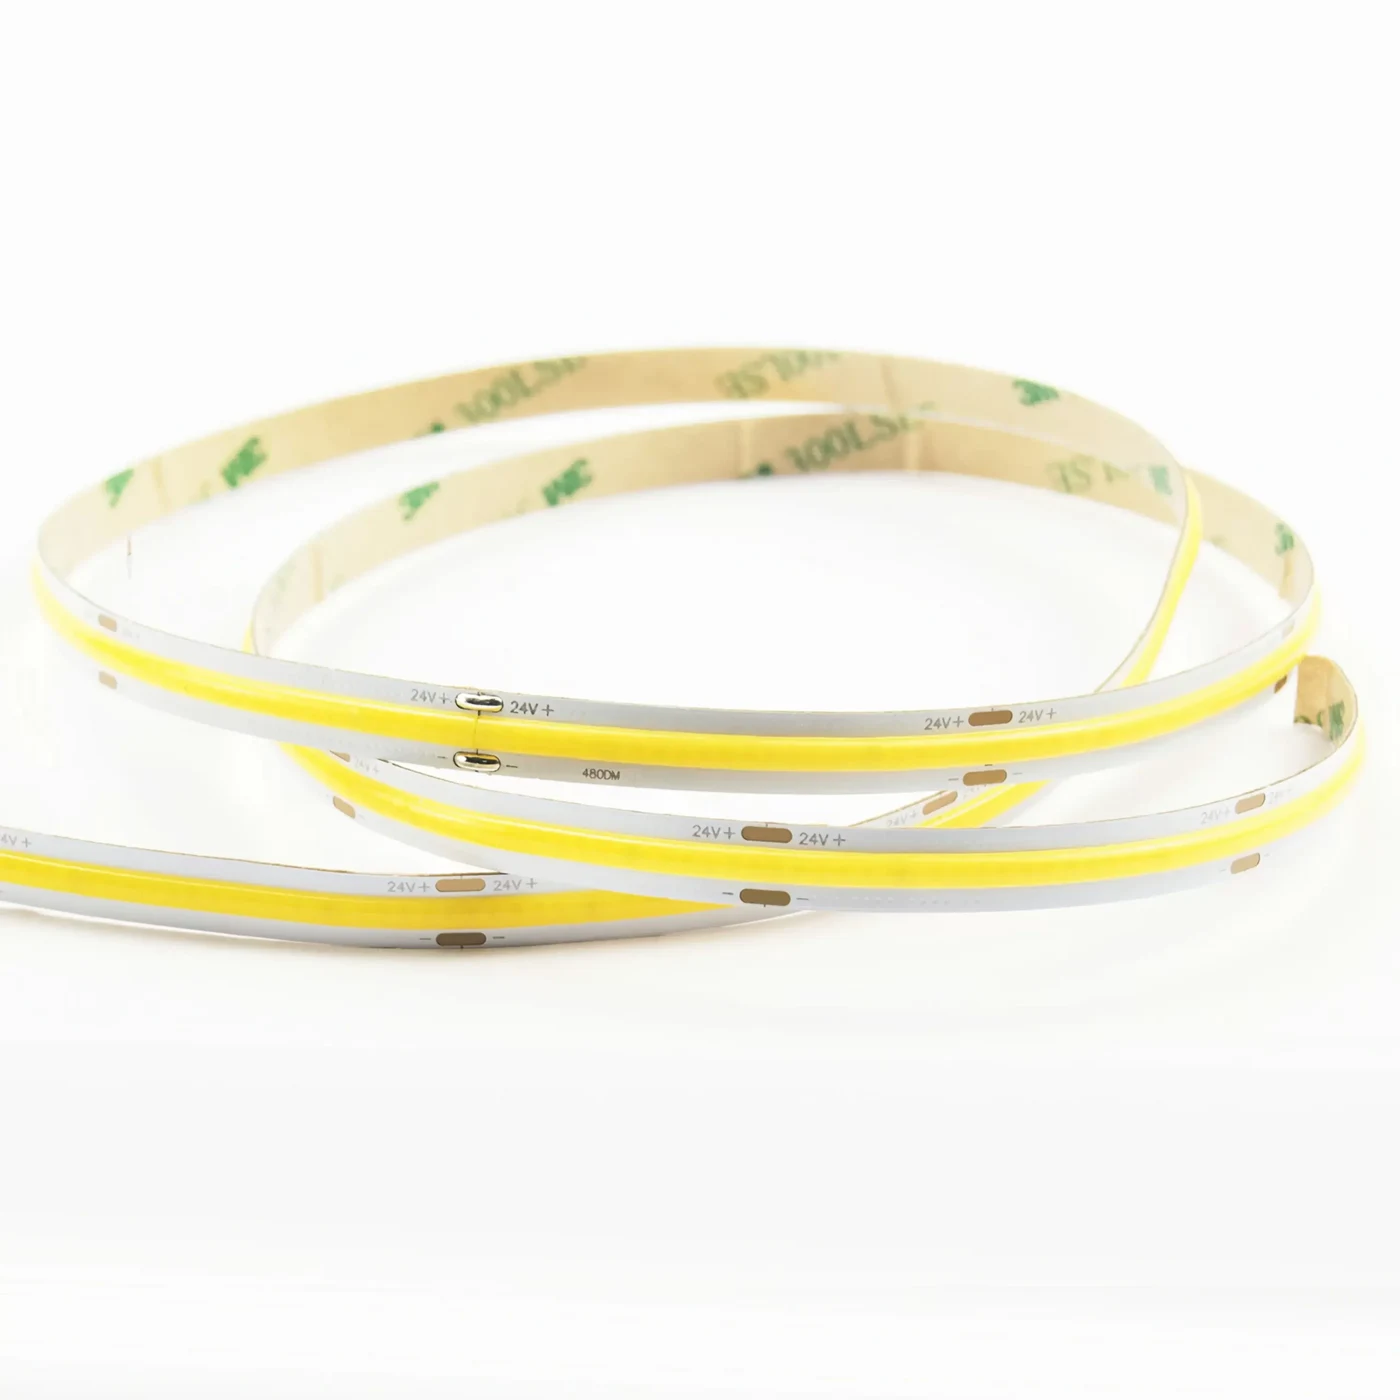
Catalogue reference SR005-320PCOBIP20; final configuration requires review.
For concealed washes within a removable profile assembly
Consider COB when a shallow reveal needs a closely integrated source behind a cover. Test the chosen assembly against the actual desk finish and floor because reflected views can be as significant as the direct view.
A flexible PCB should not be assumed to follow every desk curve. Check the permitted source and profile geometry for the detail.
Catalogue reference SR006-1004TF-140P2835IP67; final configuration requires review.
For a deliberately visible line around compatible curves
Consider Neon Flex when the luminous face forms part of the desk’s design and the exact product can follow the required bending plane. Include mounting, end treatment and cable exits in the proposed curved furniture assembly.
Confirm product-specific curves and material compatibility. A luminous contour and an indirect plinth wash are different assemblies with different acceptance conditions.
Use the fixture drawing, component documentation and a representative assembly to turn the visual brief into a repeatable specification.
01
Define the light line’s job
Distinguish a visible illuminated contour from an indirect wash or work-area light. Mark the intended lit face and the surfaces that should remain dark. Check the effect from the visitor approach, seated visitor and staff positions; an attractive frontal rendering does not show all direct views of the source.
02
Resolve curves as product geometry
For a flexible visible line, map the actual product bending plane, permitted radius and end geometry to the desk drawing. Request the exact installation instructions instead of applying another neon product’s dimensions. For indirect strip lighting, identify corners and joints in the mounting profile. Show where active light ends and cable routing begins.
03
Coordinate the service path
Demonstrate access to the driver and removable light sections from the finished desk. Allow for connectors, tools and cable movement without clashing with storage or equipment. Confirm the cleaning materials and contact surfaces with the relevant component instructions before selecting an attachment or termination process.
04
Approve the built section
Make a representative curved or corner section using the intended finish. Observe continuity, reflected light and the agreed operating scene. Record the source, mounting components and drawing revision. Keep optical approval distinct from the electrical designer’s review of the supply and branch loading.
From an initial brief to a controlled assembly.
Provide plan and section drawings, the target visual effect, finish samples and the number of desks or repeated modules. Mark unresolved curve dimensions before requesting a finished-length quotation.
Decision
What to check
Record or boundary
Sightlines
Visitor, seated and staff positions
Desk-section mock-up
Curves
Product-specific permitted geometry
Scaled mounting drawing
Replacement
Access from completed joinery
Demonstrated service sequence
Desk plan and curved radii
Plinth or reveal cross-section
Surface and floor finishes
Furniture delivery module breaks
Driver and source access route
FREQUENTLY ASKED QUESTIONS
Application FAQ
Selection, integration and repeat-supply questions for this application.
A rendering can establish the intended effect, but a useful finished-section quotation also needs scaled geometry and assembly information. Add plan radii, reveal sections, desk module breaks and possible cable exits. If those details are still developing, request a candidate assembly review while keeping the assumptions visible instead of treating the illustration as fabrication information.
02How should the lighting follow a desk shipped in several sections?
Map reception counter lighting modules and connections to the furniture delivery sections before pricing the assembly. Decide which connections are made in the workshop and which occur after the desk is positioned. Keep the visible joint treatment and service route in that decision so an easy transport split does not introduce an unreviewed lighting break at installation.
03Does a metal or stone desk finish change source selection?
The finish can affect reflections, mounting options and the accessible assembly space. Review its actual sample with the source detail rather than selecting solely from a colour description. Give the supplier the intended contact materials and installation method, then obtain the relevant component instructions before approving attachment or any required sealing process.
04What information is needed for a replacement after the desk is installed?
Retain the desk module and lighting-section identifiers with the finished-length drawing, lead exit and mounting components. Include the access panel or removal sequence used to reach the assembly. This allows a replacement enquiry to describe a defined part and its interfaces, even when the original joinery installer is no longer responsible for the reception area.
Share the fixture or route drawing, quantities, target market and the decisions still open. Include your company and whether you are preparing a sample, a project or repeat production.