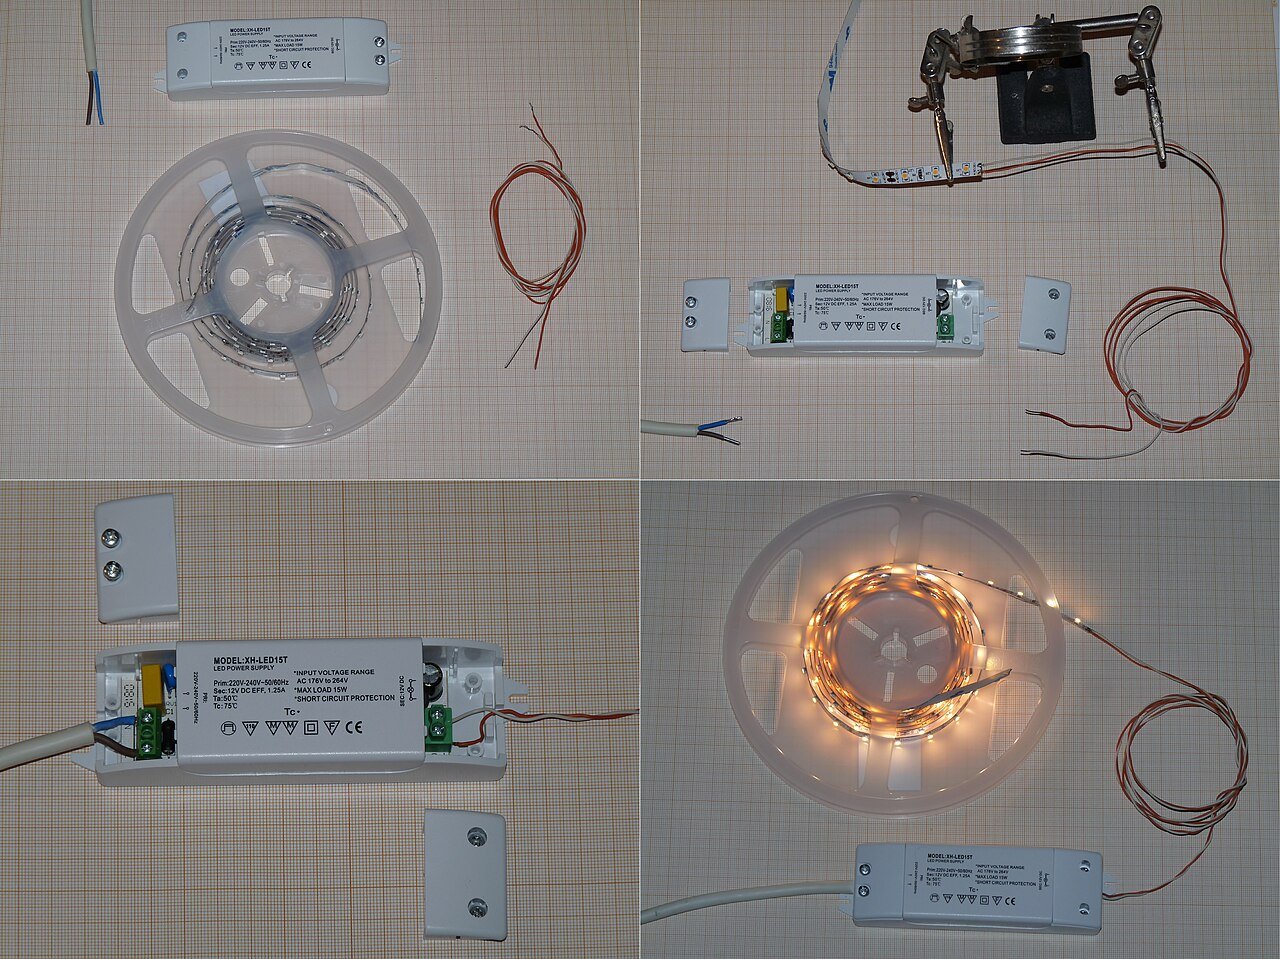
Cable exits and replaceable connections
Identify the cable exit, termination space and route back to the supply. Keep each joint reachable for inspection and replacement, and use the selected connector drawing to check the mating parts.

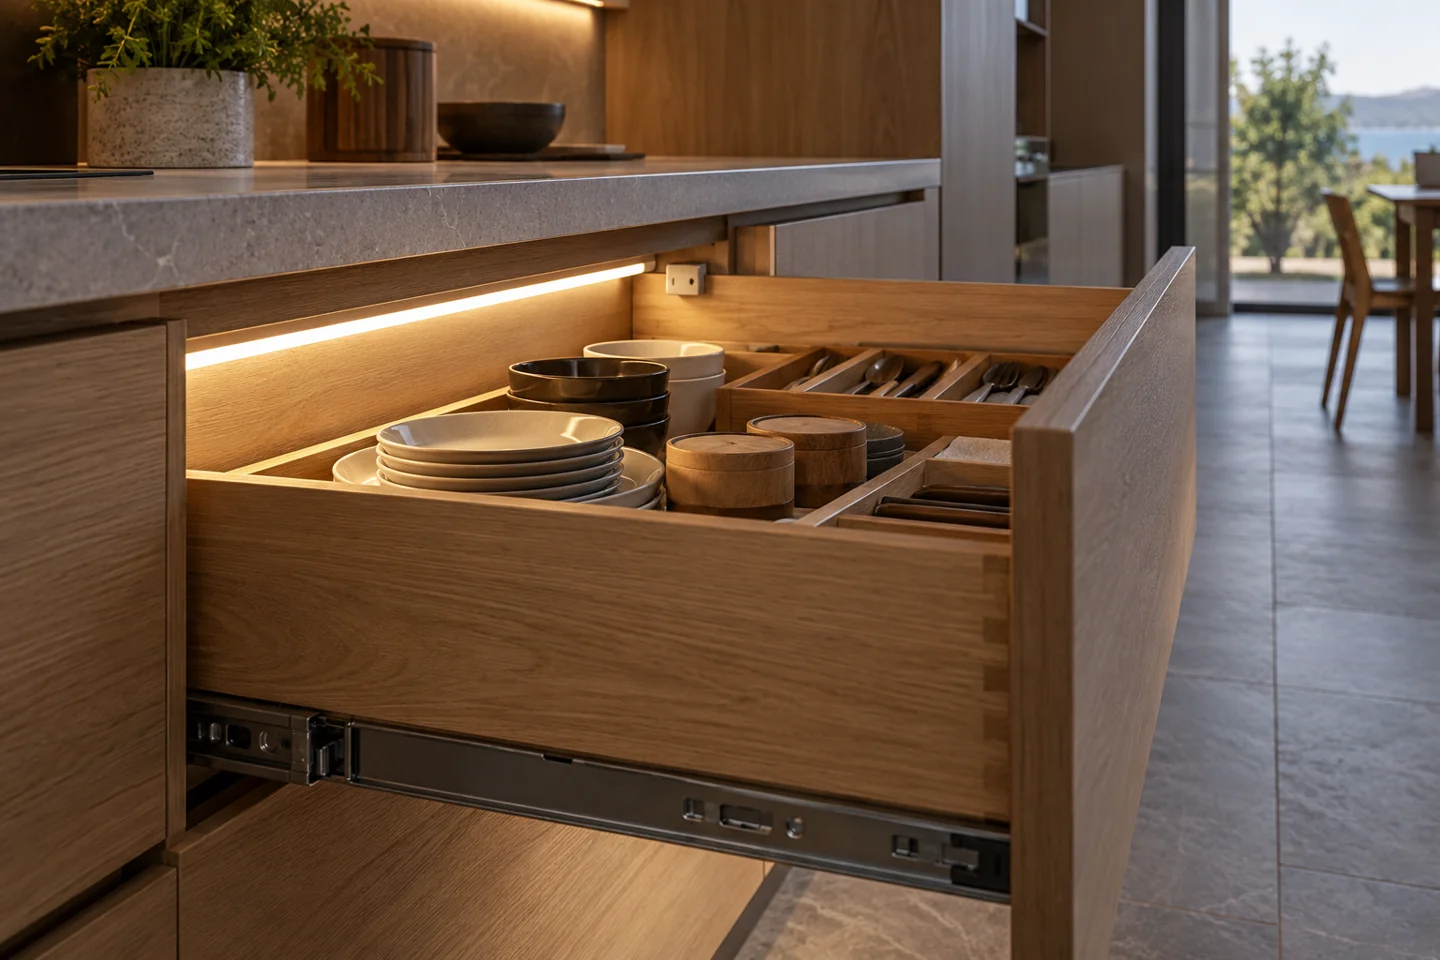
Keep illumination out of the drawer runner envelope. Plan how the light switches, how the cable moves and how a replacement can be reached.
Discuss this assemblyKeep illumination out of the drawer runner envelope. Plan how the light switches, how the cable moves and how a replacement can be reached.
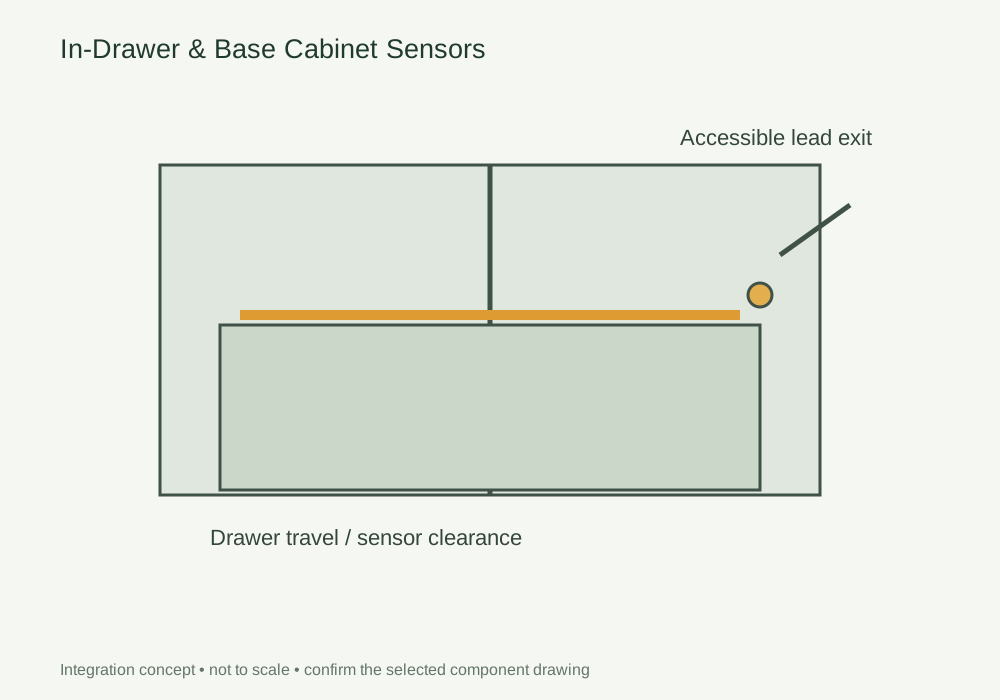
Show the drawer closed and fully extended, including runners, dividers and cable travel. Identify whether the light is fixed to the cabinet or moves with the drawer.
Route moving leads away from runners and pinch points. Select the sensing principle around the movement, then record the switch position and connection access.
Cycle the loaded drawer through open, partly open and closed positions. Check detection, switch-off and cable movement before approving the mechanical and electrical assembly together.
DESIGN DECISIONS
A sensor that works on an empty cabinet may behave differently after cutlery trays, dividers and a full drawer are installed. Decide first whether the light is fixed in the carcass or carried by the drawer. This determines the cable movement, shadow pattern and position from which the light can be serviced.
| Decision | Required input | Review with the sample |
|---|---|---|
| Mechanical clearance | Runner envelope and full-extension drawing | Keep the channel and leads outside sliding and pinch zones |
| Detection | Closed gap and loaded drawer arrangement | Review door sensing versus motion sensing with the finished drawer |
| Lead routing | Fixed and moving cable sections | Provide a service loop only where the mechanism permits it |
Use this concept to mark mounting positions, cable paths and service clearances on your fixture drawing. Dimensions and component references belong on the project drawing before machining.
Photographs support the adjacent selection decisions. The exact delivered components and their performance need their own drawings, documents and sample review.
Identify the cable exit, termination space and route back to the supply. Keep each joint reachable for inspection and replacement, and use the selected connector drawing to check the mating parts.
Use these selection questions in the assembly brief. Confirm availability, compatibility and performance for the proposed configuration.
Confirm detection coverage with the drawer open, closed and partly extended.
Agree the switching method and the position of the door actuator.
Check channel depth, runner clearance and the cable exit before machining.
Compare the source with the fixture dimensions and intended light effect. A complete supply schedule also identifies the profile, controls, connectors and the work included in the assembly.
This detail includes components beyond an LED strip. The catalogue does not identify a complete, approved kit for this arrangement. Send the fixture section and required operation so the source, control and mechanical interfaces can be reviewed together.
Compare catalogue light sources → Review the wider furniture system →
Discuss components for this detailState the quantity basis and open decisions. A labelled assembly schedule keeps design, purchasing and installation working from the same reference.
FREQUENTLY ASKED QUESTIONS
Practical answers for the furniture drawing, sample review and purchasing brief.
Ask a project question →A fixed light simplifies cable routing, but the drawer contents and front may block it. A moving assembly requires a validated flexible lead route. Review both against the actual mechanism.
Cycle a loaded drawer, check the switch-off condition and inspect the lead at full travel. Keep the approved runner, sensor and harness references together.
Draw the fully open and fully closed positions, then route the cable with clearance from runners and stored objects. Agree strain relief and the movement test with the selected harness supplier. A static photograph does not verify repeated movement.
Include Drawing revision and finished dimensions, Module quantity and order basis, Source, profile and control references. Add quantities by furniture module and identify the configuration or sample already selected. This gives the drawing review a defined scope before pricing and assembly approval.
CONTINUE THE SPECIFICATION
Use the wider furniture brief to coordinate this lighting detail with adjacent modules and project teams.

Set the light line around the worktop and backsplash. Check the channel angle, diffuser, hand position and feed location on the cabinet drawing.
View the solution →
Treat the plinth, floor finish, corners and cleaning exposure as one installation detail.
View the solution →
Define the ceiling reveal and the access route for the driver and distribution leads.
View the solution →