Source placement beneath a shelf
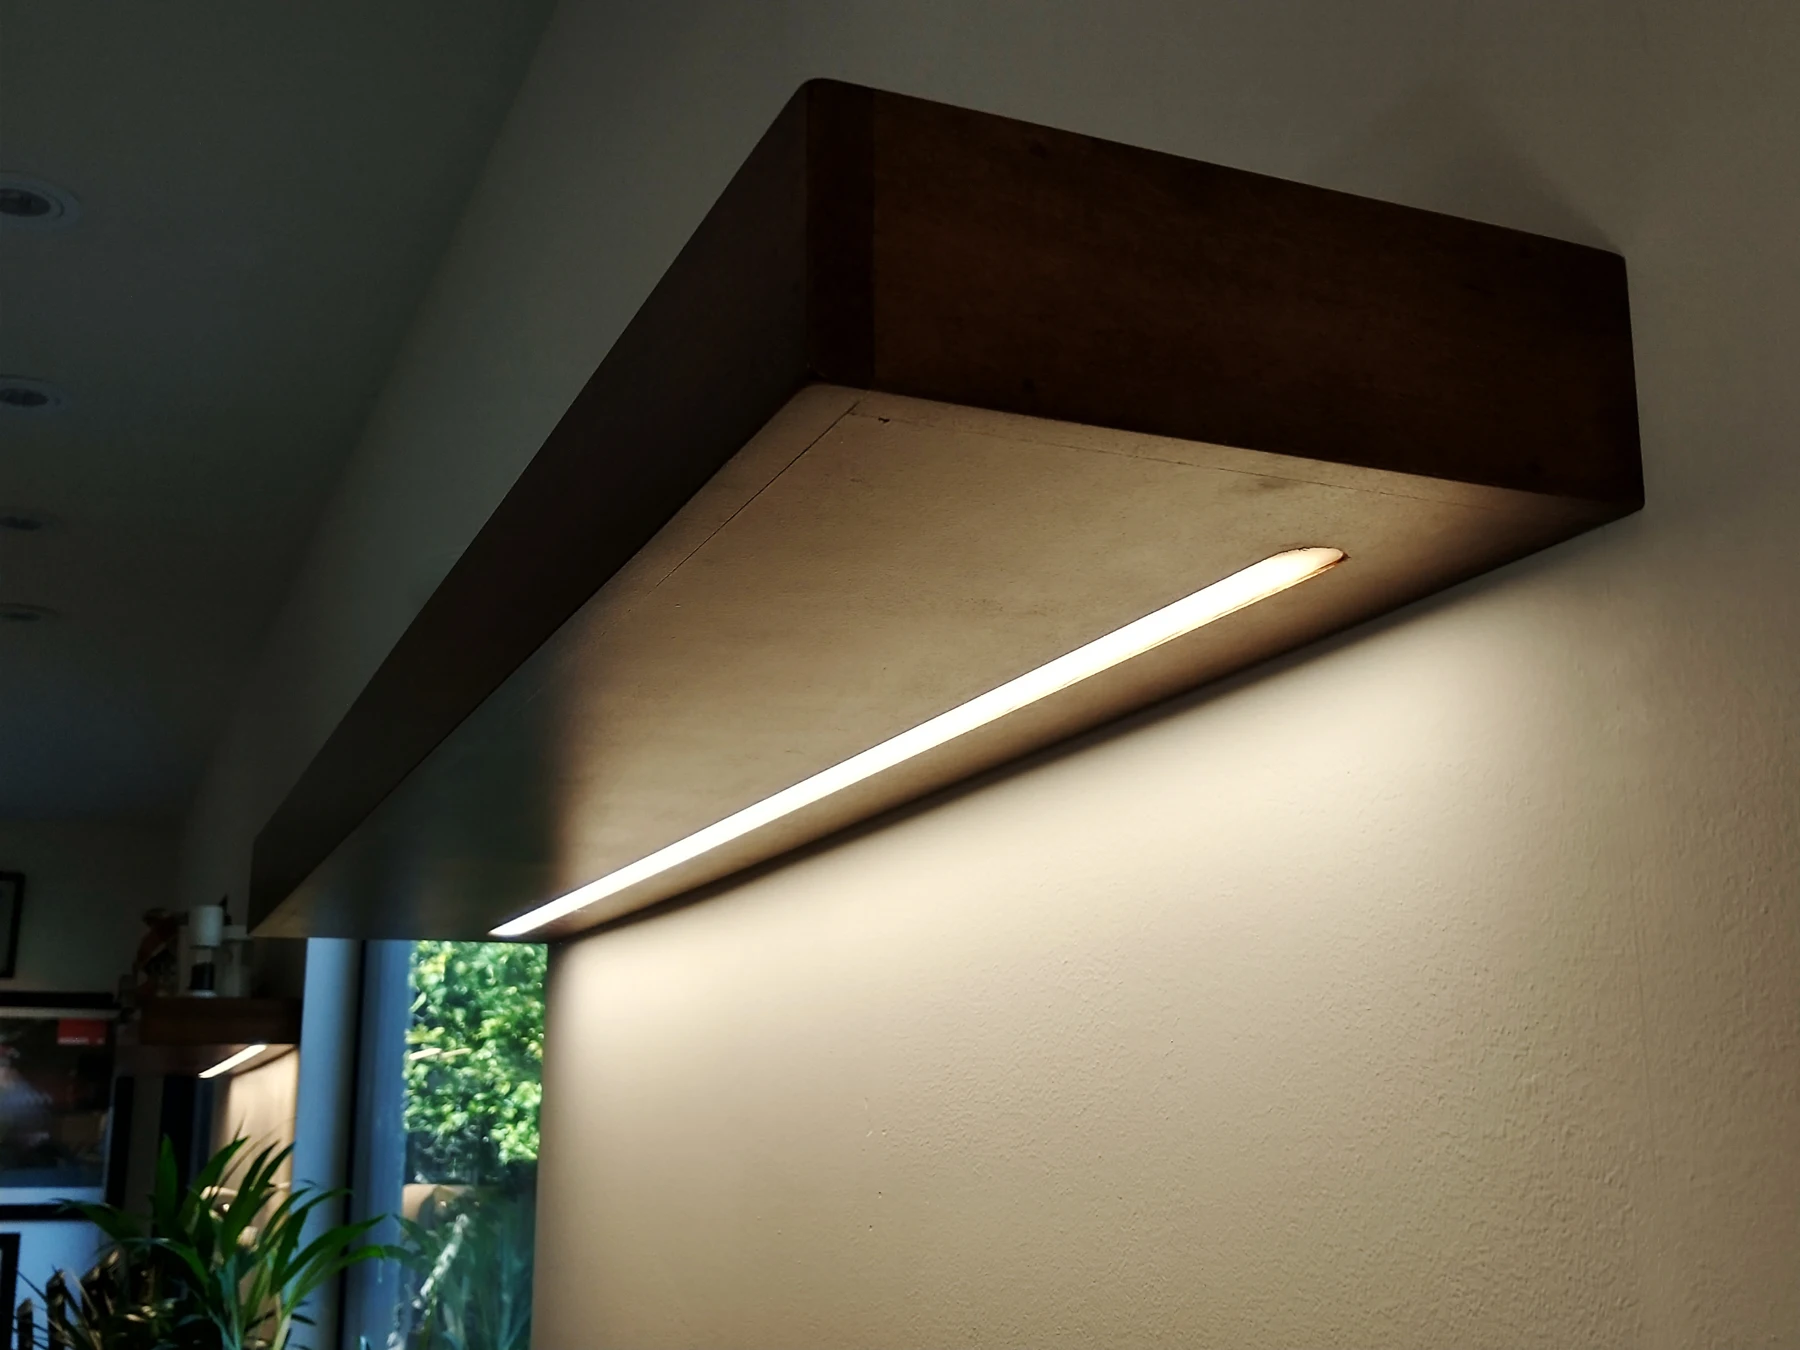
The photograph shows a completed under-shelf installation. Compare the source setback and reflective surfaces; it does not document the LED model or measured output.


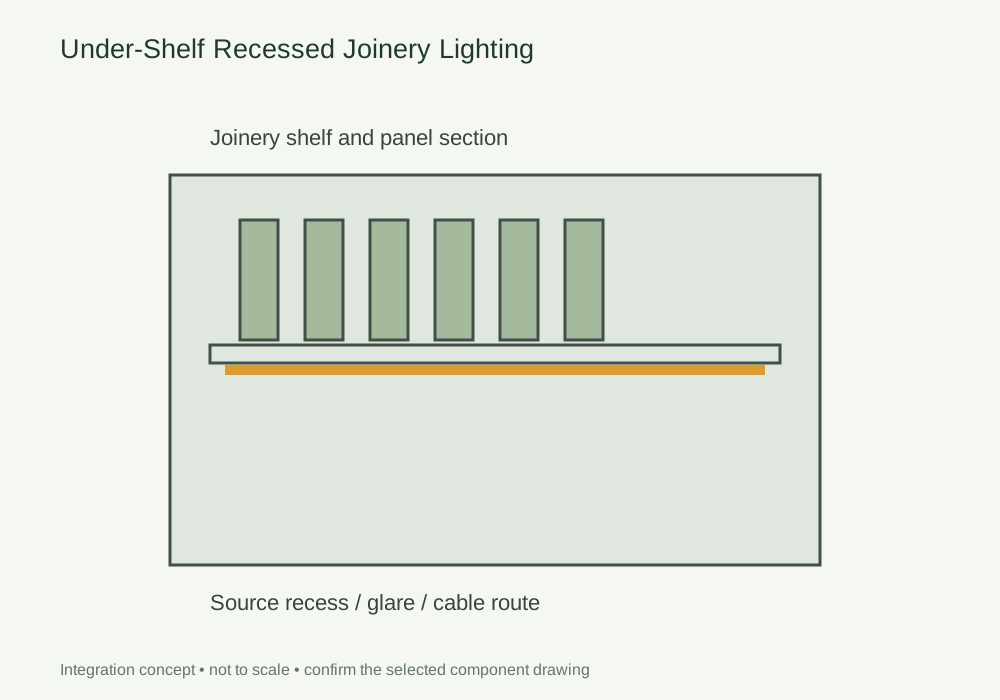
Coordinate machining, light direction and the shelf support before the section is released for cutting.
Discuss this assemblyCoordinate machining, light direction and the shelf support before the section is released for cutting.
Coordinate the groove with panel thickness, supports, fasteners and the front edge. Tie machining dimensions to the selected profile revision and intended light direction.
Choose recessed or surface mounting around the panel and fixing access. Resolve cable routing and diffuser installation before closing or fixing the shelf.
Inspect the assembly with a representative loaded shelf and finish. Check glare and visible connections, then retain groove, fixing and lead details for the other shelf sizes.
DESIGN DECISIONS
A shallow groove can weaken a thin shelf or clash with a concealed fixing. The channel section, fixing method and cable route should therefore be coordinated with the joinery drawing before production. A front lip may help shield the light, but it can also cast a shadow across objects at the back.
| Decision | Required input | Review with the sample |
|---|---|---|
| Machining | Panel thickness, groove and fasteners | Work from the selected profile section revision |
| Mounting | Recessed versus surface installation | Choose around available material and access |
| Presentation | Objects, front lip and source position | Review shadowing and source visibility on a loaded shelf |
Use this concept to mark mounting positions, cable paths and service clearances on your fixture drawing. Dimensions and component references belong on the project drawing before machining.
Photographs support the adjacent selection decisions. The exact delivered components and their performance need their own drawings, documents and sample review.
The photograph shows a completed under-shelf installation. Compare the source setback and reflective surfaces; it does not document the LED model or measured output.
Use these selection questions in the assembly brief. Confirm availability, compatibility and performance for the proposed configuration.
Check the groove against panel thickness and fixing hardware.
Consider accessible surface mounting when the panel cannot accept a recess.
Review the finished shadow gap and source visibility from normal sightlines.
Compare the source with the fixture dimensions and intended light effect. A complete supply schedule also identifies the profile, controls, connectors and the work included in the assembly.
State the quantity basis and open decisions. A labelled assembly schedule keeps design, purchasing and installation working from the same reference.
FREQUENTLY ASKED QUESTIONS
Practical answers for the furniture drawing, sample review and purchasing brief.
Ask a project question →Recessing can conceal the section but needs sufficient panel depth and a planned cable route. Surface mounting may suit thin panels or refurbishment: compare the visible detail.
Keep one approved section and list each cut length, feed exit and fixing arrangement in the assembly schedule. Do not scale the electrical arrangement automatically with shelf width.
List each shelf module, finished light length, feed exit and fixing reference against the approved drawing. Separate left and right cable exits. Keep a sample identifier so visual and assembly checks use the same reference.
Include Drawing revision and finished dimensions, Module quantity and order basis, Source, profile and control references. Add quantities by furniture module and identify the configuration or sample already selected. This gives the drawing review a defined scope before pricing and assembly approval.
CONTINUE THE SPECIFICATION
Use the wider furniture brief to coordinate this lighting detail with adjacent modules and project teams.

Plan the ambient effect around seated and sleeping eye positions, with switches and service points within reach.
View the solution →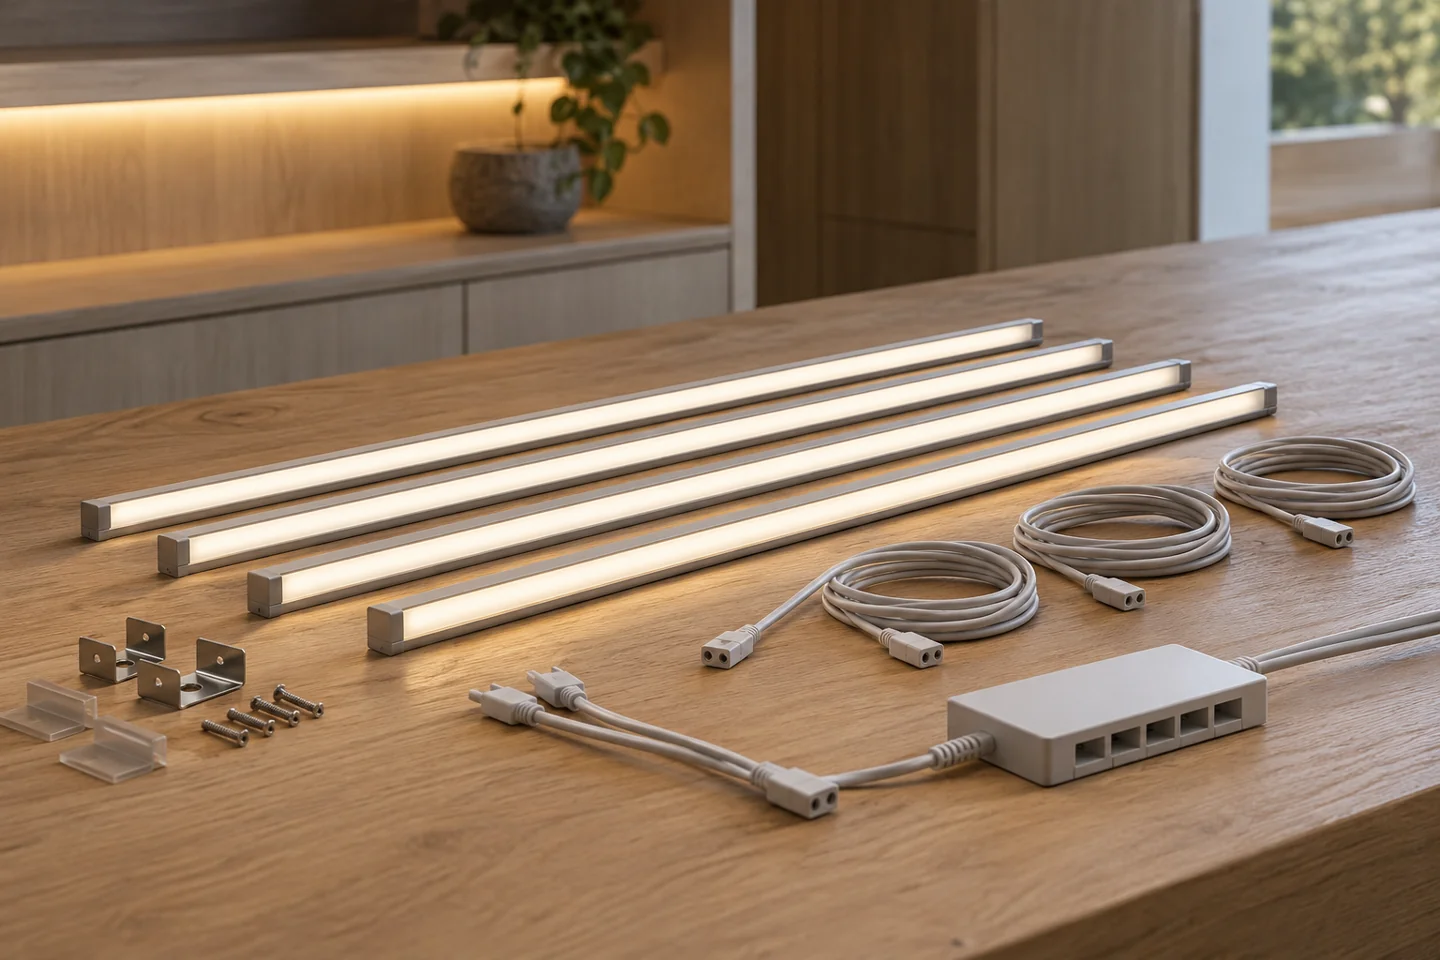
Use an assembly schedule to link each section to the correct harness branch and package.
View the solution →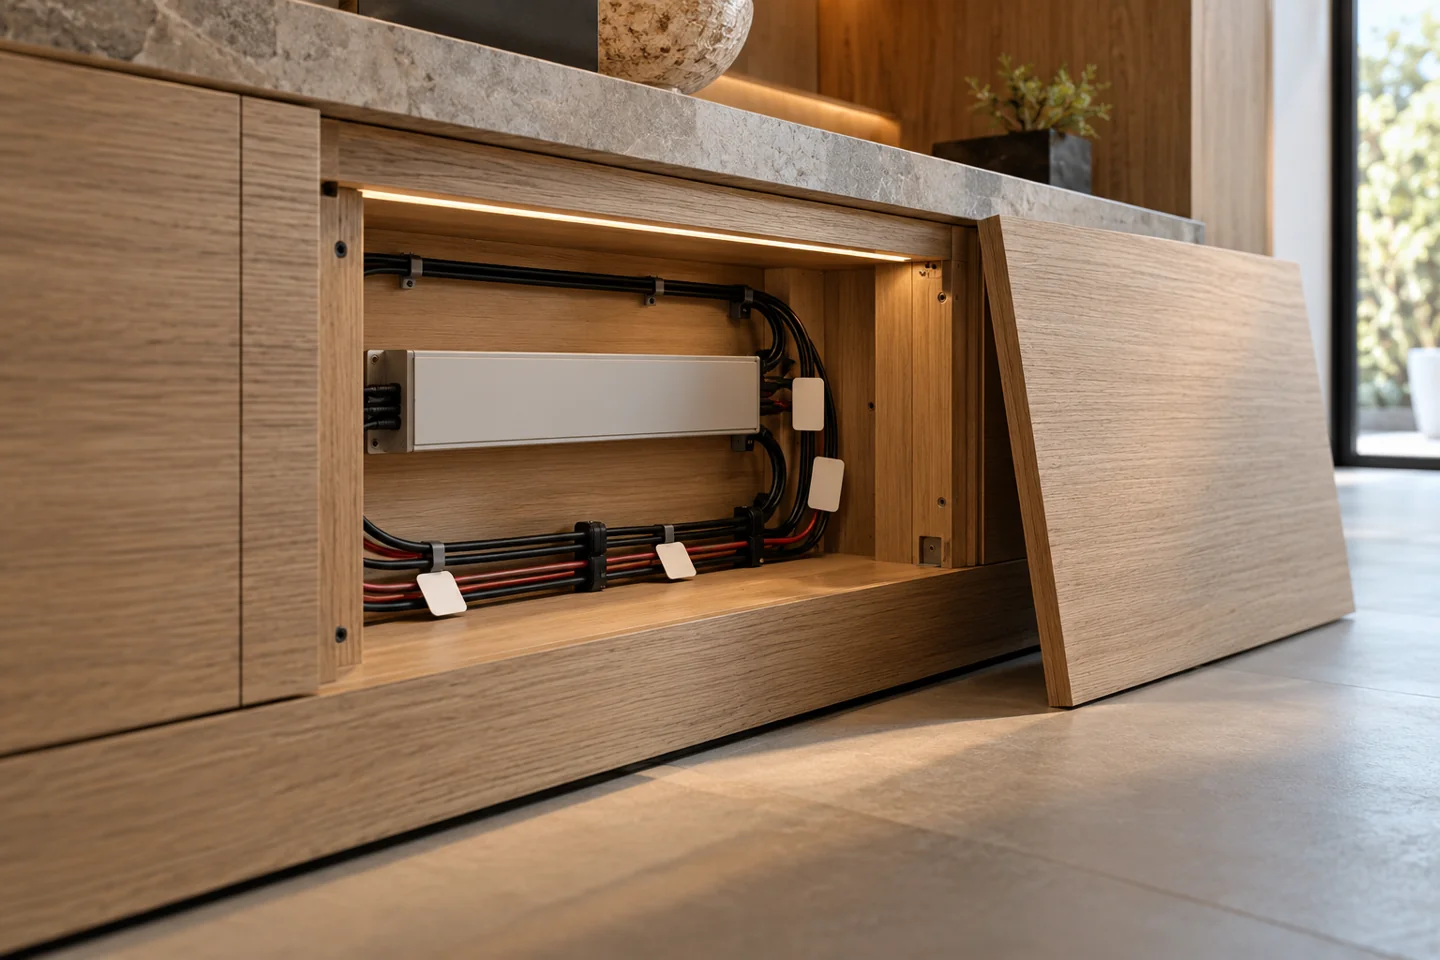
Added as the twentieth subscene: reserve an accessible electrical compartment and a route for replacement without dismantling finished joinery.
View the solution →