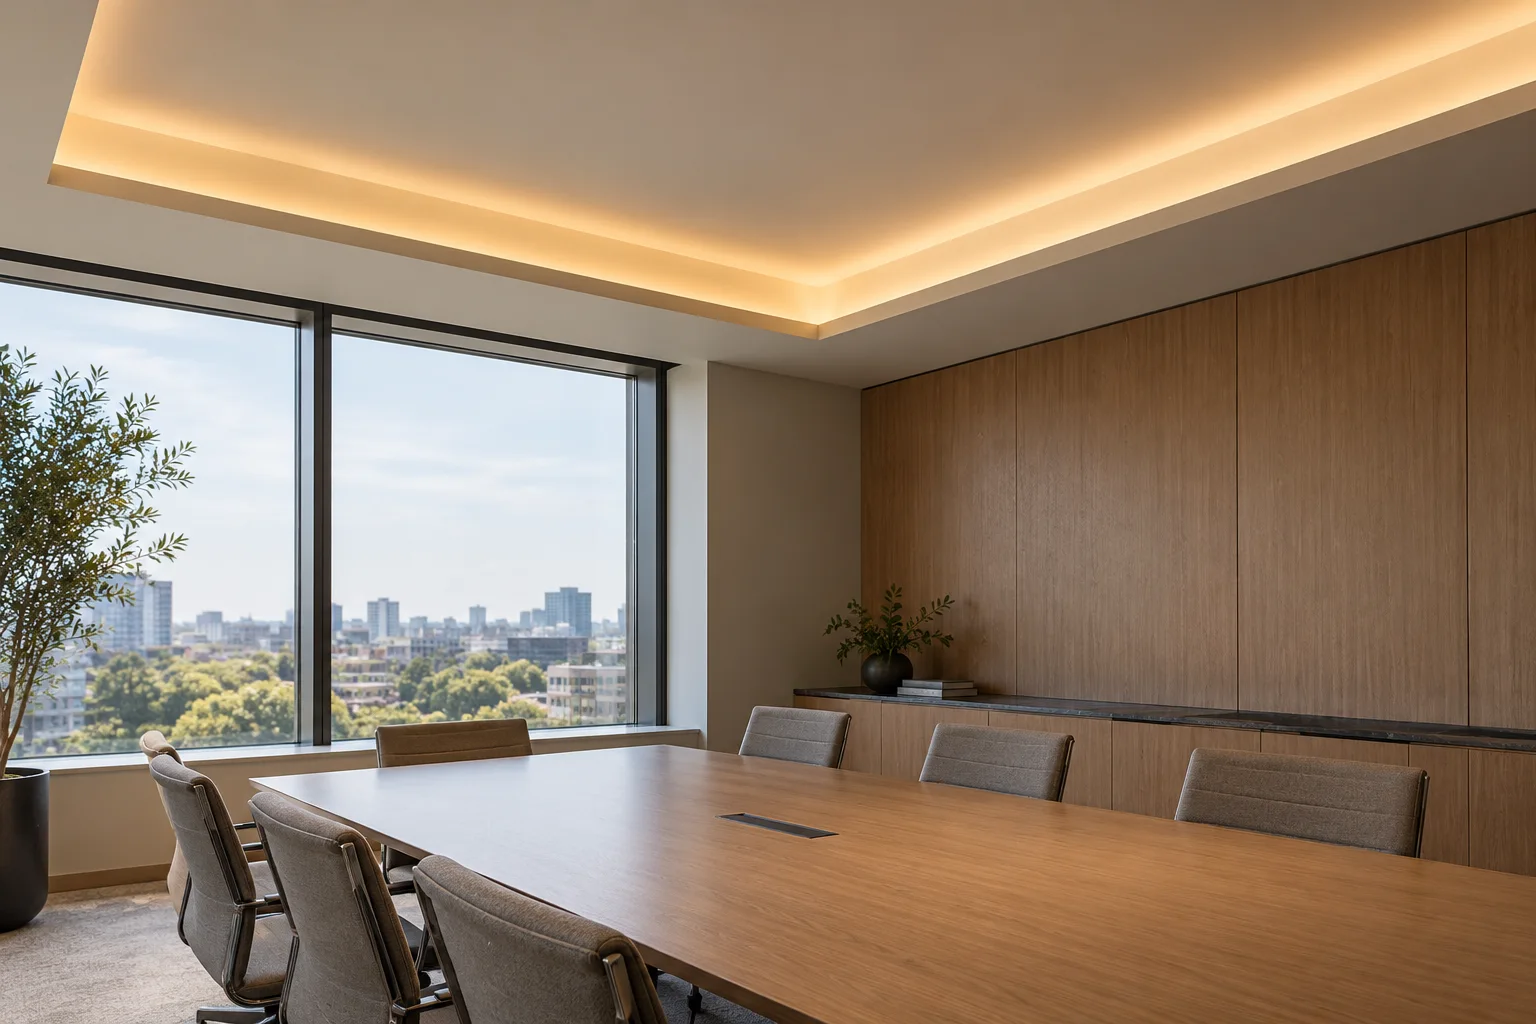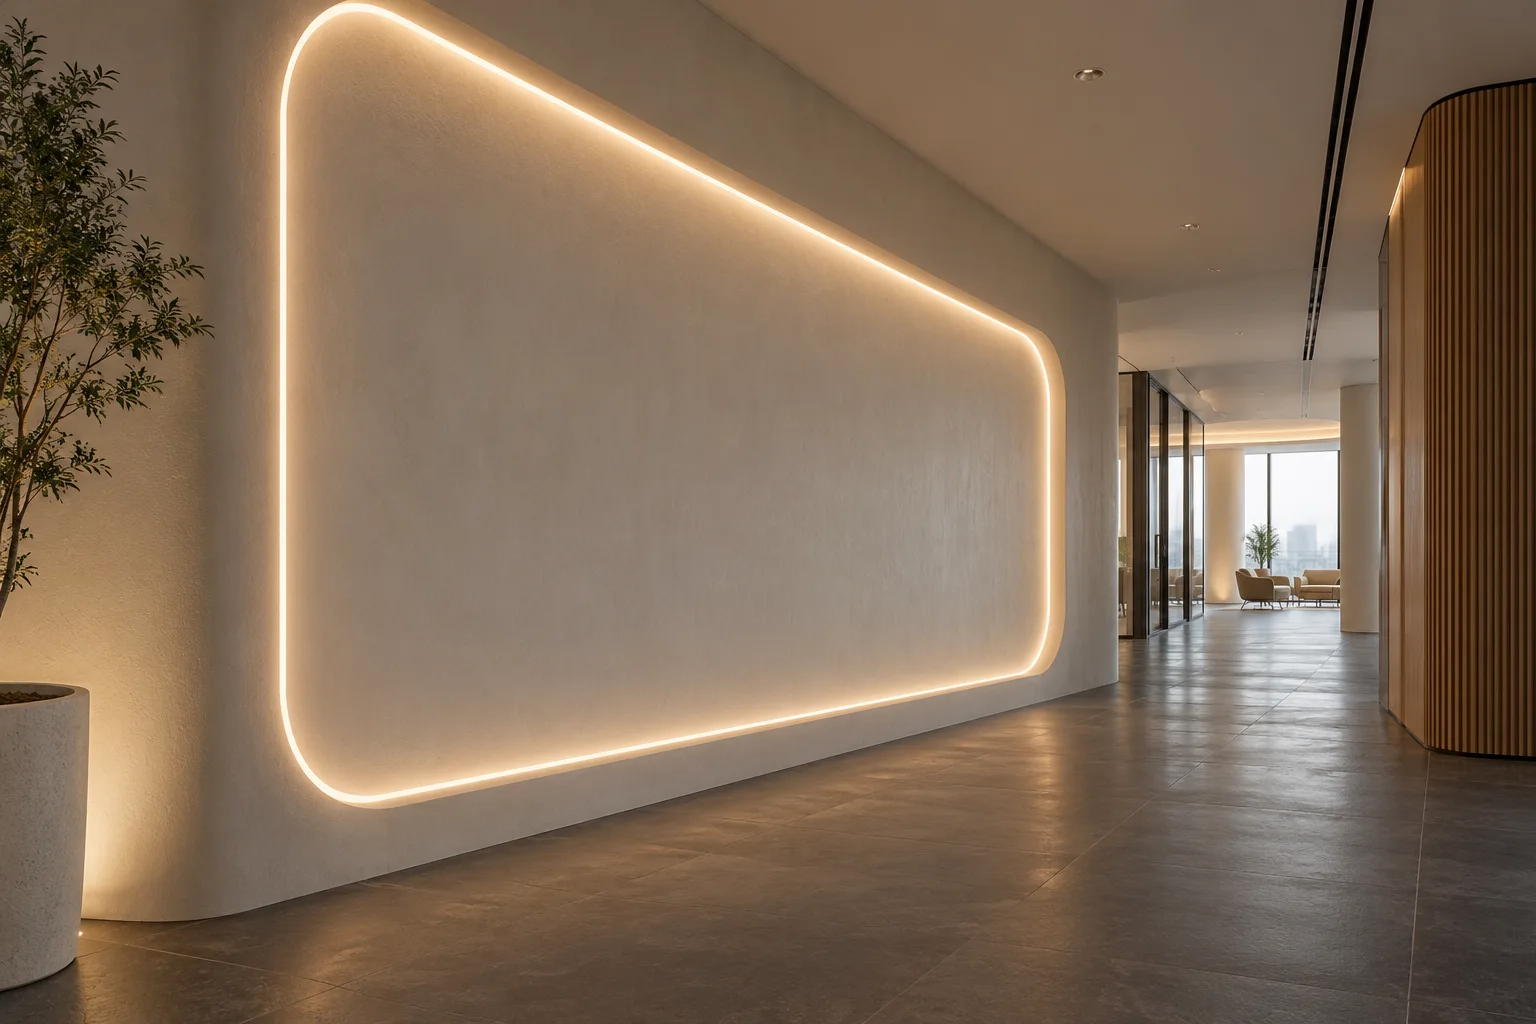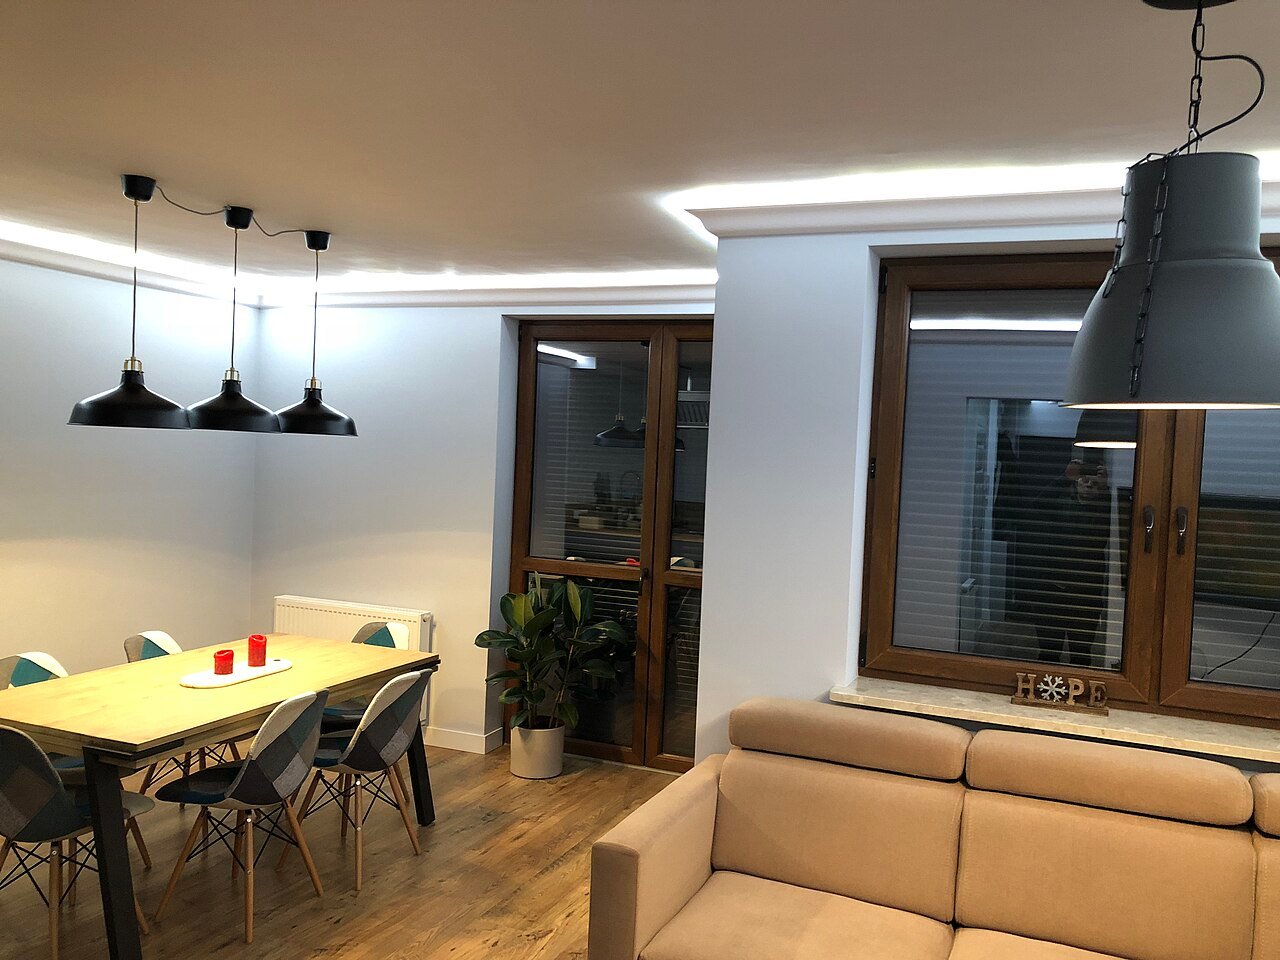
Coordinate the recess with the finished ceiling
The photograph is an external cove-lighting reference. It does not establish the profile section, source model or measured colour temperature of another installation.

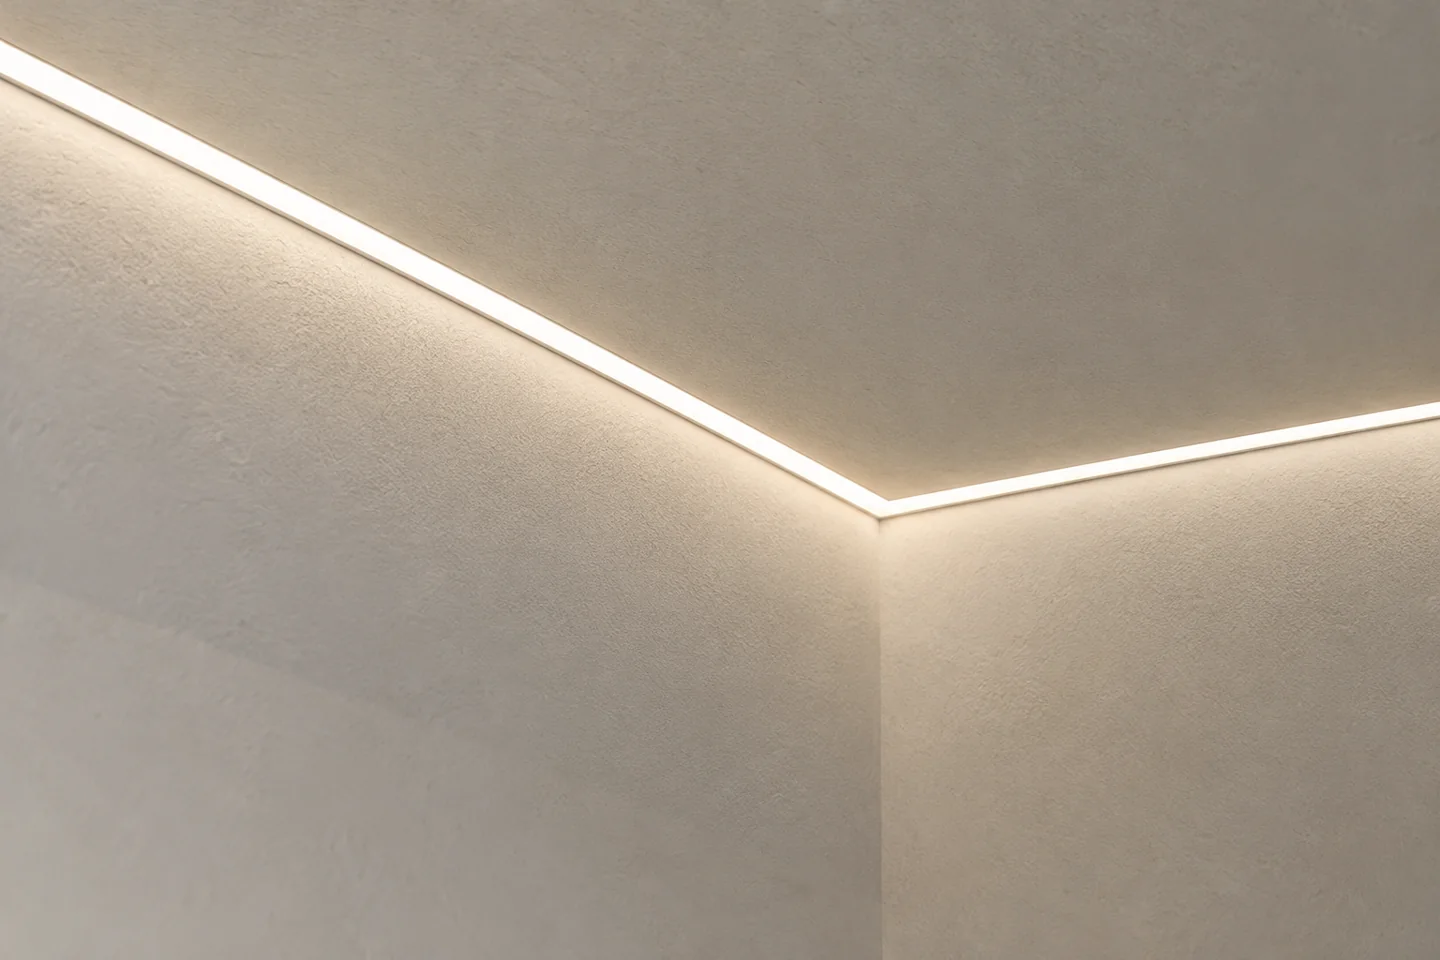
Resolve the profile-to-board detail, joint treatment and finished light opening before the finishing trades start.
Discuss this assemblyResolve the profile-to-board detail, joint treatment and finished light opening before the finishing trades start.
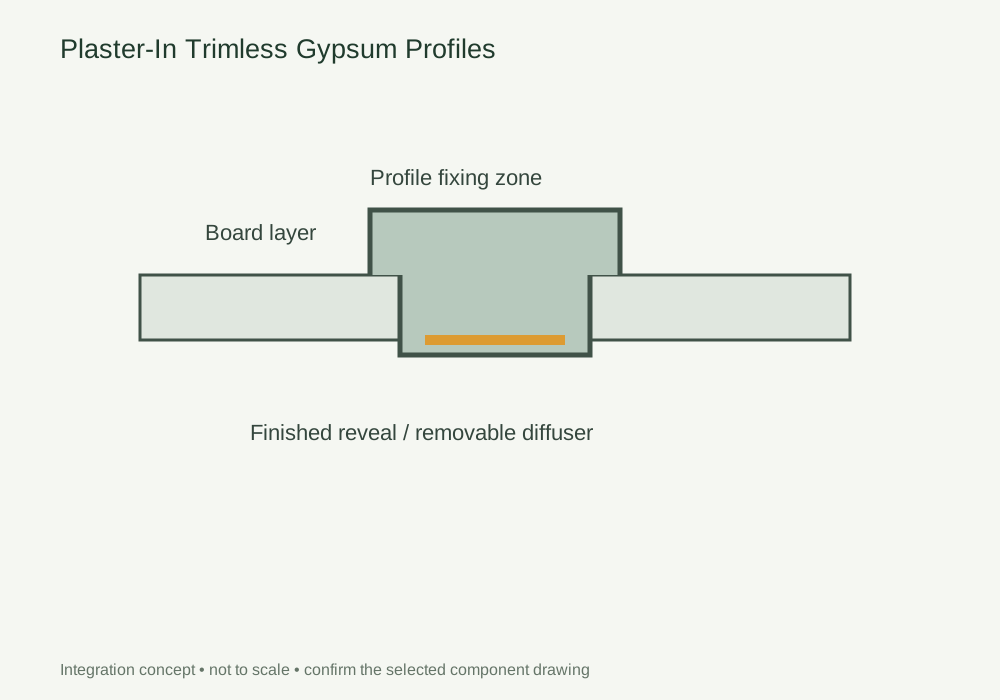
Show board layers, profile flange, finished reveal and junctions. Coordinate the section revision before closing the construction and mark the light-section replacement route.
Agree fixing, finishing and installation sequence with the relevant trades. Check the diffuser remains removable after finishing and keep cable connections accessible.
Inspect a finished mock-up for straightness, source shielding and service access. Retain the approved section and finishing detail so the light opening is reproducible.
DESIGN DECISIONS
A plaster-in profile is part of a finishing sequence, not just an LED mounting channel. Agree board layers, flange position and the final light opening before closing the construction. The light section and diffuser must remain serviceable after finishing; a neat render does not show whether that replacement route exists.
| Decision | Required input | Review with the sample |
|---|---|---|
| Construction section | Board layers, flange and finished reveal | Use one coordinated revision across trades |
| Finishing sequence | Fixing, plaster and cover protection | Agree the sequence before the mock-up is finished |
| Serviceability | Diffuser and source removal path | Inspect access after the finish is complete |
Use this concept to mark mounting positions, cable paths and service clearances on your fixture drawing. Dimensions and component references belong on the project drawing before machining.
Photographs support the adjacent selection decisions. The exact delivered components and their performance need their own drawings, documents and sample review.
The photograph is an external cove-lighting reference. It does not establish the profile section, source model or measured colour temperature of another installation.
Use these selection questions in the assembly brief. Confirm availability, compatibility and performance for the proposed configuration.
Check the board build-up, fixing and diffuser access.
Coordinate internal or external corners with the actual section drawing.
Review source shielding and the final reveal.
Agree how the edge is finished and how the light assembly can be serviced.
Compare the source with the fixture dimensions and intended light effect. A complete supply schedule also identifies the profile, controls, connectors and the work included in the assembly.
This detail includes components beyond an LED strip. The catalogue does not identify a complete, approved kit for this arrangement. Send the fixture section and required operation so the source, control and mechanical interfaces can be reviewed together.
Compare catalogue light sources → Review the wider furniture system →
Discuss components for this detailState the quantity basis and open decisions. A labelled assembly schedule keeps design, purchasing and installation working from the same reference.
FREQUENTLY ASKED QUESTIONS
Practical answers for the furniture drawing, sample review and purchasing brief.
Ask a project question →The design must preserve the selected system’s intended removal and replacement method. Review the finished section rather than relying on the unfinished extrusion.
At accessible service points identified on the drawing. Avoid concealing replaceable electrical connections behind permanent finishes.
Follow the selected profile system’s installation sequence. Protect the lighting components from finishing materials and keep the channel accessible for cleaning and inspection. Agree the handover point between finishing and electrical work.
Include Drawing revision and finished dimensions, Module quantity and order basis, Source, profile and control references. Add quantities by furniture module and identify the configuration or sample already selected. This gives the drawing review a defined scope before pricing and assembly approval.
CONTINUE THE SPECIFICATION
Use the wider furniture brief to coordinate this lighting detail with adjacent modules and project teams.
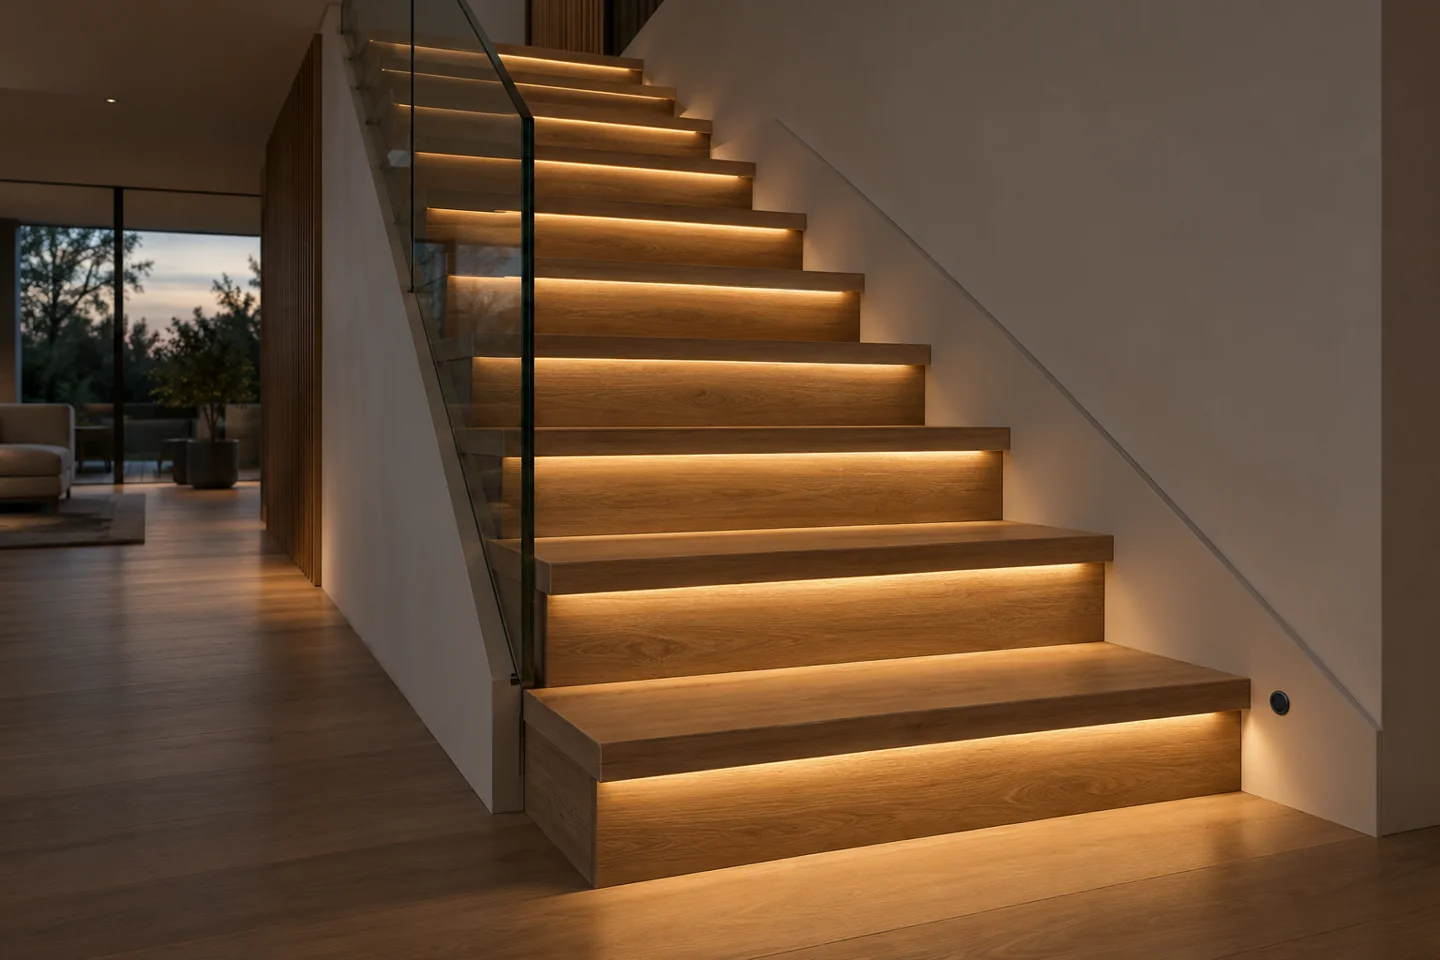
Define activation from both ends, the number of steps and the required fallback behaviour before selecting controls.
View the solution →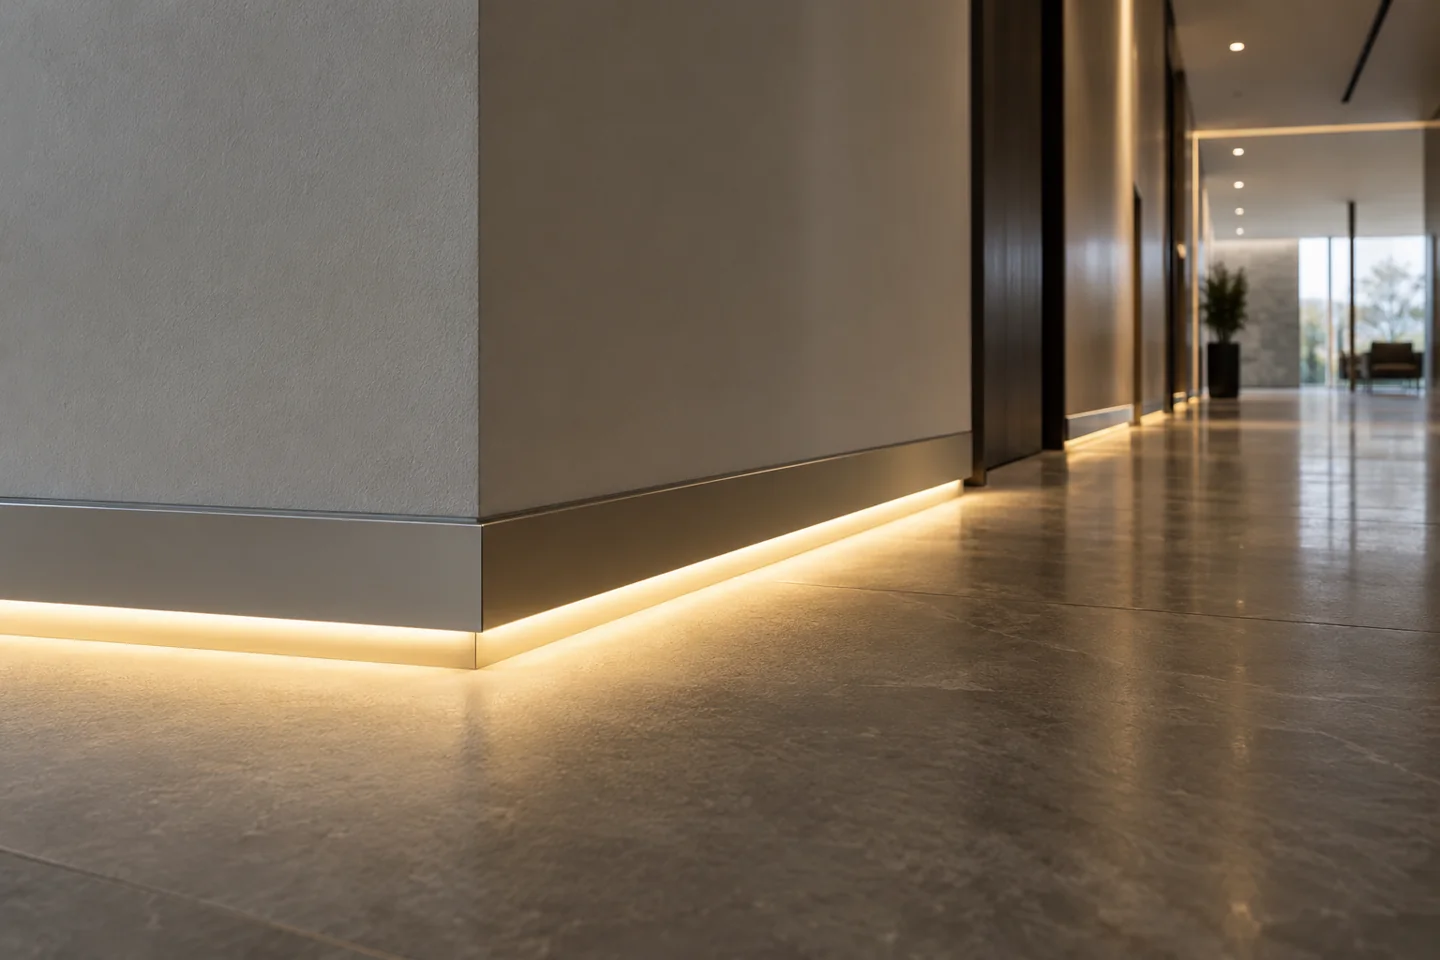
Plan a continuous line through doors, corners and finishes with identified feed points and replaceable light sections.
View the solution →