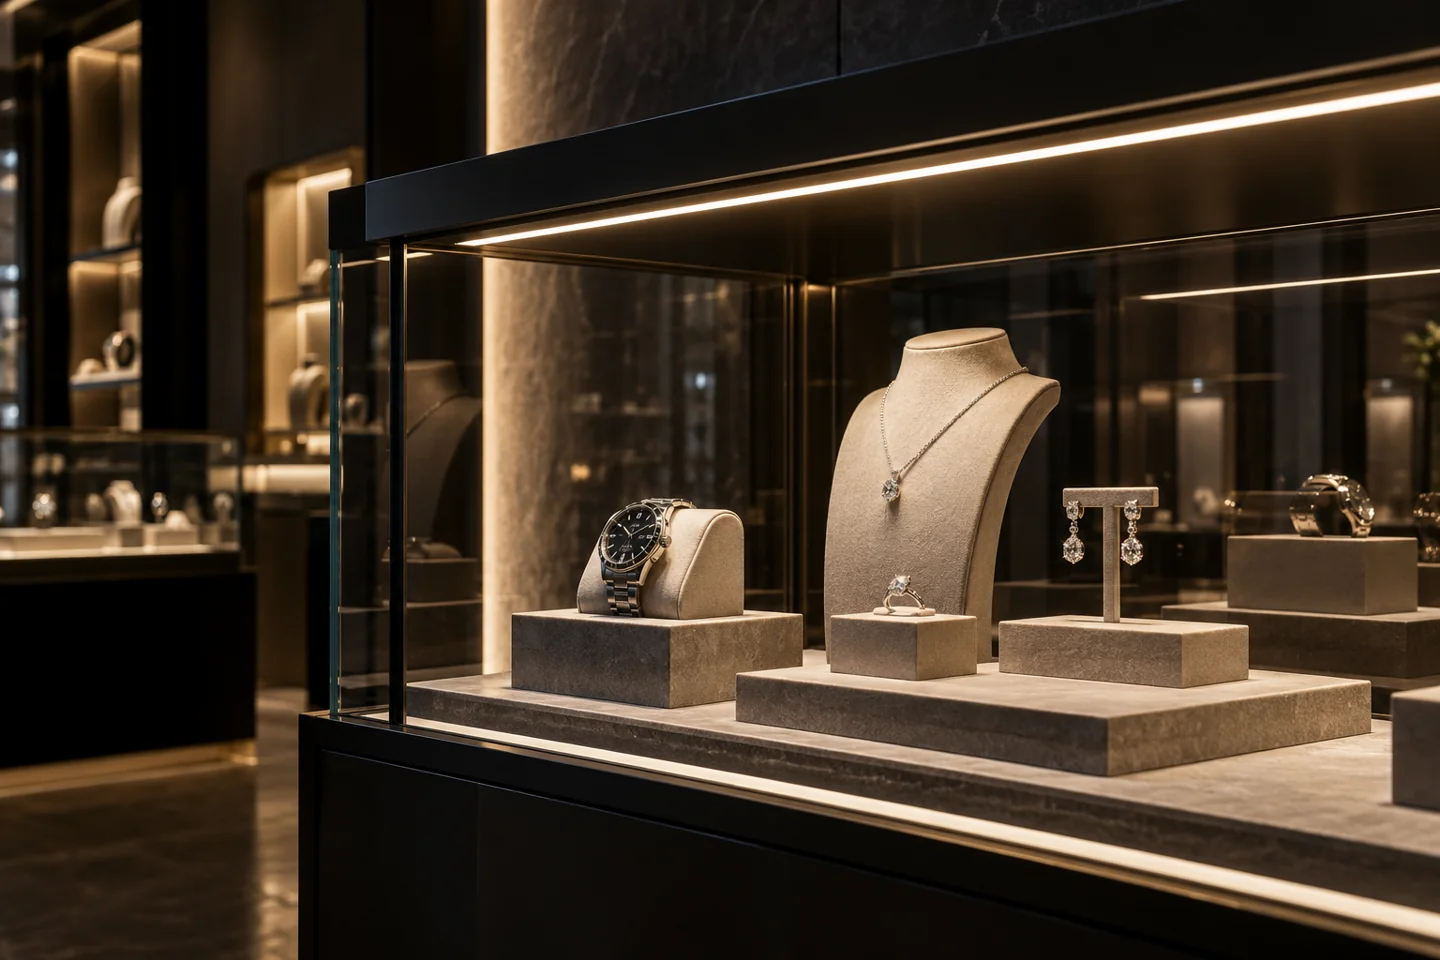
Luxury Jewelry & Watch Display
Use a representative display mock-up to agree sparkle, metal tone, reflections and visitor comfort.
View the solution →
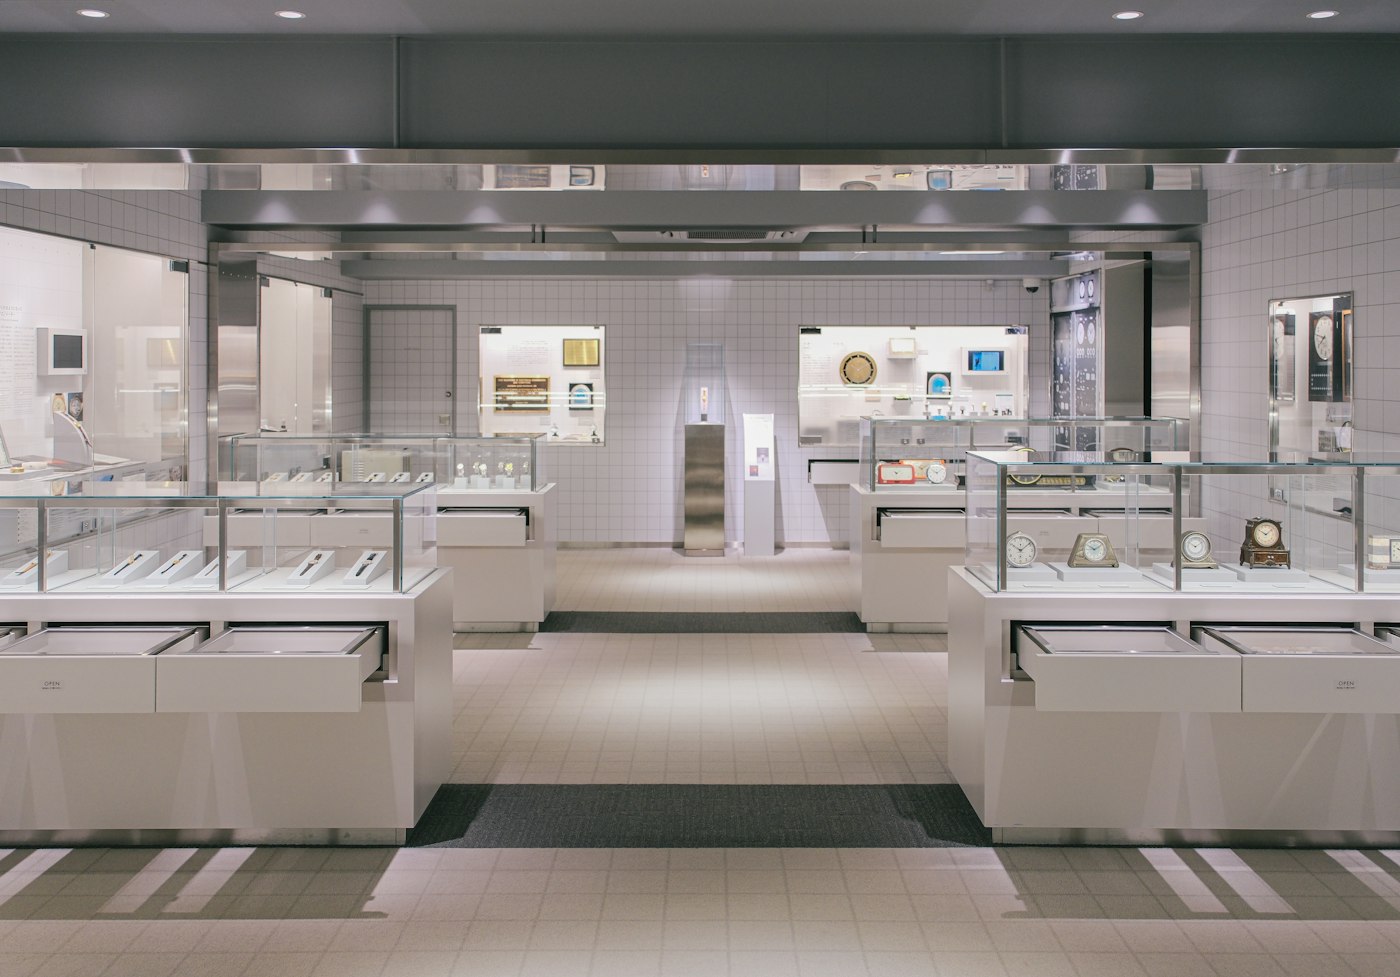
Lighting for jewellery, watches, art and enclosed displays. Begin with the object, viewing angles, conservation brief and control requirements.
Discuss this assemblyLighting for jewellery, watches, art and enclosed displays. Begin with the object, viewing angles, conservation brief and control requirements.
Use a representative display mock-up to agree sparkle, metal tone, reflections and visitor comfort.
View the solution →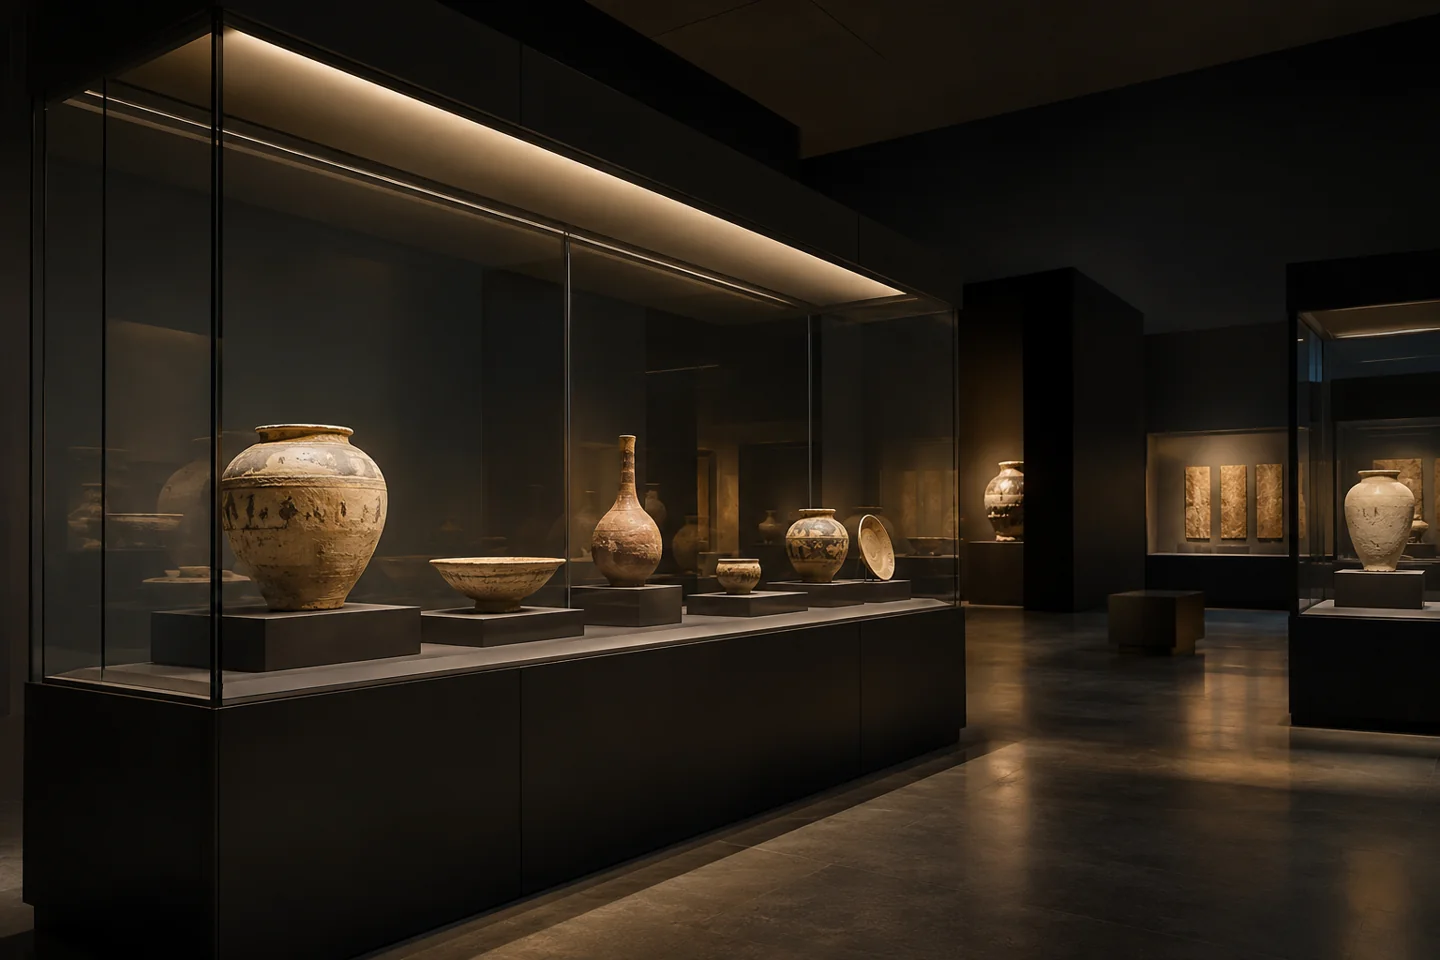
Set conservation and glare requirements with the collection team rather than inferring them from an LED label.
View the solution →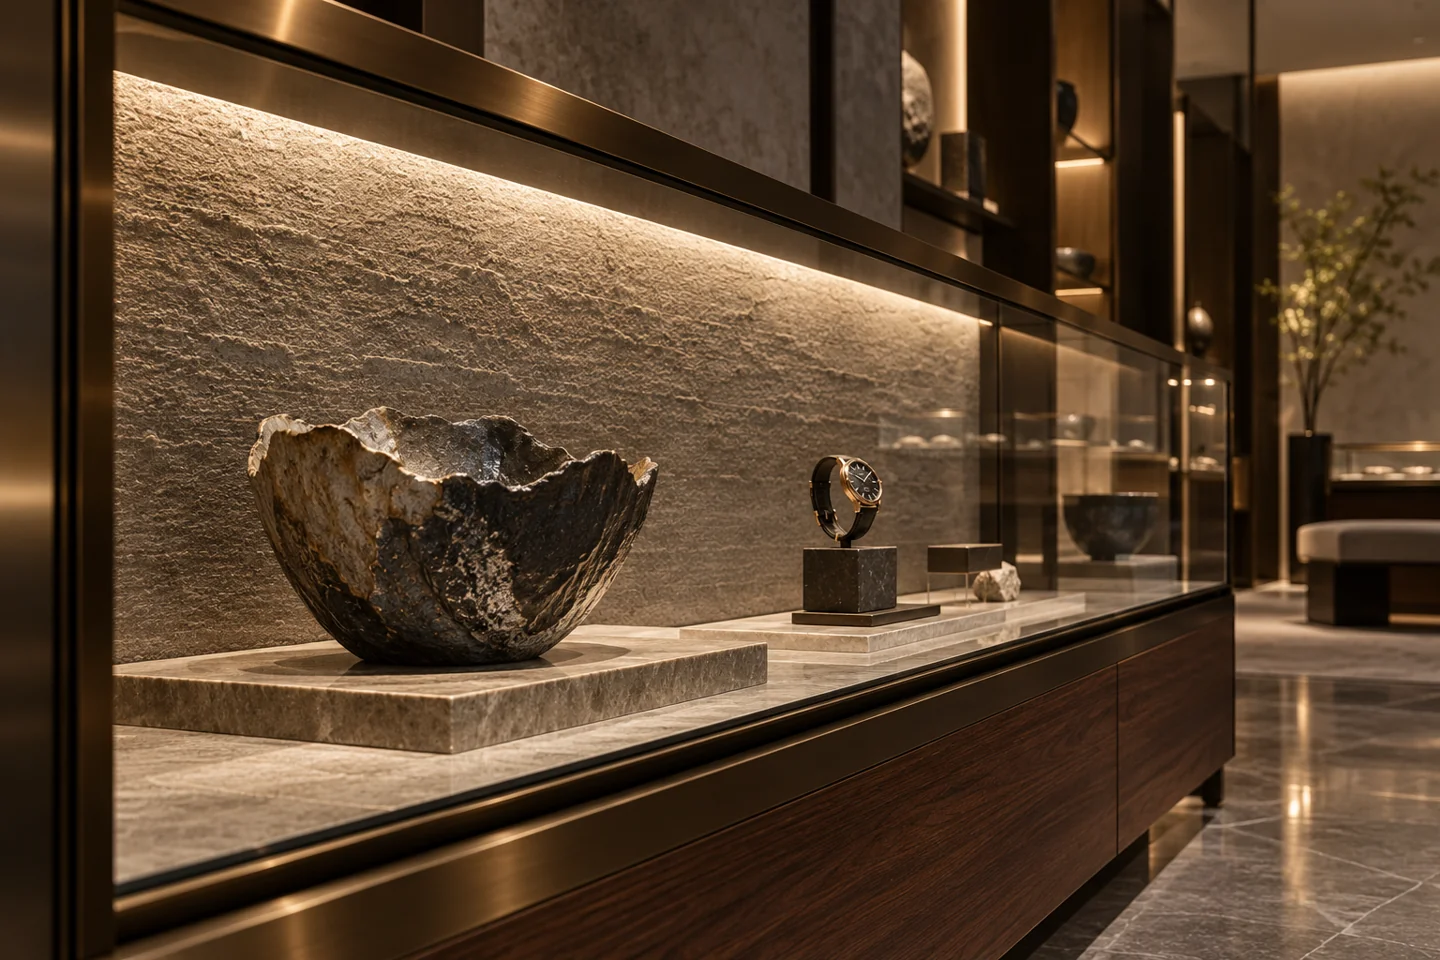
Select the optic with the source and working distance; a nominal beam angle does not establish the final distribution.
View the solution →Define the merchandise or collection, visitor sightlines and case finishes before selecting the optics. Jewellery display and conservation cases require different acceptance criteria. A stated illuminance needs a measurement plane, while conservation limits belong to the collection brief.
DESIGN DECISIONS
A retail showcases & museum displays brief should distinguish the visible effect from the assembly needed to achieve it. Start with the furniture sections and the way the space is used. Each detail below addresses its own installation, control and maintenance decisions; it should not inherit a specification simply because it sits in the same room.
| Decision | Required input | Review with the sample |
|---|---|---|
| Luxury Jewelry & Watch Display | Define merchandise, case depth, background and visitor sightlines. State the measurement plane for illuminance separately from the proposed colour temperature. | Review sparkle, metal tone, reflections and visitor comfort in the mock-up. Measure against agreed conditions where required and retain positions, optics and control settings. |
| Museum Grade Anti-Glare Lighting | Agree object sensitivity, exposure, sightlines and conservation requirements with the collection team. State the spectral range and evidence needed for UV or infrared requirements. | Evaluate glare and presentation at the intended light levels. Request the relevant spectral and control data; a museum-grade label or photograph cannot establish conservation suitability. |
| Narrow-Beam Lens Profiles | Record working distance, target size, beam direction and sightlines. Show the available section for the source, optic and leads; nominal beam angle alone is insufficient. | Evaluate distribution on the target finish and size. Check spill, glare, overlap and low-level control, then retain the approved optical and electrical references. |
Use the scene images above with the corresponding installation notes below. A lighting detail should not inherit an unrelated wiring or mounting arrangement.
Define merchandise, case depth, background and visitor sightlines. State the measurement plane for illuminance separately from the proposed colour temperature.
Review this detail →Agree object sensitivity, exposure, sightlines and conservation requirements with the collection team. State the spectral range and evidence needed for UV or infrared requirements.
Review this detail →Record working distance, target size, beam direction and sightlines. Show the available section for the source, optic and leads; nominal beam angle alone is insufficient.
Review this detail →Photographs support the adjacent selection decisions. The exact delivered components and their performance need their own drawings, documents and sample review.
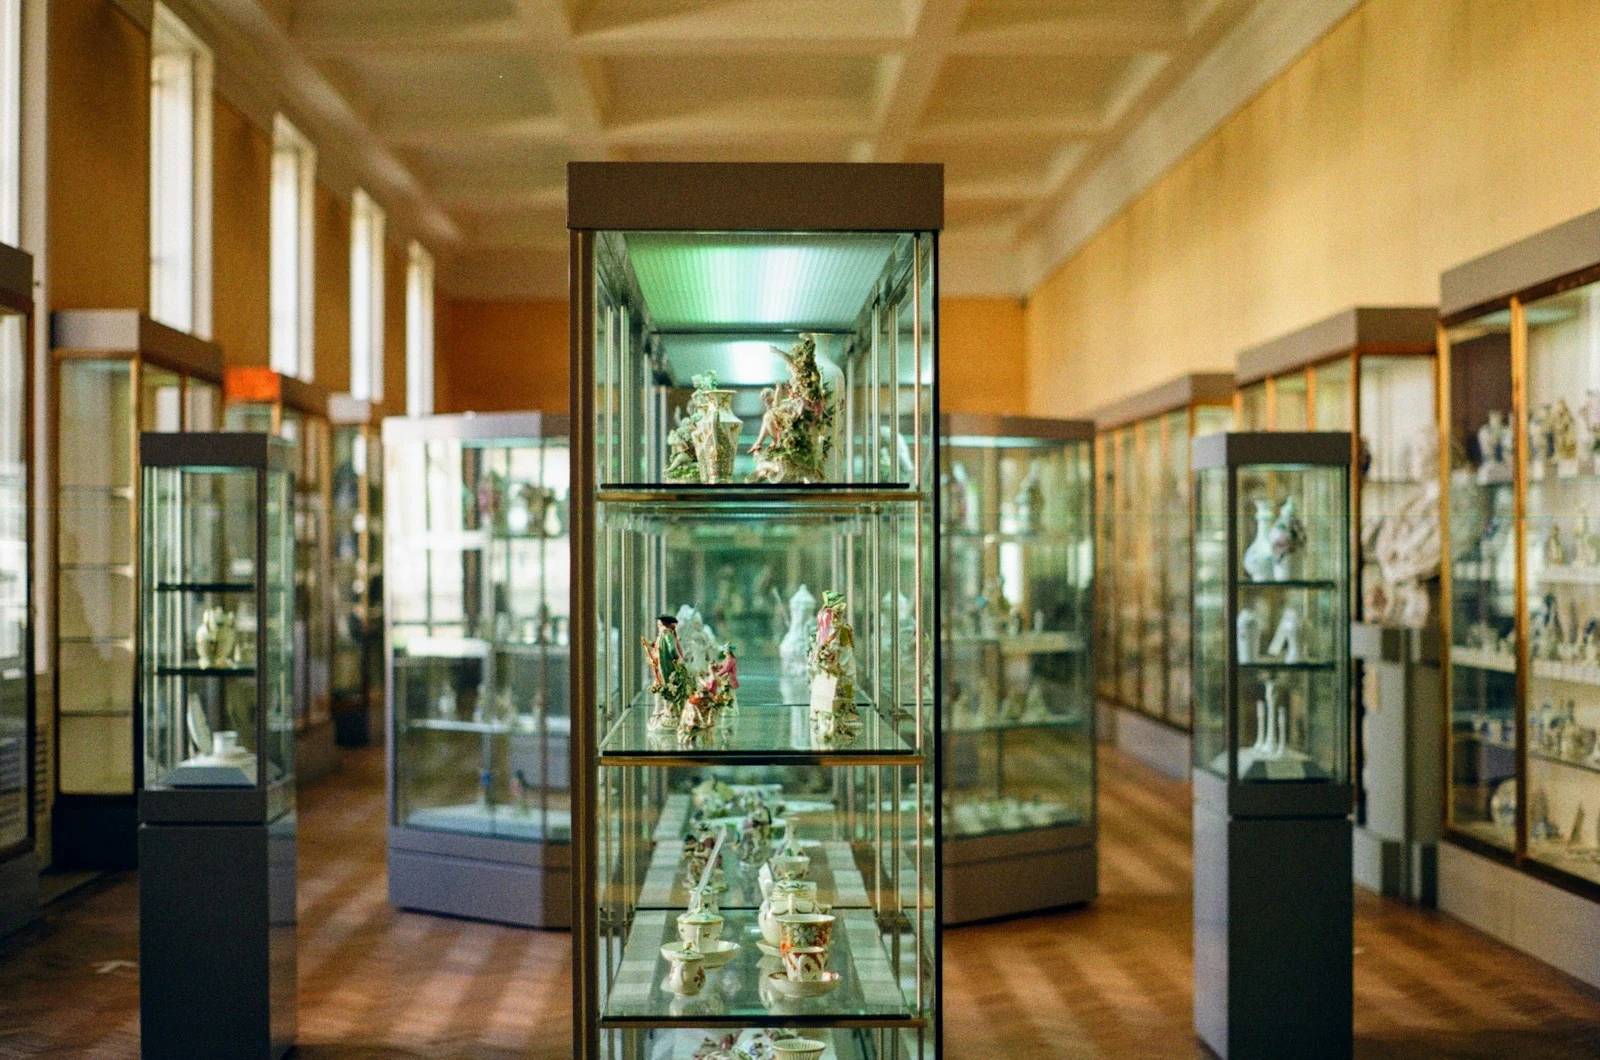
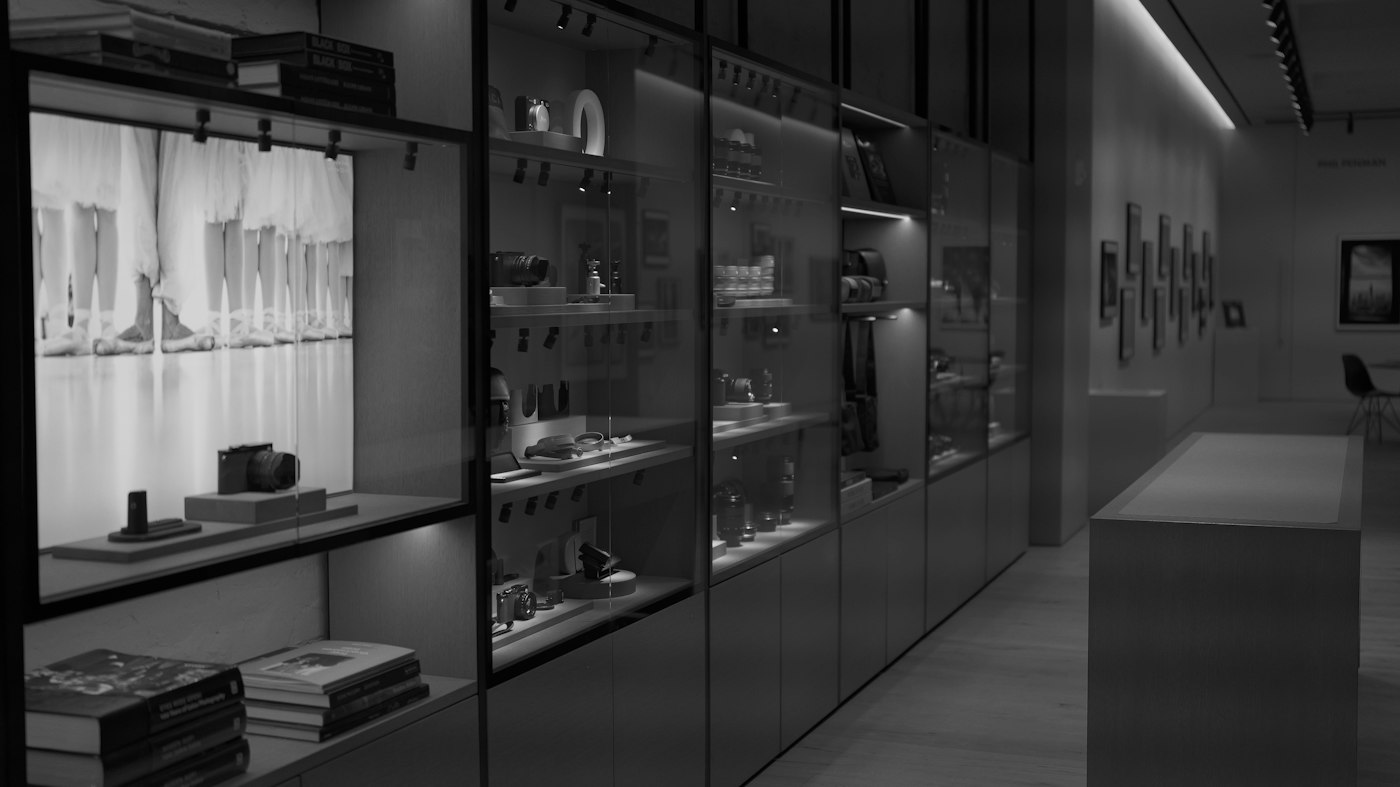
The external museum photograph shows the display and viewing space. Object exposure, spectral output and reflected glare need a separate assessment for the selected case.
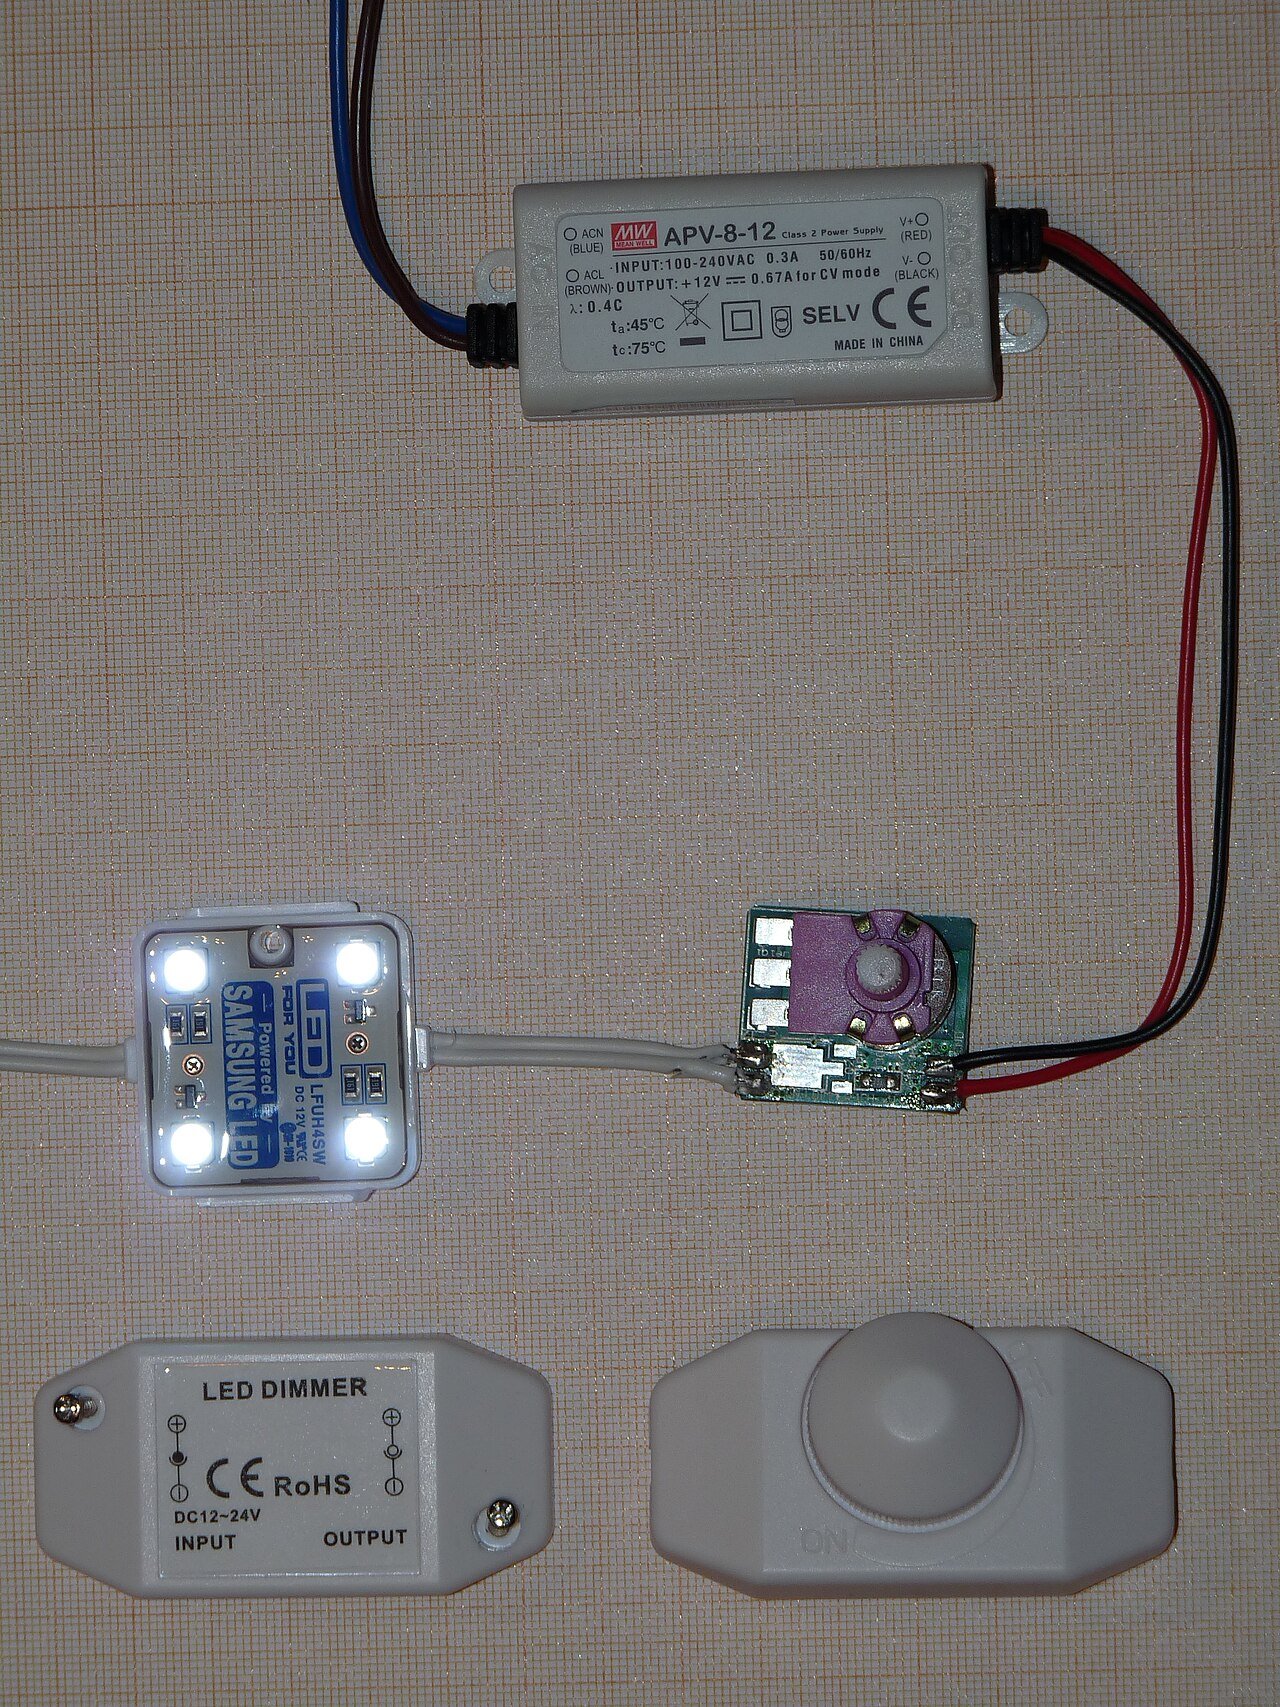
An inline dimmer is shown as a component reference. Agree which control interface the project needs; this example is not evidence of DALI-2, DMX512 or 0–10V compatibility.
Use these selection questions in the assembly brief. Confirm availability, compatibility and performance for the proposed configuration.
Treat CCT and target illuminance as separate design inputs, to be checked with the actual merchandise.
Request the optical distribution and verify hot spots and reflections in the showcase.
Request measured spectral data and agree the wavelength range and acceptance threshold.
Do not promise literal zero output; verify the measured spectrum against the collection requirements.
Check source shielding at visitor and staff eye positions.
Verify the exact control gear in the certification database and test system integration.
Review bend limits and the measured distribution in the intended mounting detail.
Confirm lens fit, alignment and maintenance access.
Check dimming compatibility, low-level behaviour and the required wiring arrangement.
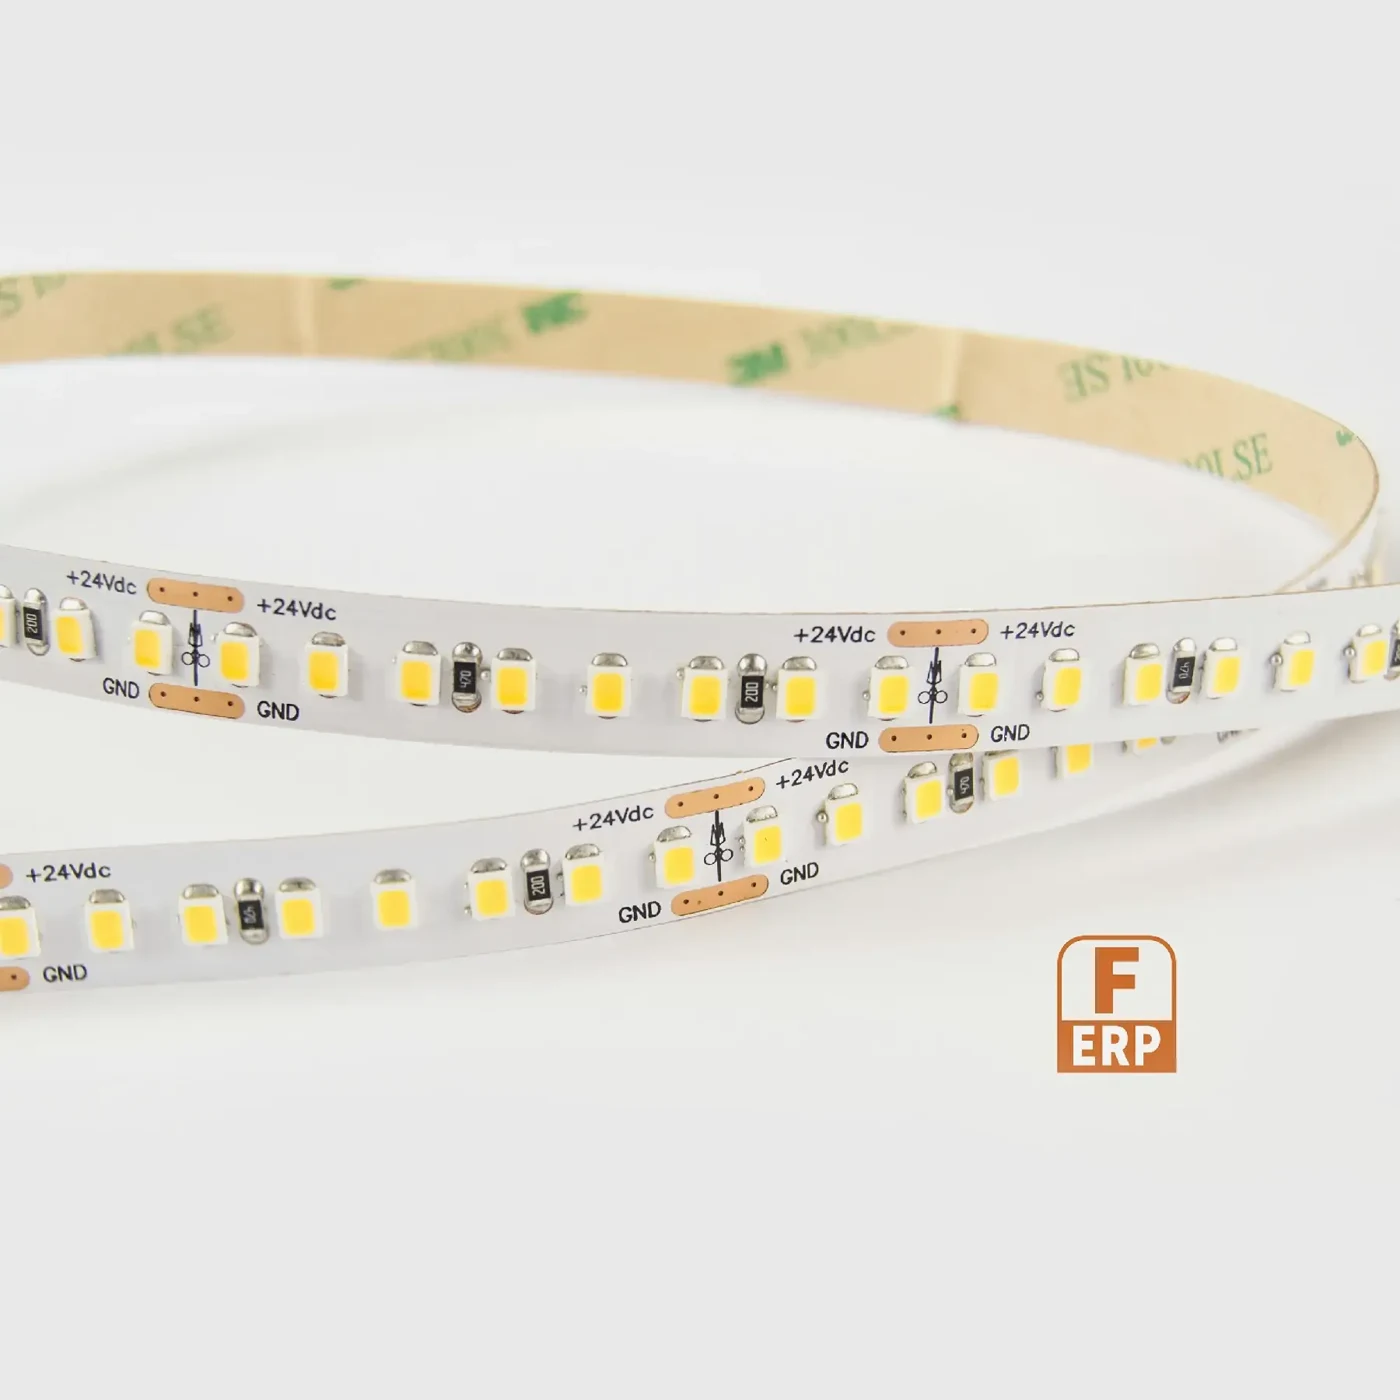
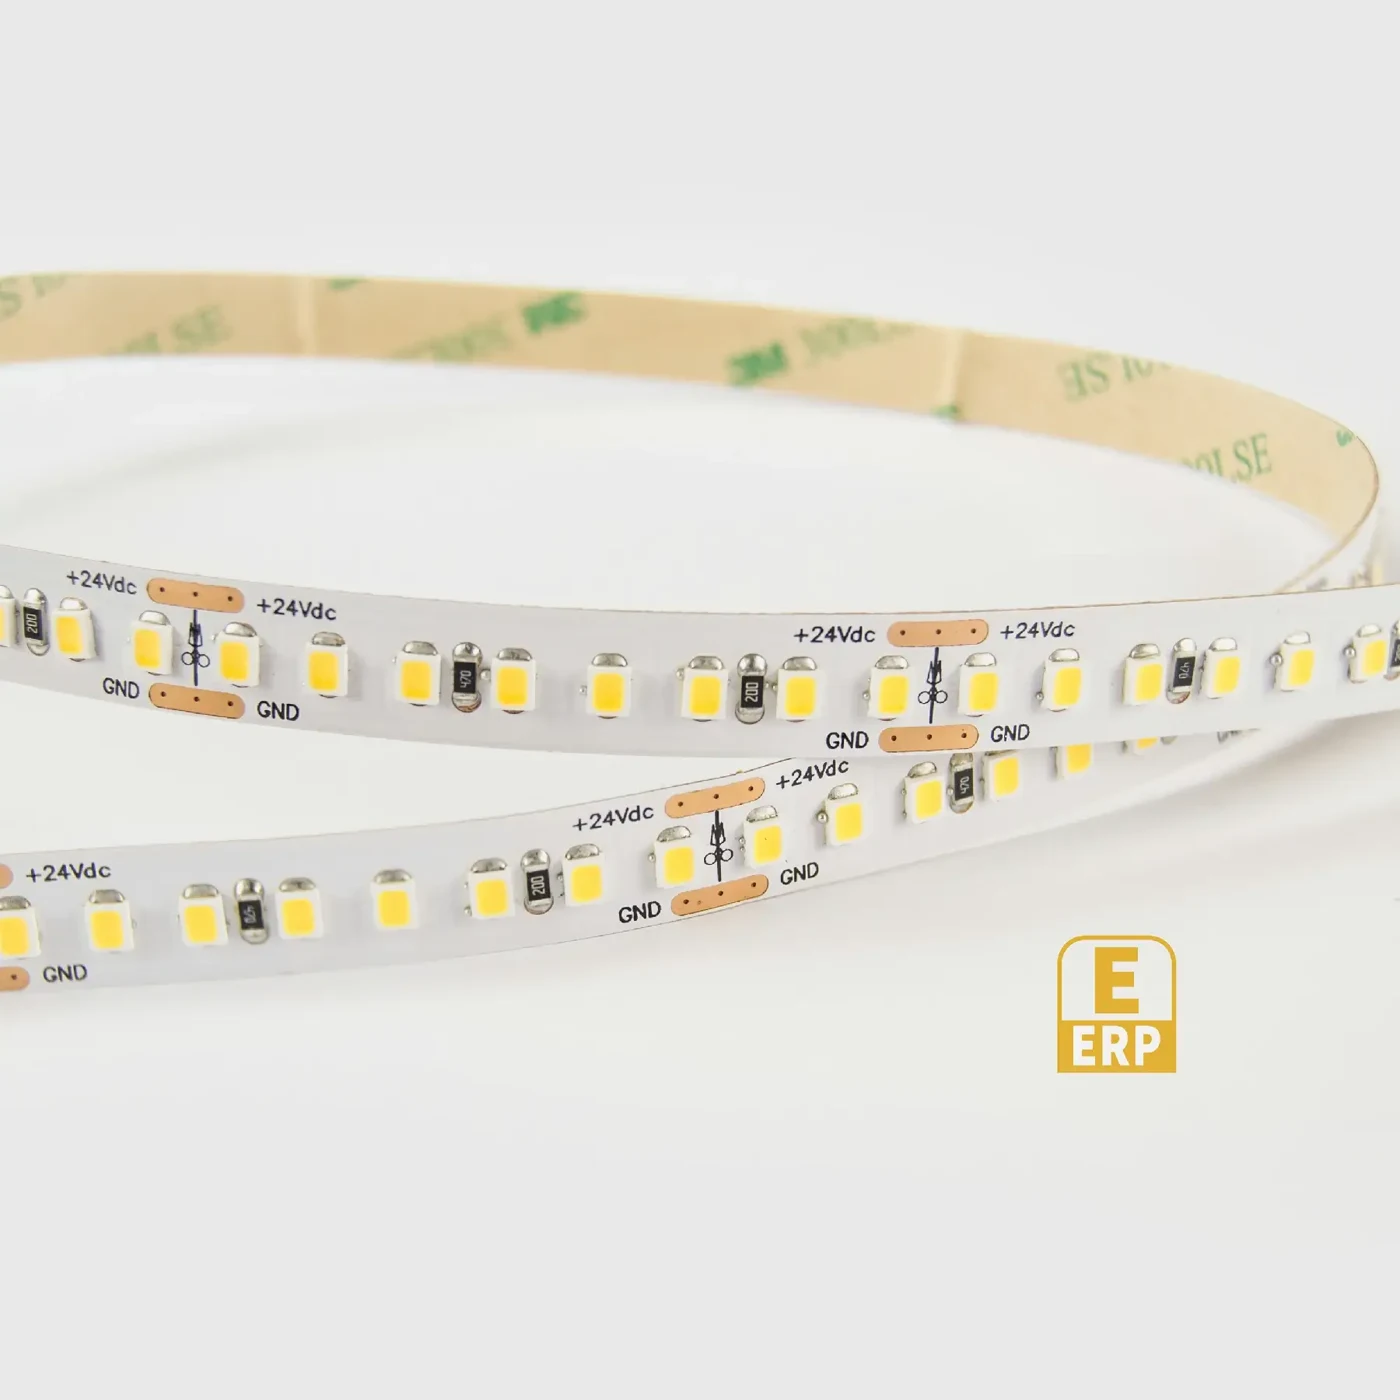
Compare the source with the fixture dimensions and intended light effect. A complete supply schedule also identifies the profile, controls, connectors and the work included in the assembly.
State the quantity basis and open decisions. A labelled assembly schedule keeps design, purchasing and installation working from the same reference.
FREQUENTLY ASKED QUESTIONS
Practical answers for the furniture drawing, sample review and purchasing brief.
Ask a project question →No single colour temperature suits every object and brand presentation. Compare diamonds, coloured stones, metals and backgrounds with the selected sources. Record the chosen appearance and measurement conditions rather than specifying high lux or cool white alone.
Define the object plane, source distance, beam direction and operating settings in the sample brief. Readings taken at another distance or without the selected diffuser cannot be compared directly. Agree who supplies the measurements and their scope.
The collection team’s requirements and relevant evidence establish suitability. Review spectral output, exposure, heat, glare and control behaviour for the actual object and case. A general museum-grade label does not replace that assessment.
They are different control interfaces. Match the selected driver, controller and wiring to the project specification. Request the exact component references and required documentation, then test the intended dimming behaviour before repeating the case assembly.
CONTINUE THE SPECIFICATION
Use the wider furniture brief to coordinate this lighting detail with adjacent modules and project teams.
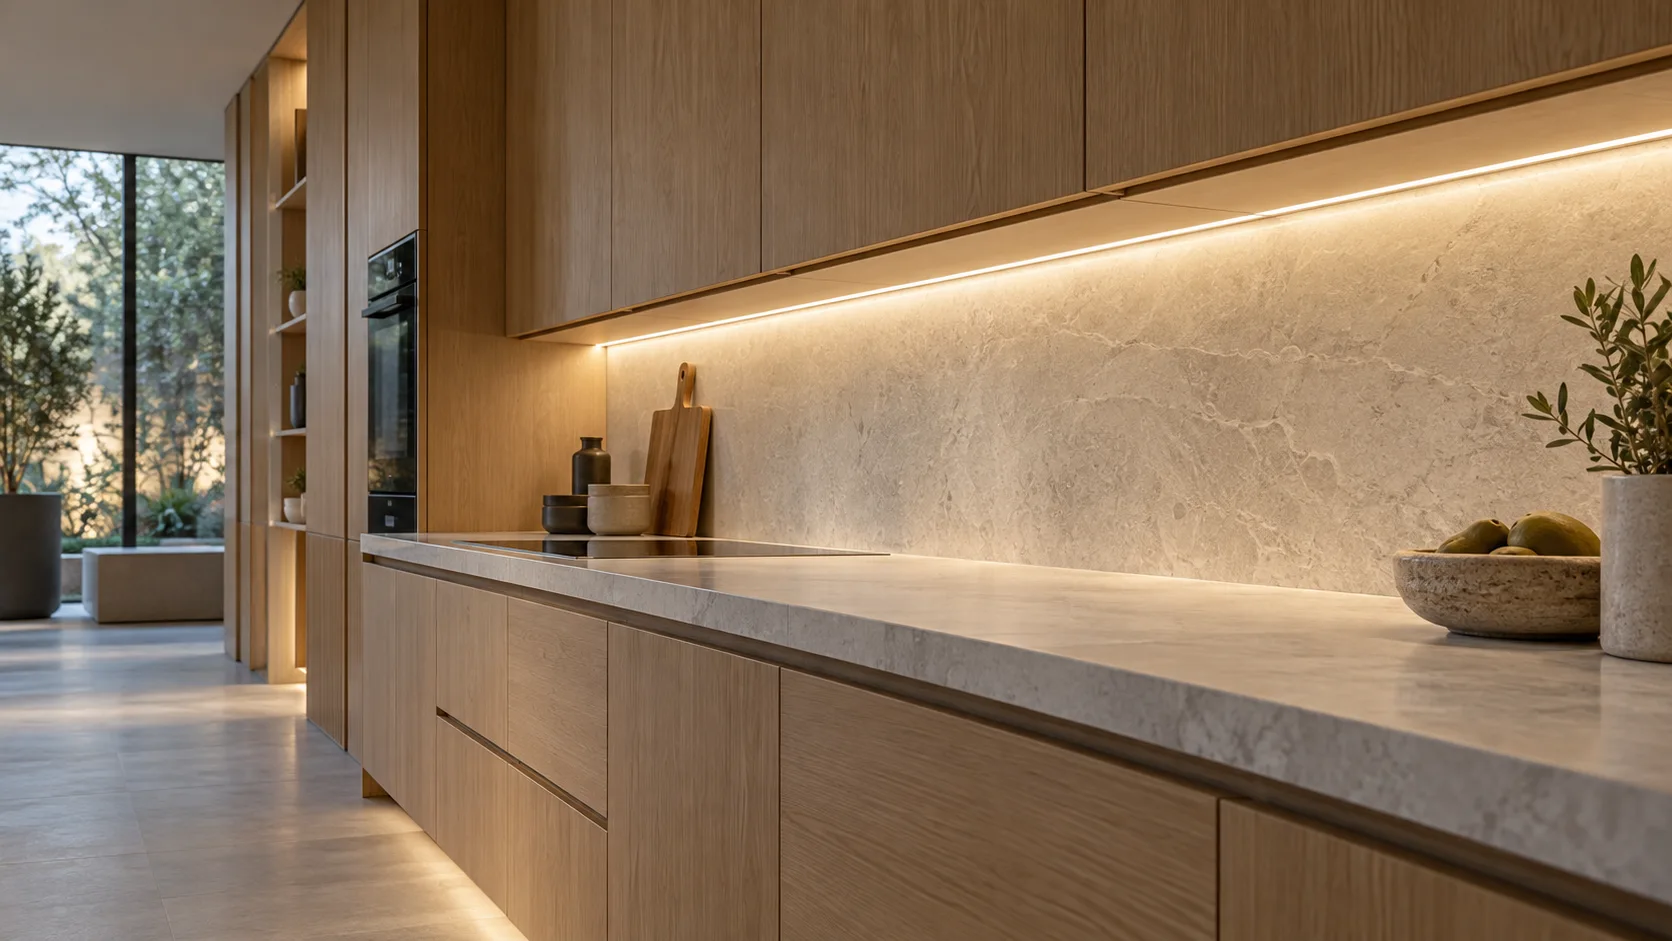
Worktop light, concealed cable routes and coordinated sensors—planned as one cabinet assembly, with cut lengths and connectors identified for each module.
View the solution →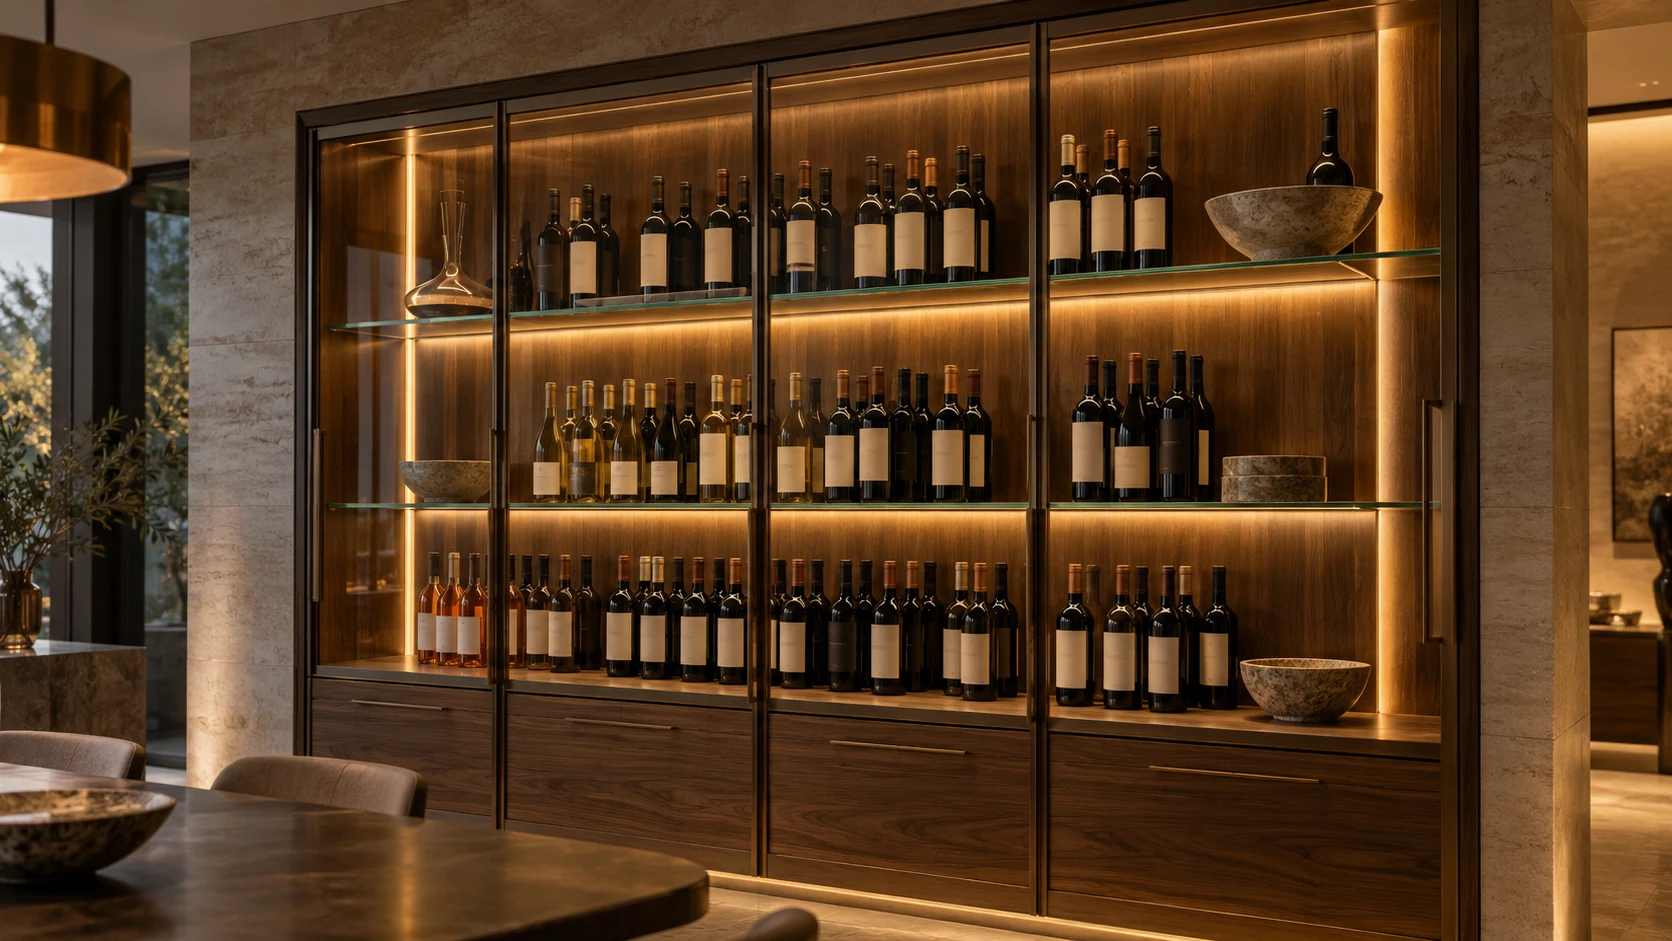
Quiet, warm light for bottle displays and glazed cabinets. Resolve shelf edges, reflections, cable visibility and thermal conditions before approving the assembly.
View the solution →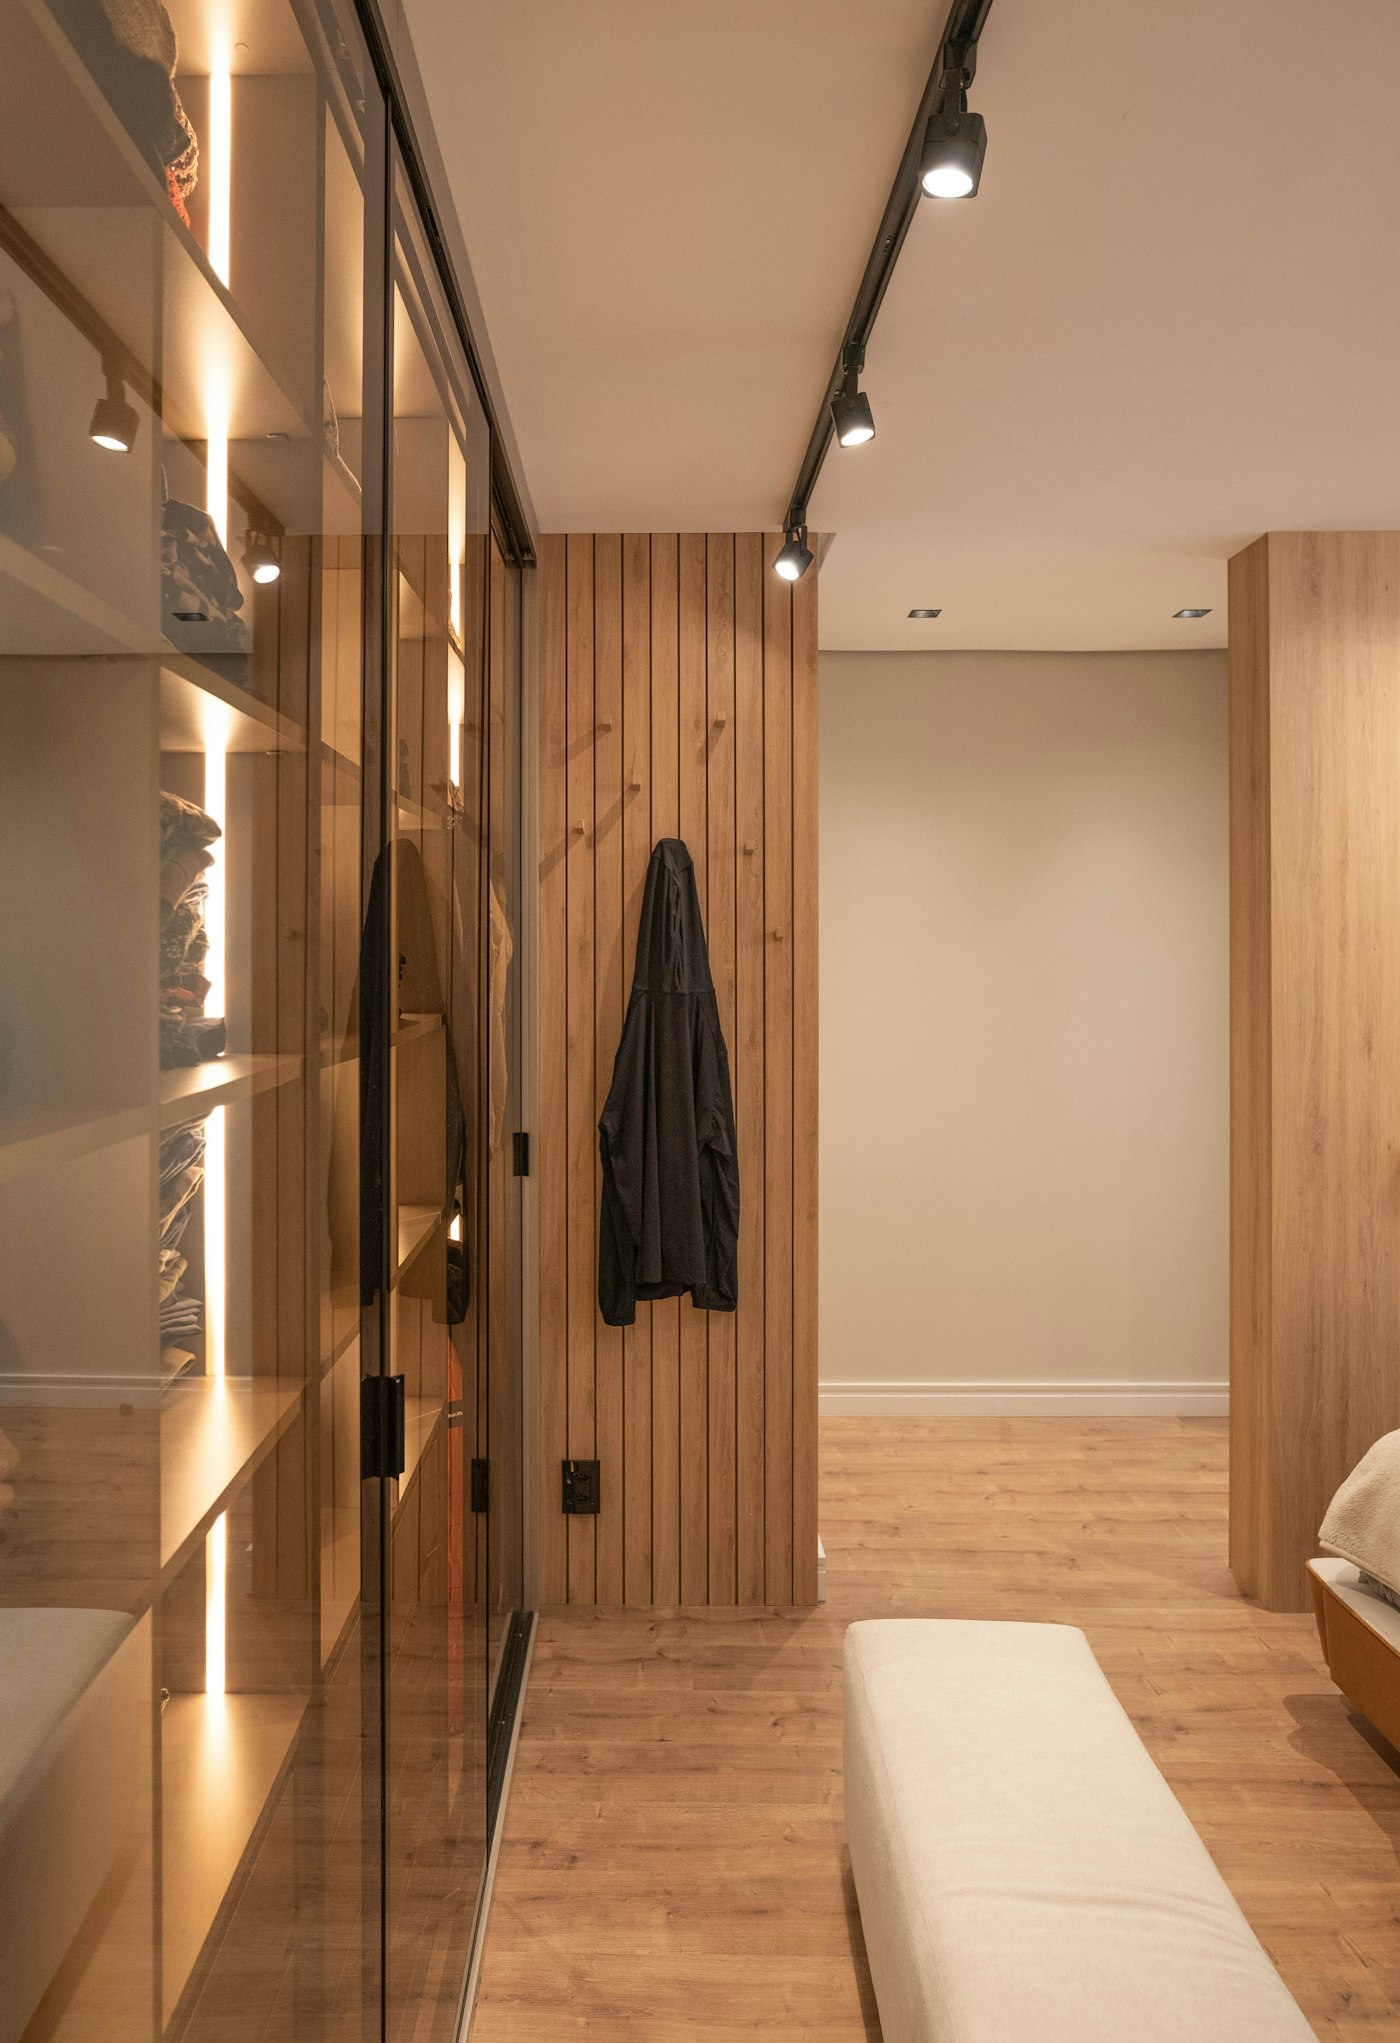
Integrated light for hanging rails, vertical panels and shoe or bag shelves. Match sensing, cable routes and light colour to each compartment.
View the solution →