
Cabinet Lighting Kit BOM: From Drawing to Order
Build a cabinet lighting kit BOM with module quantities, cut lengths, connector references and packing labels for repeat B2B orders.
Updated 24 10 月, 2026
Discuss your requirementOn this page
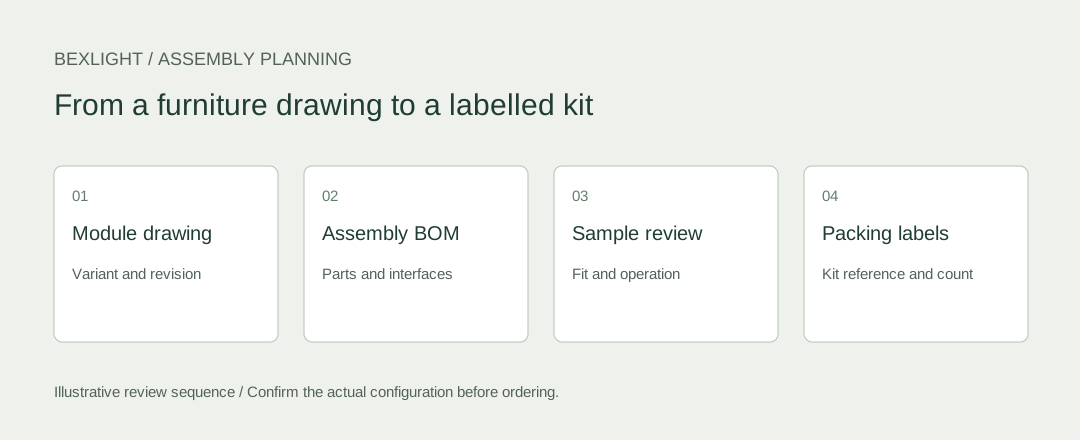
Start with one row per repeatable assembly
A quotation that says “120 metres of cabinet strip” leaves purchasing and the assembly team to reconstruct the installation. It does not say which module needs a cable exit on the left, which shelf is removable or which drawer uses a sensor. A cabinet lighting kit BOM should describe the complete lighting assembly for each furniture variant, with a drawing reference that survives the handover to purchasing.
Keep the furniture module number as the primary reference. If two cabinets use the same strip length but different cable routes, give their lighting assemblies different suffixes. This prevents an apparently interchangeable light bar from arriving with the wrong termination.
A worked assembly schedule
The quantities below are an illustrative 30-cabinet order, not a BEXLIGHT quotation. The 560 mm entry is a requested finished light-bar length; it does not mean every strip can be cut at that position. The source cut interval and termination allowance must be resolved on the drawing.
| Assembly reference | Finished requirement | Per cabinet | Order quantity | Drawing decision |
|---|---|---|---|---|
| K01-A | 560 mm light-bar assembly | 2 | 60 | Cable exit at left end |
| K01-H | Branch harness | 1 | 30 | Lengths and connector map to approve |
| K01-S | Door-control assembly | 1 | 30 | Location and operation to approve |
| K01-P | Power/distribution group | To be designed | Not calculated here | Actual loads, channels and driver instructions required |
Two light bars per cabinet multiplied by 30 cabinets gives 60 finished assemblies. It does not establish the power supply quantity: shared groups, control zones, actual component loads and the selected driver’s instructions still need to be reviewed. Keep requested spares on separate lines so they are not mistaken for fitted quantities.
Separate mechanical length from active light length
The joinery drawing should show the profile’s overall length, the illuminated length, end-cap space, cable outlet and mounting clearance. A strip cut interval can stop the active section short of the requested furniture dimension. Agree the visible result and any unlit end space before releasing an assembly length.
For under-cabinet task lighting, also identify the front setback and the normal viewing side. For an adjustable shelf, mark the range of movement and the connection method. The same nominal length can require a different mechanical detail.
Give every mating connector an identity
“Quick-connect” describes an assembly method, not universal compatibility. Record both mating references, contact allocation, polarity or channel assignment, and which cable belongs on which side. State whether a harness is included, separately packed or supplied by another party. A connector photograph is useful alongside the reference, but should not replace a pin map.
Show the main distribution point and each branch on a simple cable schedule. Mark the accessible service route; avoid requiring a finished cabinet to be dismantled merely to disconnect a replaceable component. Review driver concealment and service access while there is still room to change the joinery.
Turn the schedule into a packing list
Ask for packing labels to use the assembly reference and drawing revision. Specify whether the project needs one bag per furniture module, one carton per room or bulk bags separated by component. Label a spare component as a spare. When kits contain different cable lengths, colour coding can help assembly, but the written reference should remain readable without relying on colour alone.
For repeat orders, keep the approved BOM revision, sample identity and any authorised substitutions together. A changed sensor, diffuser or cable exit should trigger a review of the affected assembly, rather than silently becoming the new default.
Common procurement questions
Can I request a quotation before the harness drawing is finished?
Yes. Mark the open items and ask which lines are provisional. Separate confirmed light-bar quantities from unresolved harness and control work, so a budget figure is not mistaken for a released assembly price.
Should every part be preassembled?
Choose the boundary around transport, installation sequence and replacement access. A finished light bar may be pre-wired while a long site cable remains separate. State that boundary in the kit schedule.
What should accompany the first purchase order?
Include the released drawing, module and assembly quantities, approved sample reference, packing arrangement and list of documents to accompany delivery. Keep unresolved items visible instead of filling them with assumed specifications.
Discuss the assembly
BEXLIGHT coordinates cabinet and furniture lighting assemblies around the drawing, selected components and agreed scope. Send your drawing, module quantities and open questions for review.
Tell us about your installation
Include the application, section lengths, quantity and installation conditions.
Discuss your requirement