
Cabinet Lighting Sensor Selection for Furniture
Compare door, PIR and hand-sweep controls by operating sequence, mounting position and electrical interface for B2B furniture lighting projects.
Updated October 26, 2026
Discuss your requirementOn this page
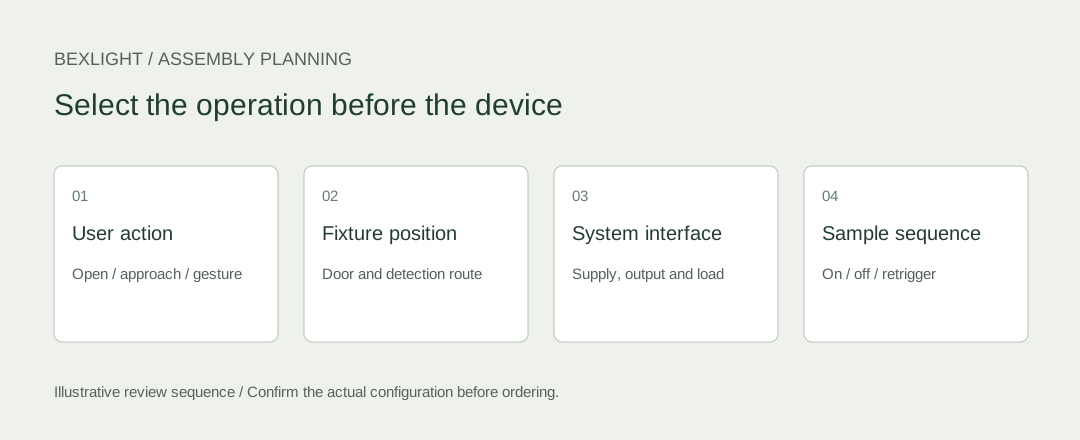
Describe the required action before naming a sensor
For a wardrobe, drawer or under-cabinet worktop, the first sensor question is what should happen when the user approaches, opens a door or moves a hand. A cabinet lighting sensor selection brief should describe that action, the detection position and the required off behaviour. The labels PIR, door sensor and hand sweep identify different approaches; they do not establish that any particular device will work in the proposed furniture detail.
Start with the furniture mechanism. A sliding door can have different sensing constraints from a hinged door. A sensor hidden behind a drawer front needs its installation position checked. A worktop control should be tested from the ordinary working position, rather than only with a hand held directly in front of a loose component.
Compare the control task
| Control approach | Suitable question to ask | Check in the mock-up |
|---|---|---|
| Door-actuated control | Should light follow a defined open/closed state? | Every door position, mounting and alignment |
| PIR presence detection | Should movement trigger a timed lighting scene? | Detection area, obstructions and retrigger behaviour |
| Hand-sweep control | Should a deliberate hand gesture operate the light? | User position, gesture and unintended activation |
| Manual control | Is predictable intentional switching preferable? | Access and coordination with other controls |
These are selection questions, not guaranteed behaviours for every device. Confirm the exact sensor’s operating description, wiring and permitted load with its documentation. Some controls switch the load; others provide a signal to a controller. Do not treat those interfaces as interchangeable.
Write an operating sequence that the sample team can test
For a two-door wardrobe, state whether opening either door should switch on both sides or only one zone. Define what should happen when one door closes while the other remains open. If the system is timed, state the expected timeout and retrigger action as requirements to confirm, rather than assuming a sensor has those settings.
For in-drawer and base cabinet lighting, include the positions at which the drawer should count as open. For wardrobe sensor systems, review the detection route with the intended door movement and storage arrangement. Resolve whether independent zones or a shared group better matches the furniture task.
Review the electrical interface as a complete chain
Identify the supply, sensor, distribution point and light sources in order. Record the declared voltage, output type, channel arrangement, connector allocation and exact component references. Check the sensor and driver’s documented compatibility and ratings for the proposed load and control method. Connector shape alone does not confirm voltage, pin assignment or load suitability.
A complete lighting assembly needs an agreed boundary: which parts arrive connected, which are plugged together during furniture assembly and which require a qualified installation team. Keep mains-side work outside an informal plug-and-play assumption. Provide the destination-market and installation requirements for review.
Keep the sensor accessible and test false triggers
Test ordinary use around the fixture: walking past, placing items on the worktop, reaching into the cabinet and moving adjacent doors. Check whether the furniture finish, shelf position or stored items obstruct the intended sensing path. Record the actual mounting position rather than approving the device independently of the cabinet.
Plan access to the control and its connections. A small inline sensor can still become a service problem if its connector is buried behind fixed joinery. Include the sensor location and cable outlet in the assembly drawing and label its harness branch.
What to put in the enquiry
Send the furniture drawing, door or drawer mechanism, desired on/off sequence, source quantities, proposed electrical parts and market. List any dimming or adjustable-white requirement separately; it may affect the controller and wiring. Where behaviour remains open, ask for options against the stated task.
After selecting a candidate, use a documented sample approval to confirm operation in the fixture. Keep the final sensor and controller identities in the kit BOM and harness schedule for repeat orders.
Common control questions
Can one sensor operate several light bars?
That depends on its output, permitted load and the rest of the circuit. Submit the actual light-bar quantities and component references for compatibility review.
Is hand sweep always better for kitchen cabinets?
No. It depends on the intended operation and mounting position. Compare deliberate activation and accidental triggers in the working mock-up.
Can I change the sensor after sample approval?
Treat it as a controlled change. Review the interface, mounting, behaviour and affected acceptance checks before releasing the replacement into repeat supply.
Discuss the assembly
BEXLIGHT coordinates cabinet and furniture lighting assemblies around the drawing, selected components and agreed scope. Send your drawing, module quantities and open questions for review.
Tell us about your installation
Include the application, section lengths, quantity and installation conditions.
Discuss your requirement